
Sculpture ~ Process
Design and pattern making
Regardless of the medium, my initial thoughts are recorded in a few sketches done old style with pencil on medium weight drawing paper. The sketches are refined and scaled to the needed size on vellum or directly onto Masonite when I am painting.
When sculpting, my initial sketches will be fleshed out and drawn a few times so that each perspective is clear. Having spent most of my life carving wood this is still a medium I use to create many of the patterns though more recently I have also used dense blue wax or high density foam. An appropriate size block of wood or wax is cut, the profile perspective is traced onto the block and then crudely cut out with a band-saw or if a smaller piece on a scroll saw. The plan perspective is used as a guide to cut other planes and the piece begins to take shape. From here the piece will be carved with a variety of chisels and refined further with rasps and wood shavers. Occasionally I will sculpt in a more attractive walnut or cherry wood but will seal the surface with clear lacquer which protects the decorative grain from becoming filled with rubber. Once a mold has been made the lacquered original pattern tends to end up at home in our personal collection. Carving in bass is quicker as there is less change in grain direction and the grain is tighter so fine details can be quickly cut with sharp chisels. The grain is then permanently covered with matt paint primer for a smooth surface.

First sketch

Sculpted and primed pattern with specimen dung beetle showing relative sizes
Mold making
My molds are made with Mold Star 16, a 2-part catalytic silicone rubber. The liquid rubber adheres to the surface of the pattern capturing the pattern's details before solidifying. The pattern is sprayed with a release agent and this together with the pliable nature of the rubber allows the pattern to be retrieved from the mold once it is set. Each mold is made in one or two parts with one-part molds being used for smaller pieces that are typically poured as a solid casting. The dung beetle is made from a total of 9 molds, 7 one-part molds and two two-part molds for thorax and abdomen which are cast as hollow sections.
My mold making skills have evolved from my experience as a wood carver and furniture maker and are eclectic and incredibly old school. I use modeling clay and core board to create simple functional mold boxes. A solid base is cut in ¼” plywood, the pattern is centered on the plywood and the sides are made from cut pieces of core board that are hot glued to each other and to the base. The box is then filled with liquid rubber. The same process applies to a two-part mold but the area between the pattern and sides is filled with modeling clay that prevents the liquid rubber from filling the mold. The same process is repeated for the upper section of the pattern and the end result is a two-part mold.
The mold for the dung beetle’s abdomen is shown below at the final stage after being reinforced with a solid layer of fiberglass. The 2 halves of the mold are keyed to align by making a series of protruding rubber pins in one half that fit into corresponding hollows in the other half.

Open mold protruding rubber pins on the left correspond with hollows on right
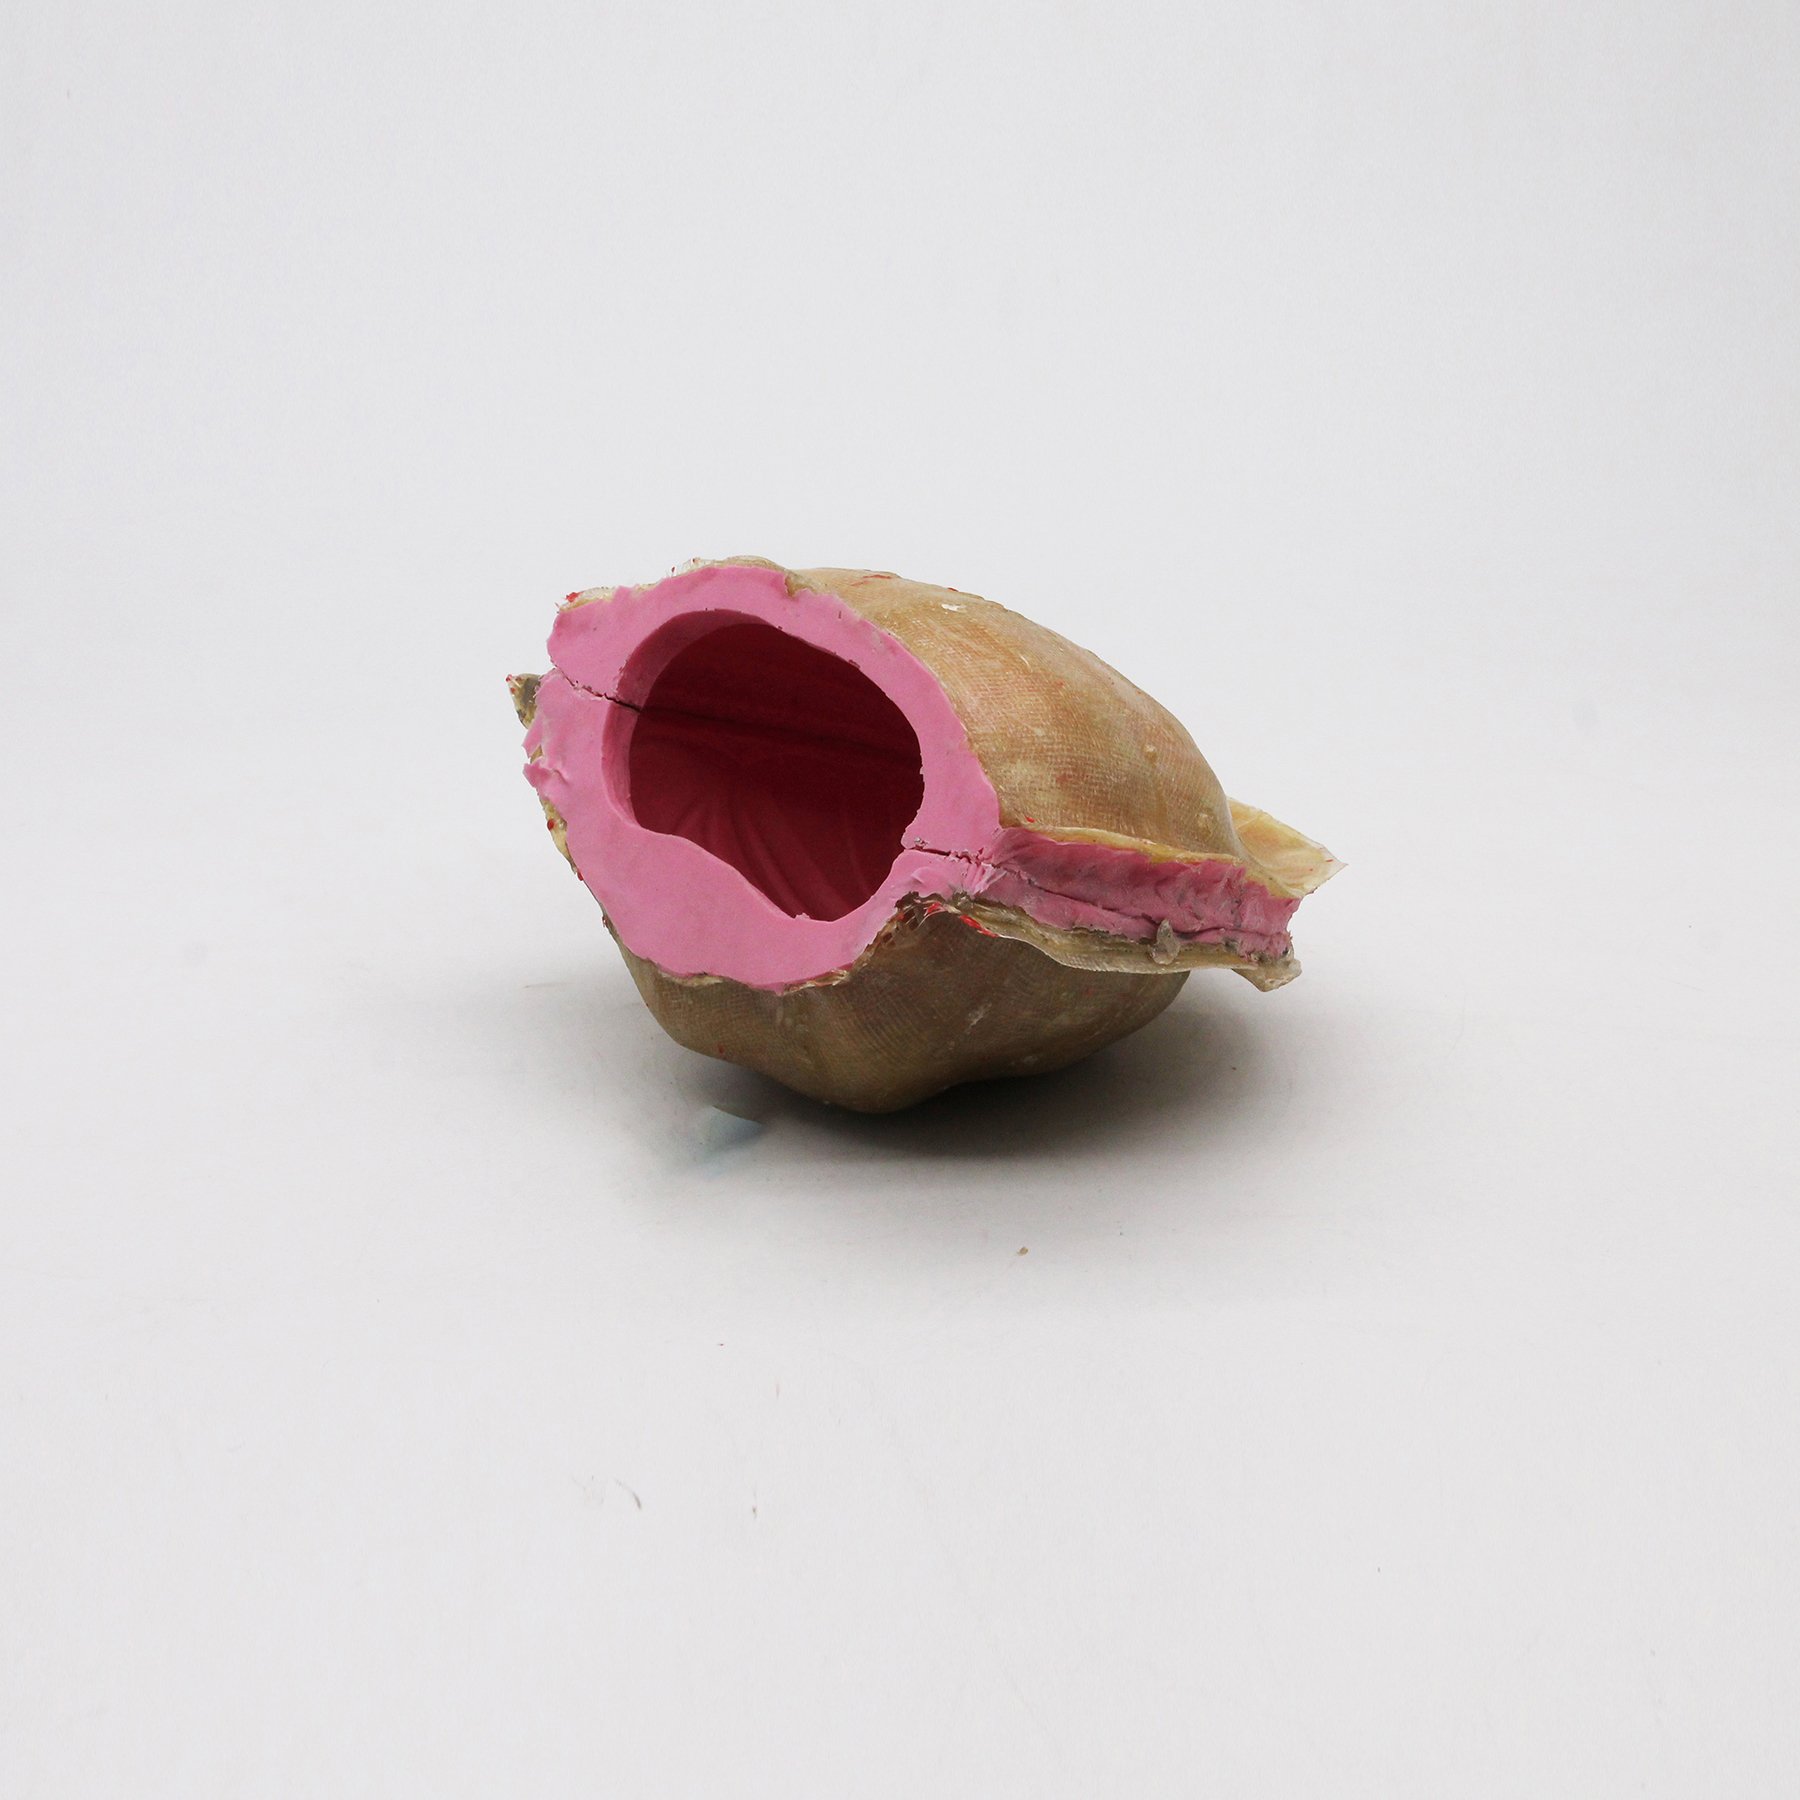
Closed mold reinforced with fiberglass to prevent distortion when wax is poured
Lost wax casting, gating waxes, shelling waxes, pouring bronze, chasing
The lost wax method of casting requires a wax replica to be made for each component. The dung beetle is made up of 9 pieces, 6 legs, one head, one thorax and one abdomen. Wax replicas are made by pouring melted wax into the cavity of the mold created once the pattern has been removed.


When the mold is being made I try to gauge how liquid wax and later bronze will smoothly flow into all the areas before cooling. Using preformed wax strips I attach a central delivery channel (sprue) and several narrower channels (gates) to the different sections of the pattern. The mold is made around the gated pattern and when the pattern is removed from the mold it leaves behind a cavity with a series of flow channels.
The wax replicas before being shelled are often ganged together with a wax rod to form a tree of connected waxes.


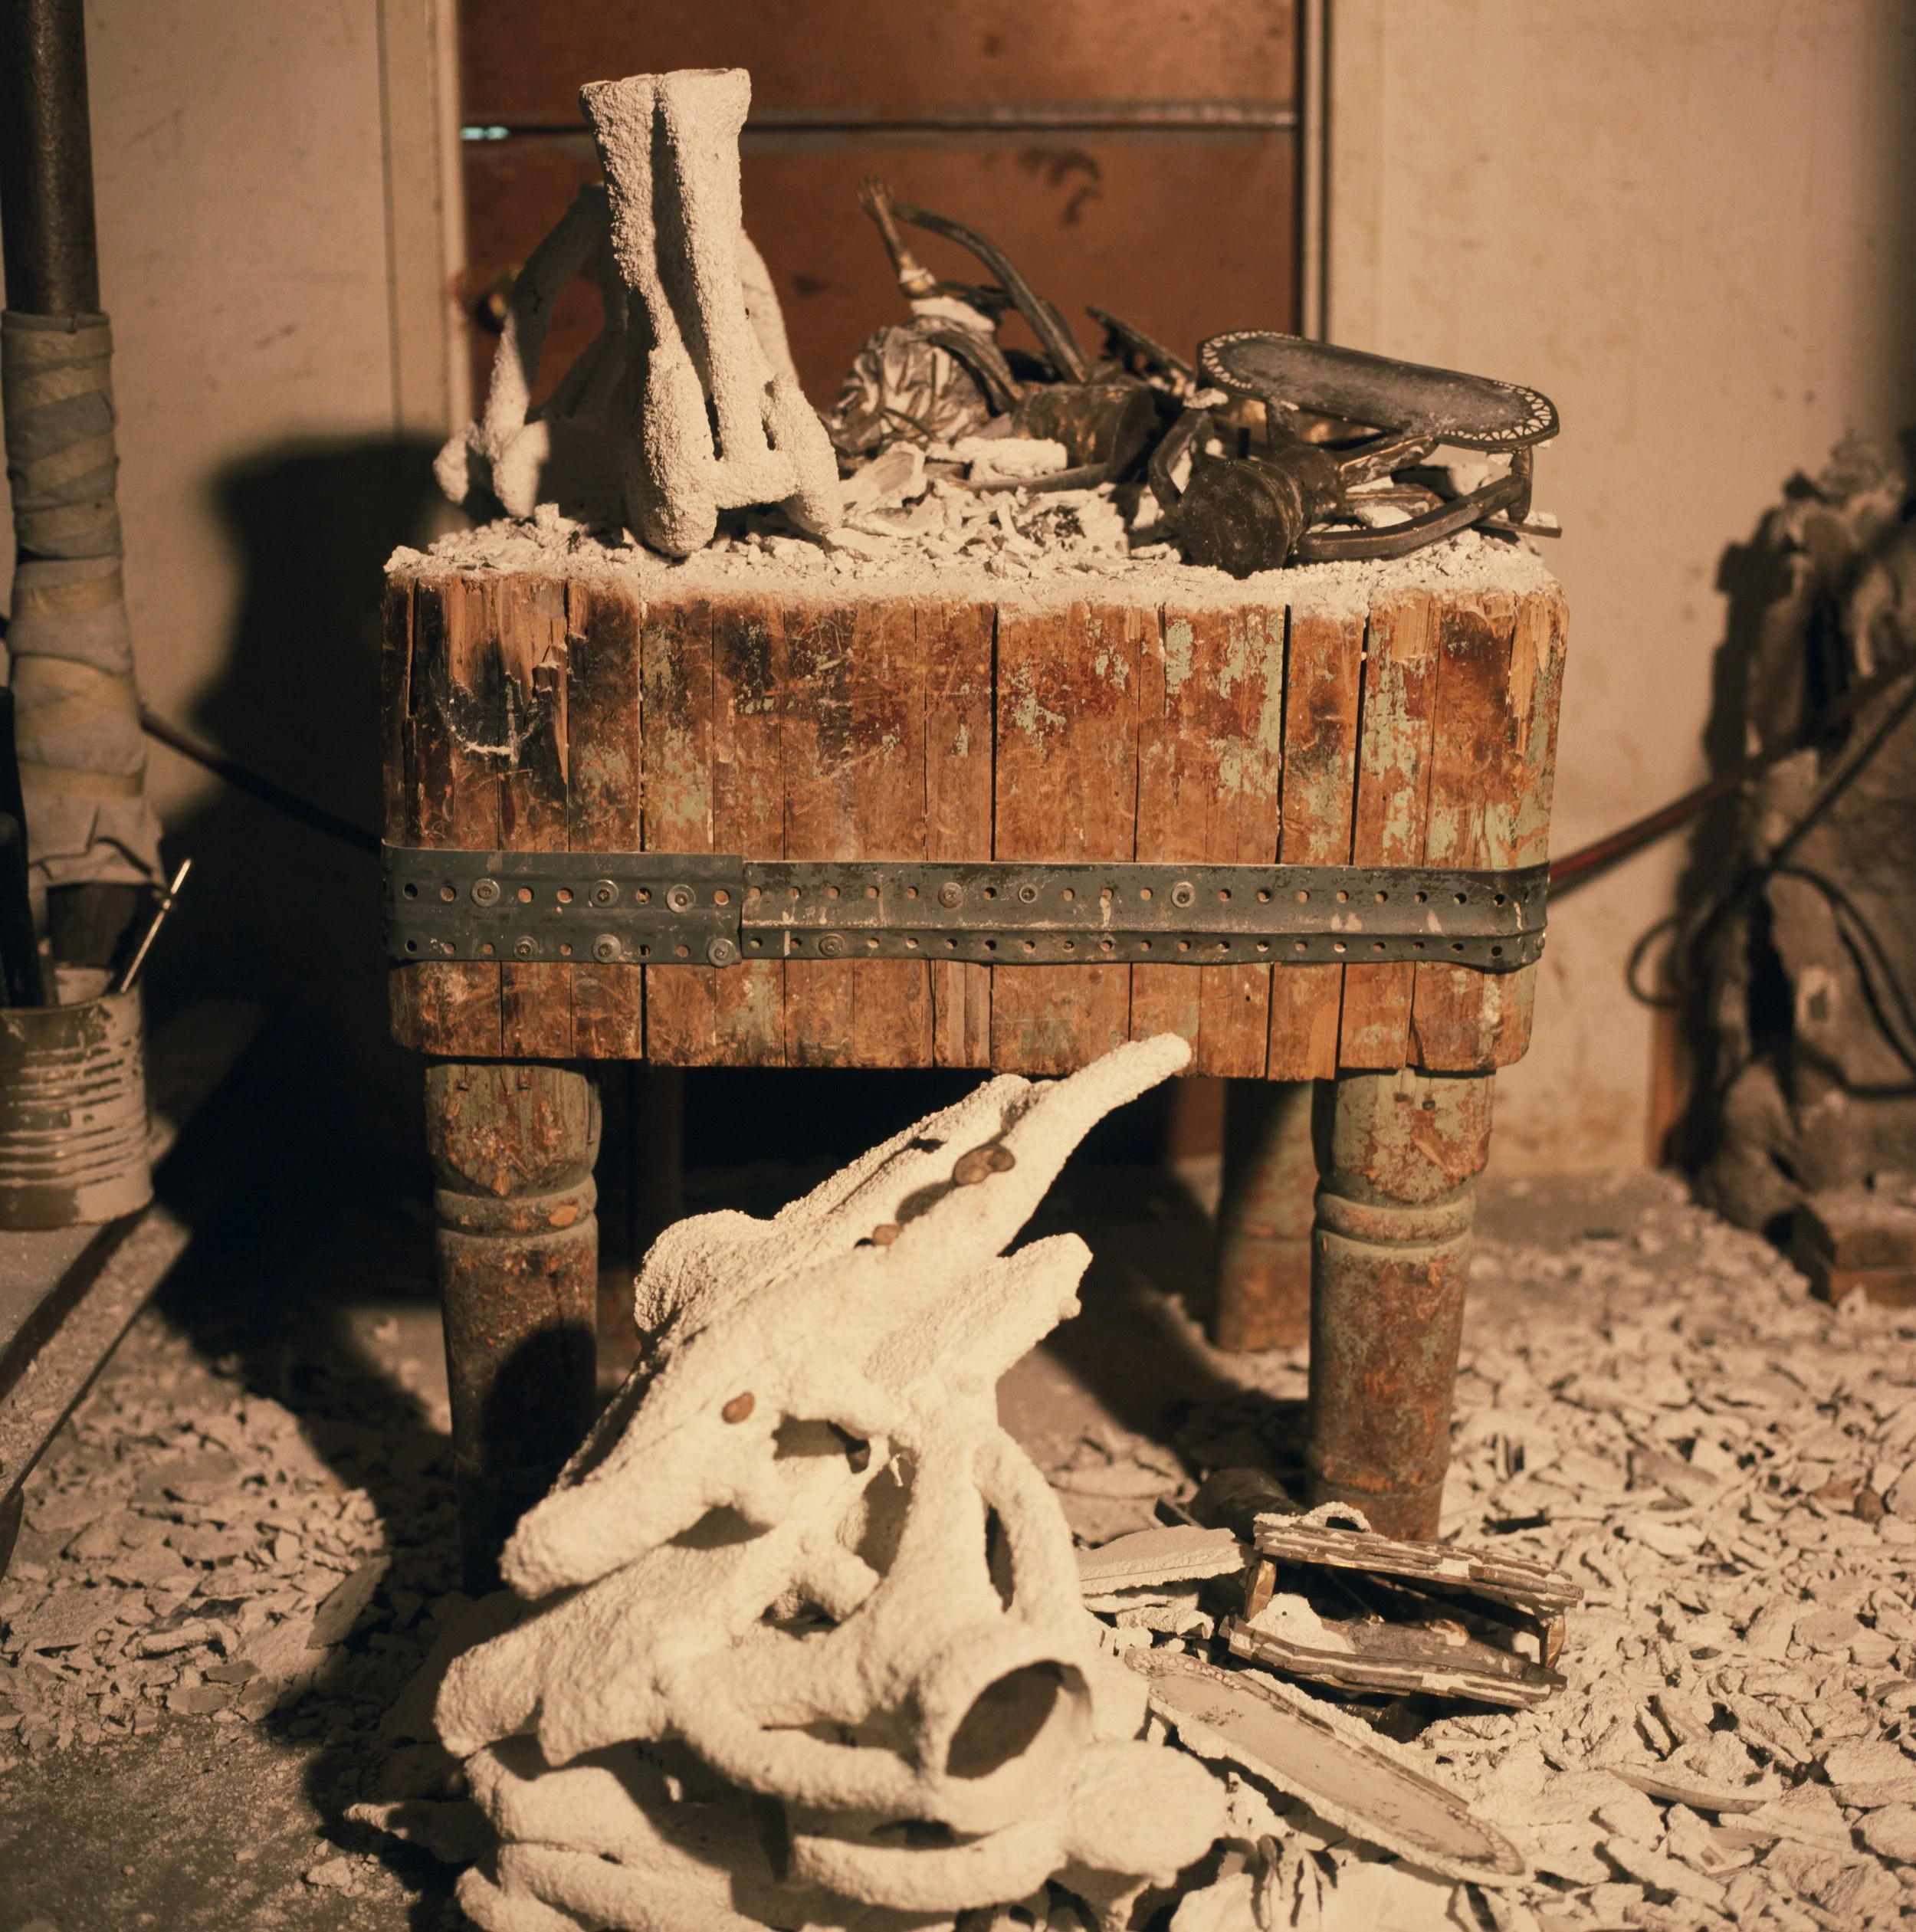
The wax replicas or wax tree are repeatedly dipped into a fine ceramic slurry. The slurry needs to be fine to capture the detail on the surface of the wax replica and enough coats need to be built to form a strong wall around the wax. The outer layers of the slurry are reinforced with coarser fibers that help create an even stronger wall. The shelled pieces are then baked at a temperature that will allow the wax to pour out leaving a hollow shell. The shell is fired a second time to cure and strengthen and the end result is a rigid hollow case that can withstand high temperature and the weight of molten bronze when poured.
Once cast, the bronze is allowed to cool, and the tough shell is removed by air powered small jack hammers and by sand blasting. Once the shell has been removed the gates are ground off and the casting is cleaned with metal burrs and stubborn shell being removed with Dremel bits, rasps and buffing machines. The casting is further cleaned by sand blasting and buffing with finer compounds.

Patinas
I cast in silicon bronze or 316 stainless steel, both are rust resistant superior alloys. While 316 stainless steel does not change its appearance over time, bronze oxidizes and develops its own unique patina that can range from gray black to verdigris. To enhance the beauty of my bronze sculptures I selectively apply either a cold or hot patina which allows me to create a wider range of colors that include yellow, orange, red-brown, blue-green and pea green. By selectively re-burnishing textured or focal areas I can create highlights that help bring my insect characters to life.

