luxury cabinet knobs

Mushroom a fruit of nature and imagination

When I think of fruit my mind conjures up images of persimmons, strawberries and other sweet delicacies that I am fond of but it does not bring to mind mushrooms. This January we discovered a rather humorous and very suggestive mushroom in our garden and I was intrigued to learn more. The internet journey was helpful and I learned  that the mushroom in our garden is known as the stinkhorn which explains why our food obsessed dog gave it only a passing sniff.

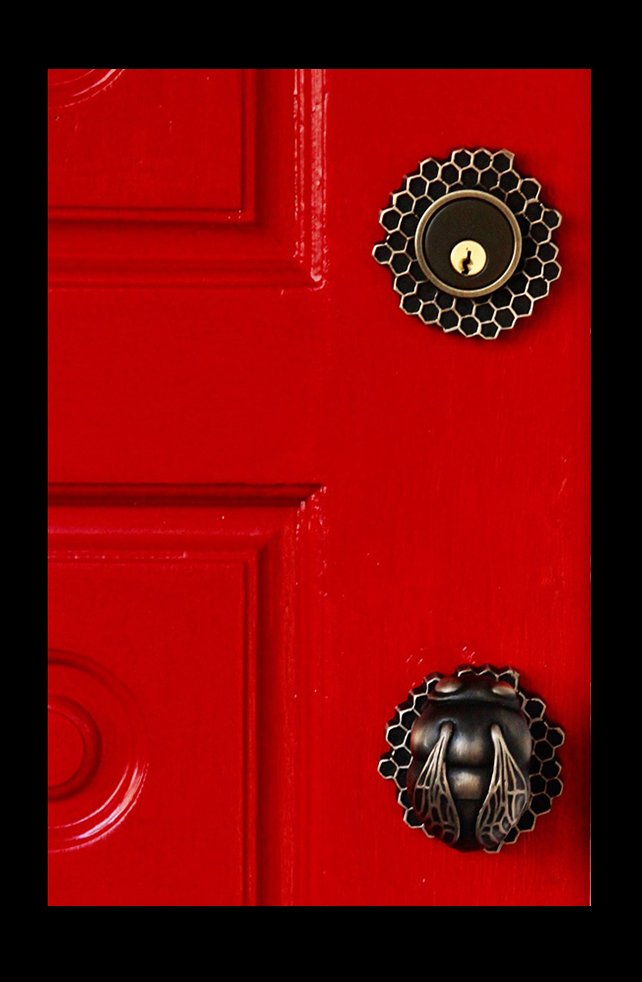
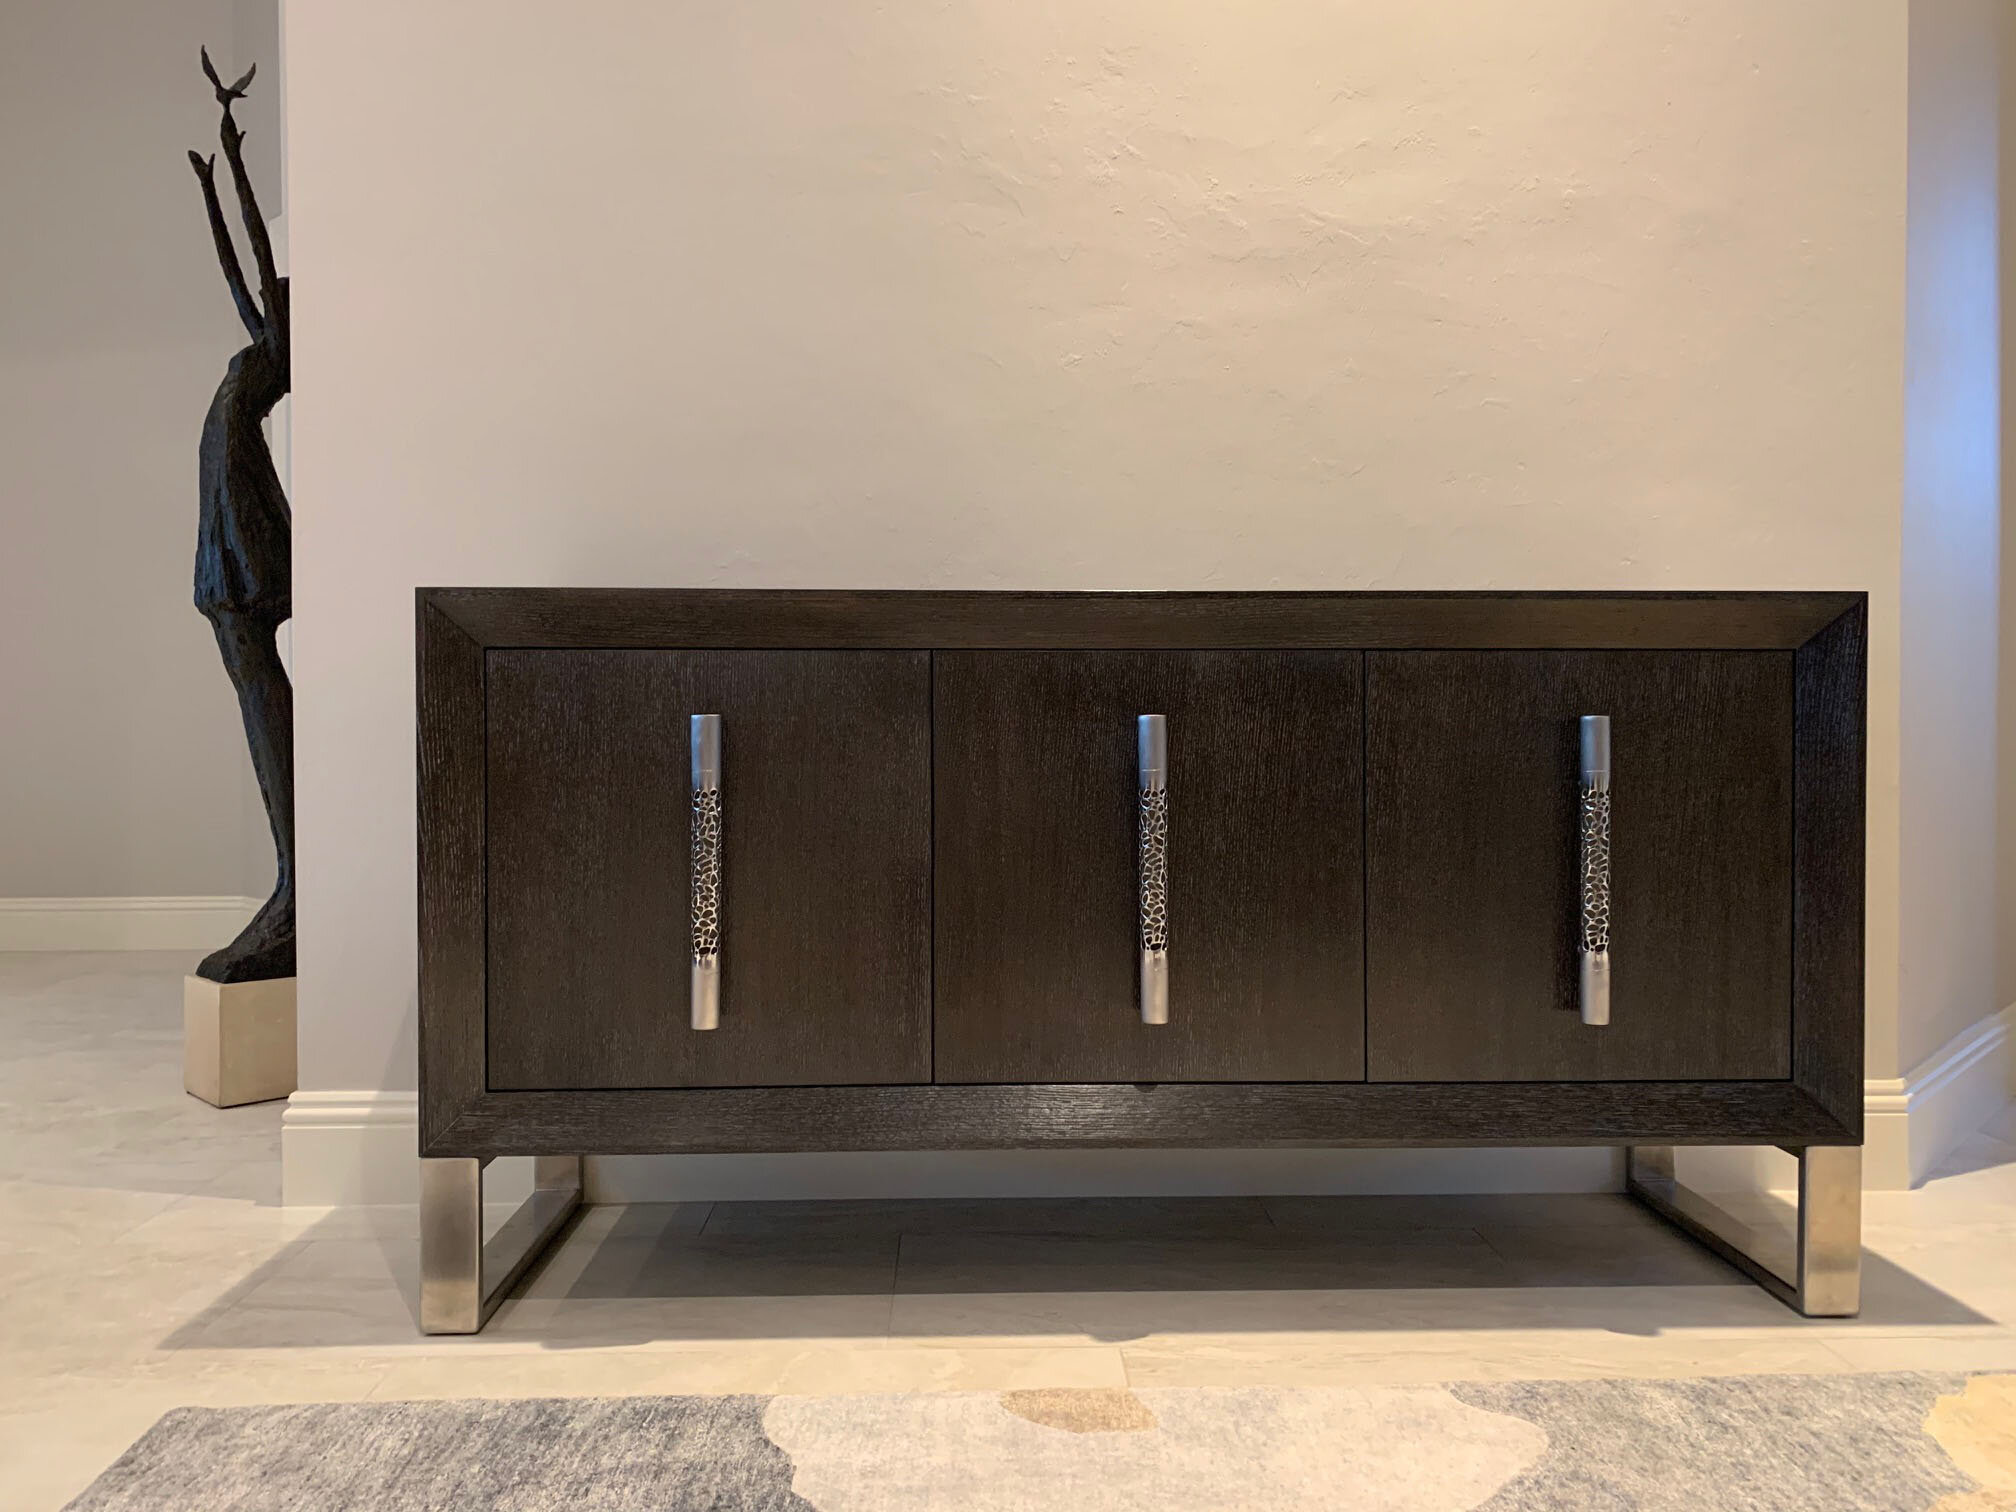
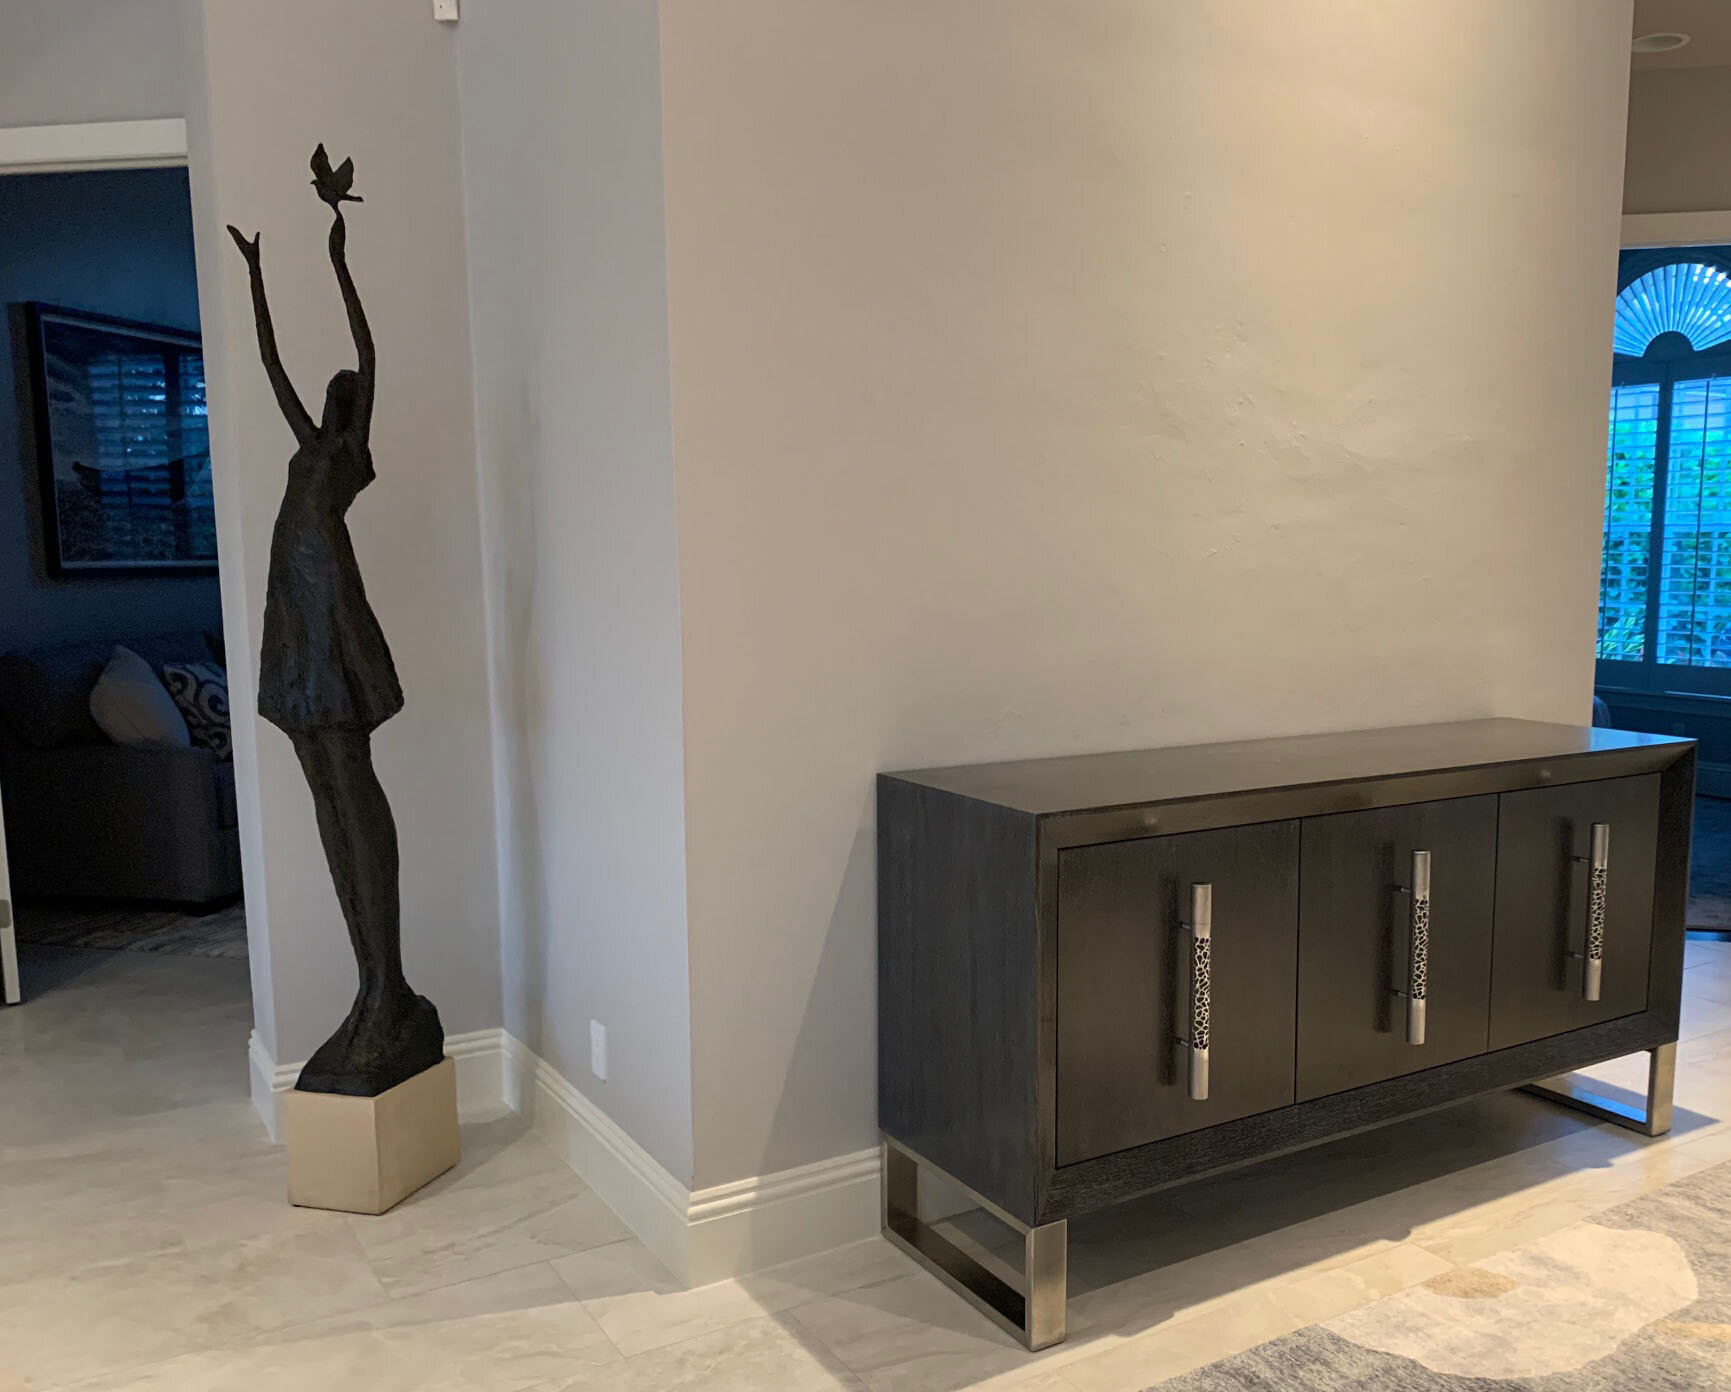
The mushrooms in our collection of cabinet pulls like so many of our pieces are not a literal portrayal of any specific mushroom rather they are  a synthesis of different mushroom types that we cook with and that we grew up with. The toadstool, portobello and shitake mushrooms shapes are the closest to the shape of our left and right mushroom pulls. So what is our small double capped button mushroom pull closest too?

I discovered that the button mushroom, cremini and portobello mushrooms are not different species but rather different stages of the same species, Agaricus bisporus. The button mushroom is the young immature form and is characteristically paler and milder in flavor. The cremini stage is somewhere in the middle with a more defined flavor and the portobello is the mature adult with a very full meaty flavor. As the mushroom develops its anatomical parts are more easily seen and are labelled here.

The mushroom is the visible fruit of  a much larger fungus and the gills of the cap contain the spores which allow the fungus to continue reproducing. The mycelium is the vast root system of the fungus and it can cover acres and is critical to most plant life. I have labelled the mushroom parts in my greyscale photo of our left facing mushroom.

Orchid Door Handle

Last year I had the pleasure of working with Kellie Beaubelle a designer in Orinda, CA who was  looking for unusual hardware, what followed was a highly imaginative collaboration of design talents.

The project began with a finite plan for one entry  handle set, but once installed, the scope was expanded to include all the exterior doors that were fabricated by the door maker with Anderson multi-point locks. To accommodate the multi-point mechanism, we created a new turn piece design that has been added to our Hedgerow and Willow multi-point sets and which we will be expanding  to our other multi-points collections.

The project did not end with the entry doors as once the creative genie was out of the bottle Kellie wanted to see what artistic pieces could be added to the master and guest bedrooms. In a previous post we have documented how the Venus slipper orchid was redesigned by Martin Pierce to create a grand scale door pull which for Kellie’s project has been used for 3 large vanity drawers.

Once the concept was approved, we worked with Kellie’s vanity plan to create a mock-up idea showing how the orchid would look on the cabinet drawers. The pattern development and mold creation have been documented in 2 previous posts but now we can share photos of the piece cast in bronze and also nickel plated in a satin finish.

Plan drawing courtesy Kellie Beaubelle

Orchid handles added by Martin Pierce

The Venus slipper orchid has a pronounced stamen and labellum that project out from the body of the flower and in the casting, it is these points that are gripped to pull open the door or drawer.

Happy Halloween with tigers, bugs and bats

Whether for Halloween, or for no other reason that simple fun, enjoy our creations any time of the year. We have a collection of animal and insect cabinet pulls to chose from all cast in bronze and made to order here in Los Angeles.


For those looking for animal inspired door handles we have a collection of lizard, dragon, frog and rabbit door knobs to chose from. Each piece is first rendered in wax before being dipped in silica to create a tough exterior ceramic shell and finally cast in molten bronze. The process is not complete until each piece is “chased” or finely tooled by hand to remove any imperfections. Still not complete, the piece must be burnished so that it can be finished with either a simple oil rubbed patina or a more colorful hot patina. Voila! A unique piece is ready for your home or office door or cabinet.


The tiger door handle is now available as a powder coated piece in a wide variety of colors. If you have a brand color this can be matched by creating a custom powder. As mentioned in a previous piece, we are moving away from illuminated handles and offering all these pieces in  powder coated colors. The dramatic effect is not diminished but this provides a low- tech solution to supply chain problems with small LED lights.

Happy Labor Day

While we humans may get a break from work those in the larger animal kingdom will still be buzzing and digging as they toil to create  honey and dung balls!

Our new sculptures include a dung beetle and Martin is currently creating an artistic portrayal of dung  beetle ball which will be the latest addition to his bug themed sculpture  series.

Our bees are still thriving in bronze and those who follow this blog know that we have recently added a bee cabinet knob to our flying creature collection of cabinet pulls.

Our fascination with bees was piqued by a book we are reading “An Immense World” by Ed Yong in which he devotes a chapter to the electrical world we live in. The planet’s daily thunderstorms are prolific running into the thousands and they create a massive electric circuit where the earth is a negative  and the air a positive charge. Bees buzz in this electric field passing by flowers who because they contain water are rendered negative or grounded. As bees fly through the air, they assume the positive charge of the air around them and when they land on a flower to suck nectar the negative pollen is attracted to the bees negative force and literally rises up towards the bee. For those able to remember their early science classes, this electric attraction is similar to what we observed as children when a magnet was used to pick-up iron filings.

Returning to the theme of this blog, labor day is not a holiday celebrated by bees or dung beetles both of which will be working overtime during this 3-day holiday.

Cabinet Hardware For

Wishing Everyone A Happy and Healthy 2022

For the curious, the 2022 font was created from the Willow Collection of cabinet hardware. While these pieces can be colorfully finished using hot patinas, more vivid blue and green tones can be applied through powder coating. For more information please contact us.

Creative Color Enhancement of Willow Sprigs Part of the Willow Collection of Cabinet Hardware

The small willow round cabinet knob below was cropped and colored in Photoshop. We offer a blue green and pea green hot patina both available as custom patinas

Inspiration for cabinet pulls from insects and animals

Browsing the Pinterest site I came across a word that I didn’t know the meaning of and this took me down the wonderland path to the origins and meaning of “memes” and how it differs but can be a source of inspiration. On that journey I found the term was coined by an evolutionary biologist, Richard Dawkins to describe a cultural element analogous to a biological gene. The word meme can mean any idea, fashion, picture, song, etc. that is propagated and communicated and in so doing takes on a life of it’s own. As it spreads people often will change it by putting on their own spin it. Think of the spins made on joke cartoon memes where in the telling of the joke a different animal or ethnic group is creatively substituted by another person to make a different audience laugh. Like biological genes the cultural meme will mutate as it spreads.

If memes are the social equivalent of biological genes where does nature as a source of inspiration fit in? Our finely detailed cabinet pulls with few exceptions have in some way been directly influenced by our appreciation of nature. Plants, animals, insects and other physical entities when taken collectively are how we define nature. In our new website’s cabinet hardware section we have grouped our pieces accordingly into natural categories:
Animals
Flying creatures
Plants
Flowers
Textures
Hedges


If you look at the different categories the influence of nature as a source for these creative designs should be apparent. While customers like our work we can not describe the pieces or the pictures as memes as they appeal to a select small audience. Given that our work including our photographs are all copyrighted and original we also hope that it will not be propagated without our permission to do so.

Why research and development for custom hardware is expensive


The old and new schools for creating patterns and molds - part 2


Your design skill set and your preference for digital versus free hand designing may influence your choice when it comes to deciding how to create the pattern or file for casting.
Whichever road you take the research and development (R&D) costs will be significant. The R&D costs are often misunderstood, and many consumers have a hard time accepting that the pattern development can run into the thousands depending on the size and intricacy of the design. This cost is on top of the cost incurred in the design process (part 1), so perhaps we are stating the obvious when we state that custom, one of a kind door hardware, is inherently expensive.

Choice of medium for pattern making.

Regardless of whether the design is digital or old school and made with pencil and paper you should be able to use the same mediums when creating your pattern for use in investment casting or sand castings. If you have the budget and are developing a piece for high volume production, then die casting or 3D printing may be good options and may not require a pattern to be made. While die casting and 3D printing do not require a physical pattern, they depend on the design to be made with CAD/CAM software or comparable software that can capture the exact measurements and topography details of your design so that a virtual pattern can be created.


Mediums for Physical Patterns

The pattern for investment casting can be made from any medium that is both strong and non-permeable or that can be made strong by firing in a kiln. Your choice of medium will depend on your manual skills, can you carve or create a design in modelling clay? The choice will also depend on how dense the detail and undercuts are in your design, does the design have a lot of detail or is the design for a smooth piece with the detail confined to the edges? Our patterns are always made in a reductive way by carving or machining rather than by the additive clay modelling method.

Left cast trumpet flower   Right hard blue wax pattern with gate in red wax

Left cast trumpet flower Right hard blue wax pattern with gate in red wax


Mediums for carving or machining

Rigged foam –
High density rigid polyurethane foam comes in a variety of sheet sizes, thickness, and density. We typically use a medium 15lb per ft density. It can be machined on a bandsaw, turned on a lathe or used with cutting routers. It is ideal for moderately detailed patterns but it’s lack of tensile strength and brittle nature make it less useful for very detailed or large patterns.

Basswood & other woods
Basswood is stronger than rigged foam and finer details such as leaf ends or fingers tips that would be to fragile and brittle if rendered in foam are easy to create in this close-grained soft wood. Patterns created in basswood and foam need to be sealed with a paint primer or other non-permeable layer that act as a barrier to protect the pattern from liquid damage that may occur during mold making.

Blue jewelers’ wax
There are many types of wax available in block and sheet form that can be machined or carved to create a pattern, but we typically use a blue hard wax and pattern making.


New Cabinet Pull Direction for 2021

In 2021 we will be gradually be re-formatting our website so that our unique cabinet knobs and pulls can be viewed in greater detail and from different perspectives. This project started in 2020 and it has been quite an undertaking requiring each piece to be photographed several times, then clearly outlined in Photoshop and re-created as a dimensional diagram. We hope the result will allow viewers to appreciate the beauty of each pull and see how each is installed with either a single mount or double screw mount. The new pages will go live when all 70 pieces have received this attention so these posts will be a preview of what is to come.

Our cabinet pulls have been reorganized according to their style and on the number, we could fit onto one page for each collection. The size of the page did present a real challenge when it came to plants and creatures with somewhat arbitrary collections for flowers and plants and animals and flying creatures, but our hope is that viewers will be sufficiently inspired to browse all pages and not be deterred by categories.

Hedgeorw branch pull.jpg

The dragonfly is the piece we chose to represent our flying creatures and he/she is attached to with a single screw from the back of the cabinet drawer into the center post which is pre-drilled and screw ready, yes, all of our cabinet pulls come with screws.

The Hedgerow branch pull is attached with 2 screws also applied from the back of the cabinet drawer at a distance of 3 ½” between the centers of the screws. Many of our cabinet pulls can be adapted for surface mounting from the face of the piece but you will need to check with us to see if this is possible for the piece you are considering.

LIGHT AT THE END OF THE TUNNEL


In these dark times we do see some light at the end of the Covid tunnel and used our hopefulness and playfulness to create an imaginary tunnel with our real butterfly cabinet pulls.


May 2021 be a HAPPY YEAR for EVERYONE.

light at the end if the tunnel.jpg


The small butterfly used here is one from our collection of flying creatures a rather whimsical and artistic collection of animal cabinet pulls. The patina used was a hot amber patina with black spots decorating the wings.

How to Cast Bronze Butteflies - Good and Bad Runners and Gates

How to Cast Bronze Butterflies – Good and Bad Sprues and Gates
When designing a piece for investment or lost wax casting a lot of time is spent creating the original pattern and subsequent mold. When the pattern is created its shape and undercuts will determine whether one or more molds needs to be developed so that the detail of the original is captured and so that subsequent waxes can easily be released from the mold.

When the mold is being made it is important to anticipate how the molten metal will subsequently flow into the void of the ceramic shell. The shelling process and the function of the autoclave are discussed in earlier posts. The mold we made for the large butterfly was a two-part rubber mold and the pattern was carved in wood. We added wax runners and one large wax sprue to the butterfly pattern and made a hollow box to hold the butterfly. The area where the wax runner attaches to the pattern is often referred to as a gate. The number of runners and their size and location play a key role in determining whether the bronze will pour easily, and the casting will be successful.

Gating good and bad.jpg

The rubber mold is created by pouring a cold rubber solution into the box containing the butterfly with its runners attached. The rubber encases the butterfly and its attachments, and when set, the 2- part mold will be opened, the pattern will be removed, and a hollow mold will be left. Hot wax will then be poured in through the center hole or sprue and helped along by gravity and some gentle rotation will travel down the central sprue and into the runners to fill the void created around the butterfly pattern.
In this post I am including 2 examples of a well gated wax and a poorly gated wax together with shots showing the resulting bronze castings.
While it may be tempting to assume that more gates will ensure a successful casting, having more gates will impact the speed, pressure and temperature of the flowing bronze and the success of the casting. Having more gates will also increase the labor intensity of cleaning the casting as all the gates need to be ground off.

Unlike the butterfly on the left the bronze did not flow to fill the wing tip of the right butterfly so the casting was rejected and the bronze was melted down and re-cycled

Unlike the butterfly on the left the bronze did not flow to fill the wing tip of the right butterfly so the casting was rejected and the bronze was melted down and re-cycled

A beautiful butterfly pull can only emerge from a perfect casting.

A New Angle on Cabinet Hardware

We are adding new pieces to our Morphic collection of cabinet pulls and will soon be launching new pages on our website to include these new additions. However, the Covid-19 challenge and the resulting home- work environment has hampered our progress so we will be releasing a preview of these new pieces as they are cast and photographed.

Morphic Corner Cabinet Pull

The new Morphic corner pull was designed as a 90° angled piece  that can be positioned at the top or bottom of upper or lower cabinet doors. The pull was designed to be non-directional and the 90° angle means that it will work on left or right-handed doors to form an easy to hold ergonomic pull. Math savvy readers should not confuse the handing of a door with the angle of the pull which is always a 90° right angle regardless of the way it is positioned on a door. Apparently, even if the pull is positioned at a 9:00 clock position and therefore left facing it is still a right angle! Thankfully doors have an easy to understand logic, if the hinges are on the left as you face the outside of the door then it is a left-handed door and vice versa.

 Process

Morphic drawing.jpg

The piece began as a sketch and from there it materialized as a three-dimensional pattern. The pattern was used to create a one-part rubber mold and   melted wax was poured into it  to create wax facsimiles. From here the waxes were shelled, fired and finally invested with molten metal. When cast in stainless steel we will be offering this in a brushed durable and easy to clean 316 stainless steel. We will also be making it available as a bronze casting for those seeking a warmer look for their kitchen cabinetry.

Dimensional Morphic.jpg


Why Would We Plate Beautiful Orchid Knobs with Nickel?

Our cabinet knobs are cast either in silicon bronze or 316 stainless steel and viewers will know that both are exceptionally durable rust resistant and quite beautiful alloys so why then would we opt to have an order of orchid knobs nickel plated?


Nickel is a metallic element and is one of the elements present in 316 stainless steel. Nickel has a silvery white appearance that is not dissimilar to stainless steel and when both are finished to a brushed satin luster the visual difference is minimal. Why then would we choose to nickel plate a bronze cabinet knob rather than cast it 316 stainless steel? The answer lies in the hardness of 316 steel which makes it a much more difficult alloy to machine and polish and in the subtle difference in appearance of nickel versus stainless steel.

The custom orchid cabinet pulls that have been described in earlier posts were cast in bronze which being a softer more malleable alloy allowed the nooks and crevices of these detailed pieces to be buffed and brushed to remove scratches and imperfections. If the pieces had been cast in 316 stainless steel the hardness of the steel would have made this process far more labor intensive. As the orchids are being installed in a room with several nickel fixtures, we opted to nickel plated so that the pieces would blend well.


F & H Plating is a valuable Los Angeles source and one well known in the interior design and jewelry industries for their gold, silver, nickel, and copper plating. Ron, the founder of F & H is a knowledgeable mine of information on plating techniques and his site describes the electroplating process. We were seeking a satin finish for our orchid pulls, so we buffed and refined the castings to give them a soft sheen. F & H then chemically cleaned the bronze orchids to remove any contaminants, gently re-buffed them back to their satin luster and dipped them in nickel solution which when electrically charged caused the nickel content to bond with the surface of the bronze. Once dried the pieces were very gently buffed to the desired luster and ready to install

Nickel electroplating is a useful process if you have a metal that is prone to rust as even a thin layer of nickel will improve the rust resistance of the base metal.


Dragonflies renew the life cycle

Almost a year has passed since we shared the photographs, we took of mating dragonflies filmed over the air space above our small pond and not surprisingly we are seeing the same event now. This time we were more prepared and were able to take a short video showing a female dropping down into the pond to deposit her eggs from her ovipositor. While we were not quick enough to video the 2 mating, we will be making this our goal for next year.


We were also able to photograph the blue dasher dragonfly who hopefully will be making an egg deposit to our pond. Both the red/orange flame skimmer and little blue dragonfly have the same 3 stage life cycle from egg to aquatic larva (nymph) and then to colorful adult. The flame skimmer has a longer life span living for up to 1 to three years as compared to the blue dasher’s maximum life span of 6 months. However, both species spend the larger part of their lives submerged in water as developing larva and it is here in their less attractive state that they grow on a diet of other insect larvae and some small fish. It is perhaps for this reason that the idea of fish-eating dragonflies developed since this behavior is common in the non-adult flame skimmer nymph.


We have mosquitofish in our pond who together with flame skimmers eat mosquito larva. The mosquitofish also eat dragonfly , so it seems only fair that they in turn are eaten by the dragonfly nymphs.

The dragonfly shown below from our collection of insect cabinet pulls was loosely based on the shape of the slimmer blue dasher but we have often used the muted brown red coloring of the female flame skimmer when coloring the pull using a hot pigmented oxide.

Making A Custom Cabinet Pull from Wax to Bronze

Following on from last week’s post I will be showing how we tackle the task of changing the direction of an orchid cabinet pull from left to right. Down-stream we will be making a new mold that will allow us to create a right facing orchid stem directly from the mold with each wax section emerging from the mold as a component for a right facing pull. Until demand warrants the time and cost of making a permanent mold we will need to re-work the stem and flower sections at the wax stage to create a new right pull. This process will be repeated for each pull ordered and as we have 8 pulls to make with each pull requiring 3 wax sections, we will be investing a considerable amount of time modelling by hand all 24 wax sections. The waxes will then be shelled with silica and eventually will be melted out in an autoclave and fired to create a hollow shell which will be invested with molten bronze. The wax that is burnt out is the reason this casting method is often referred to as “lost wax” casting. Rather than making wax replicas one could map the original left pattern to create a file for a right pull and then print each section or possibly the complete piece as a 3D print. To create the print, successive layers of photo-reactive resin are built up and allowed to solidify, a process that would also take hours. Given the extremely detailed nature of the pull the 3D print would still require some cleaning up before it could be shelled, making it a less viable method of production.

Left to Right: Flower 2 parts, Assembled in wax, Front View, Profile View

In Photoshop it is easy using the edit function to flip an image horizontally so that it is shown as the mirror opposite and so change a left directional piece to a right in directional one. However, in the real 3D world this would not work and in the case of the orchid stem rotating the pull right would result in the 2 flower heads facing down making for an upside- down pull. To achieve a right facing pull the curve of the sprig as well as the flower heads and buds need to be cut and re-positioned.

Orchid Components - left facing buds and flowers re-positioned and shaped to become right facing

Orchid Components - left facing buds and flowers re-positioned and shaped to become right facing

Orchid Cabinet Pulls and Custom Variations

Orchid Cabinet Pulls custom variations

Our kitchen is home to a couple of orchid plants and the beautiful yellow Phalaenopsis is currently blooming. Like many, we find ourselves in awe at the incredible beauty and variety of this amazing family of plants and love to see them in their natural setting as was the case when we hiked in the mountains above Hanalei Bay during our trip to Kauai in September 2016.
This wonderful orchid was the model for both the spray orchid pull as well as the single orchid knob. Coincidentally we are being commissioned to adapt the spray so that it can be used with a more pronounced direction to act as a left or right pull and so that it can also be used vertically as a door pull.

Orchid in Nature and nickel.jpg

While we may later decide to make 2 new patterns so that 2 permanent molds can be made for future castings, at this point we have decided to adapt each wax and will make the requisite number of left and right facing pieces and vertical pieces that will be then shelled and invested with bronze. The final pieces will be nickel plated to compliment the décor of the kitchen.
The flower section of the spray was designed to face upward making the pull horizontal and perfect for use as a drawer pull. Drawers unlike doors are not typically thought of in terms of their handing but we decided for this custom order to make a new pull that was the mirror image of the original which would result in a new right facing pull. The “handing” of the pull in this case is an aesthetic decision based on the direction of the stem and it’s buds and what appears most natural. In the image below we have marked the direction and handing for all 4 pieces.

Swallow Cabinet Pulls

The Barn swallow is the most widespread species of swallow and one we should be seeing soon in Los Angeles as they migrate north from South America. In the summer months Barn swallows can be seen in England when they make the long journey from sub saharan Africa. While the tail lengths and tail symmetry may vary slightly between these 2 types of Barn swallow, they share the same distinctive forked tail and body shape. The Barn swallow is insectivorous consuming insects on the wing as it flies in a darting agile manner scooping up bugs in its pathway. Growing up in England and then migrating to Los Angles has given us the opportunity to see both varieties of Barn swallow.

The swallow was, not surprisingly, the inspiration for Martin’s first bird pull created over 18 years ago and with it he sought to capture the grace and agility of its flying technique.
After making the swallow pull Martin was commissioned to make an original toy chest and was able to integrate the swallow both as a painted bird and sculpture in a scene of 4 swirling swallows.
The toy chest was made from cherry wood and the 3 painted swallows were created using the Japanning technique to create a slightly raised body in casein which was then gilt with white gold and colored with translucent pigmented glazes.

The swallow pull is one of our most popular cabinet pulls and we are currently completing an order for a flock of 9 birds. To accentuate the wing and tail feathers we applied a more concentrated patina to the body and head of the swallow but burnished the feathers making them brighter in contrast.

Creating A custom Console Using Custom Cabinet Pulls

Those familiar with our furniture collections will know that they provided a practical foundation as well as a design aesthetic for the cabinet pulls that followed. The early pieces were textural or floral in theme and were created for the Ascot and Aspen styles respectively.
While we nostalgically remember our furniture days it is very gratifying to see how others are continuing to use our work in their furniture designs. Carol Salb and Stacy Welch at Reddington Designs have kindly shared with me photographs of their recently completed and stunning console. The console was designed as the center piece for the room shown below and stainless steel pulls were specified to compliment the legs and frame of the piece.

Photo Courtesy of Reddington Design

Photo Courtesy of Reddington Design

To accentuate the lace design Carol and Stacy suggested we polish the center section but satin brush the ends thereby making a more natural transition to the brushed legs and frame.
The console was made from cerused rift oak and was fabricated by Ayr Cabinets . Cerusing is a technique used to fill in open grained wood with a white compound and when used with dark stained oak the result can be dramatic.
The console is beautifully flanked by Aurora V11 a Tom Corbin sculpture cast in bronze and finished in a green brown patina. Corbin portrays the Roman goddess of dawn as a young girl caught in motion as she release a bird into the sky. The sculptures contemporary style works well with the modern console and together they make a wonderful interior design statement.

Aurora V11 by Tom Corbin, Console by Carol Salb and Stacy Welch, photo courtesy Reddington Designs

Aurora V11 by Tom Corbin, Console by Carol Salb and Stacy Welch, photo courtesy Reddington Designs

Creating A Custom Appliance Pull Using the Lost Wax Process - the Wax Stage

We are currently working with a local designer who has specified many of our Willow cabinet pulls but who also needed a taller version of our Willow Sprig for use as an appliance pull. The client’s kitchen, not surprisingly, only required 3 large pulls and did not warrant the cost of a new patterns and mold. As our work is made using the lost wax method, we were able to create 3 new pieces by hand and by combining wax models.  Please refer to our earlier post to see how the new pull was designed using a left and right facing Willow Sprig.


Step 1

A total of 3 Willow sprigs were created in wax. A left and right wax sprig were made for each end of the new piece and a section of a second left sprig was used to make a connector between the 2 ends. Picture below shows melted red art wax made by Westech being poured into the sprig mold, the wax has a relatively low meting point of 160 degrees.

Spirg 1.jpg


Step 2

The mold is held together until the wax has cooled and solidified at which point the mold is pulled apart and the wax pattern thereby released.

Spirg 2.jpg


Step 3 and 4

The section to be used as a connector was cut from the wax sprig using a heated blade and then further heated with an air torch so that it could be bent to the correct shape.

The ends of the left and right sprig were cleaned and refined with a hand chisel.

3 and 4.jpg


Step 5

The ends of the left and right sprig were cleaned and refined with a hand chisel and then joined to the connector using a heated blade which melts the wax enabling it to be melded together to form one continuous piece.


Custom Designs Made by Adapting Existing Cabinet Pulls- Pragmatic Considerations Part 11

We are currently adapting our large Willow cabinet pull so that there are fewer fanned leaves at the ends. The request is to make the piece to be visually lighter while retaining the integrity of the design.

The design adaptation raises the question whether to make a new mold or whether to modify each piece. Our door and cabinet handles are cast in the lost wax method, meaning that each bronze casting first took shape as a wax model. The wax model is made by pouring melted wax into the cavity of the mold which is left to cool and then extricated from the mold. This process is like the way one makes jelly rabbits and other shapes using melted gelatin and inverted animal molds which are refrigerated so that the gelatin sets. The molds we use are typically made in 2 snug halves that are tightly clamped together so that the wax will remain in the hollow cavity until it is solid, the 2 halves are then de-clamped and removed leaving the wax replica.

In the image you can see that the red wax willow pull has been modified so that there are fewer leaves than is the case with the standard bronze pull. The image shows the original pattern that was carved in wood and then painted with a grey coating to fill in the wood grain or pores. As we did not want to permanently modify our one pattern, we chose to modify all 37 waxes so that we could then cast 37 bronze pulls.


The bronze castings made in the lost wax method are essentially the third generation of a design, moving from carved pattern to wax replica to bronze replica. With each generation there is a subtle loss of detail and size and both aspects need to be factored into the making of the pattern. The pattern needs to be larger than the proposed piece as shrinkage occurs at both the wax and bronze stages. Undercuts and design lines need to be sharper and deeper in the pattern as these will be less defined in the wax and bronze.


Choosing Cabinet Handles for Children

We have just had the pleasurable task of helping a very thoughtful parent select suitable cabinet handles for his children’s game closet. The cabinet was fronted by 2 outward opening large doors behind which were 6 sets of smaller double doors housing a variety of games.
What I found especially pleasing was the way an eclectic but related theme of handles was chosen with each child receiving his/her pair of handles. The cabinet pulls were chosen from our animal inspired collection and were all finished in a soft light antique oil rubbed finish.
The result was a very artful collection of pieces reminiscent of the specimen cases of 19th century entomologists.


Two larger Polynesian inspired pulls were chosen for the main cabinet doors, the pulls are very thought provoking as the design is a fusion of bird, vine stem and even human features all of which flow together to create an abstract mythical piece. Cast in solid bronze, the pull is affixed top and bottom with 2 substantial 1 1/4” tall 5/8” diameter threaded posts which provide good clearance from the front of the cabinet making it an easy piece to grip.

While the pieces chosen should make for some engaging conversations, they were not designed for any specific audience but rather reflect Martin Pierce’s fascination with animals and insects.

The piece shown below is one that Martin did design for children and one that he had immense fun making although the Bombay shape and the characters portrayed in the parade challenged his skills both as a wood carver and storyteller.