
For those of you who have been following along with this process, you will remember that we had reached the shelling stage in part 4 where the waxes had been encased in silicon shell and were ready to move on to receive the molten bronze. The goblets were the first part of the handle to be cast and, thankfully, we only needed to make one pattern that, with just a few minor adjustments, would work well for both the left and right facing figures.

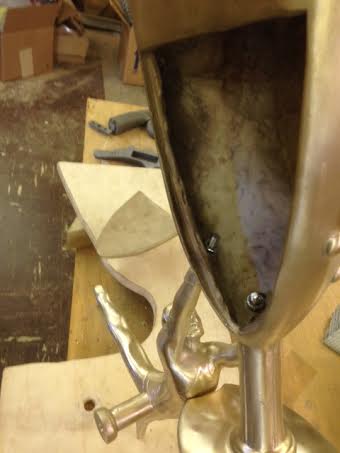
We then moved onto the 2 figures. Having made 2 molds, one for each figure, we made wax replicas which we proceeded to shell. The biggest challenge with the figures was how to devise a way to mount them to the cast goblet. As they were separate castings we decided to attach the figure by drilling through the goblet into the hand of the figure so that we could thread and weld a small bolt to hold the figure firmly in place. As we discussed in part 3, the back of the goblet was cast separately and the reason for doing so was so we would have good access to the figure from inside the goblet.
The castings were then prepared for assembly as pairs to be mounted back to back onto glass doors. The client wanted to use 2 pairs as he had double glass doors in his wine cellar.

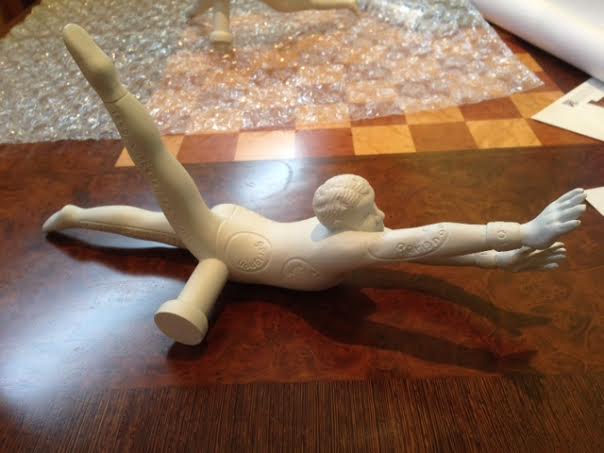
For strength we decided on 2 mounting posts for each handle, one to support the top portion of the goblet with a post attached to the goblet and the other post attached to the figure at hip level. If you look at the photograph of green wax figures you will see the mounting post.
Once cast the solid bronze posts are drilled and tapped and we create a 3/8” diameter bolt that is threaded at one end and blank at the other. As these were being mounted back to back, the threaded end was screwed securely into one post and the non- threaded end was passed through the door into the post of the other handle. The figure was then held in place by drilling a hole through the wall of the post into the bolt and inserting a threaded Allen screw.
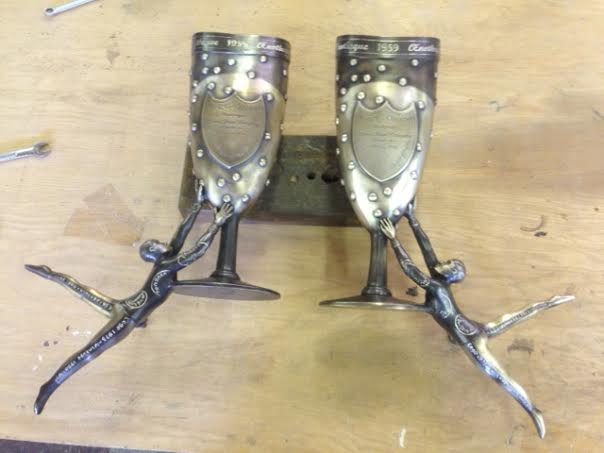
As you can see from the almost finished product, these doors are going to create a spectacular entrance to the client's personal wine cellar.
To view our entire collection of custom door hardware, please visit our site at www.martinpierce.com.