In October 2022, Martin Pierce began a collaborative project with the Wabanaki Nations to create castings for the Tekakapimek Contact Station in Penobscott County, Maine. This is the first of several pieces which will document the journey.
Project Concept
I spoke with Erin Hutton the project coordinator for the contact station who explained it’s special nature as a center drawing from the artistry of tribal craftspeople in Maine. One aspect would be the carved elements that upon arrival and throughout the center would welcome visitors. While some of the carvings would be left in wood, others were then to be cast in bronze. Before the artists began carving, Erin wanted to ensure that the carvings created would be suitable for casting and would function well as door handles.
Gabriel Frey is a Passamaquoddy artist and maker of black ash baskets. As a basket maker Gabriel carves hoops and handles for his baskets and not surprisingly is an outstanding wood carver. Gabriel was tasked with creating the carved patterns that we would be cast in bronze.
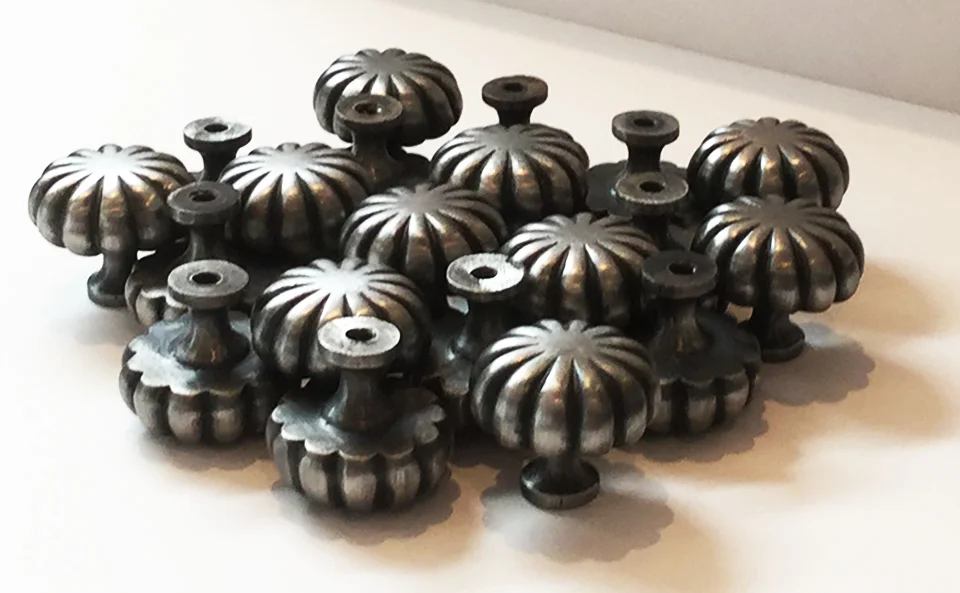
There would be 2 types of bronze handle, one a traditional chip carving similar to a tribal crooked knife and the second a set of circular handles with a smooth back that would feel like, as Erin described it, you were “grabbing a canoe paddle”.
Paddle to pattern
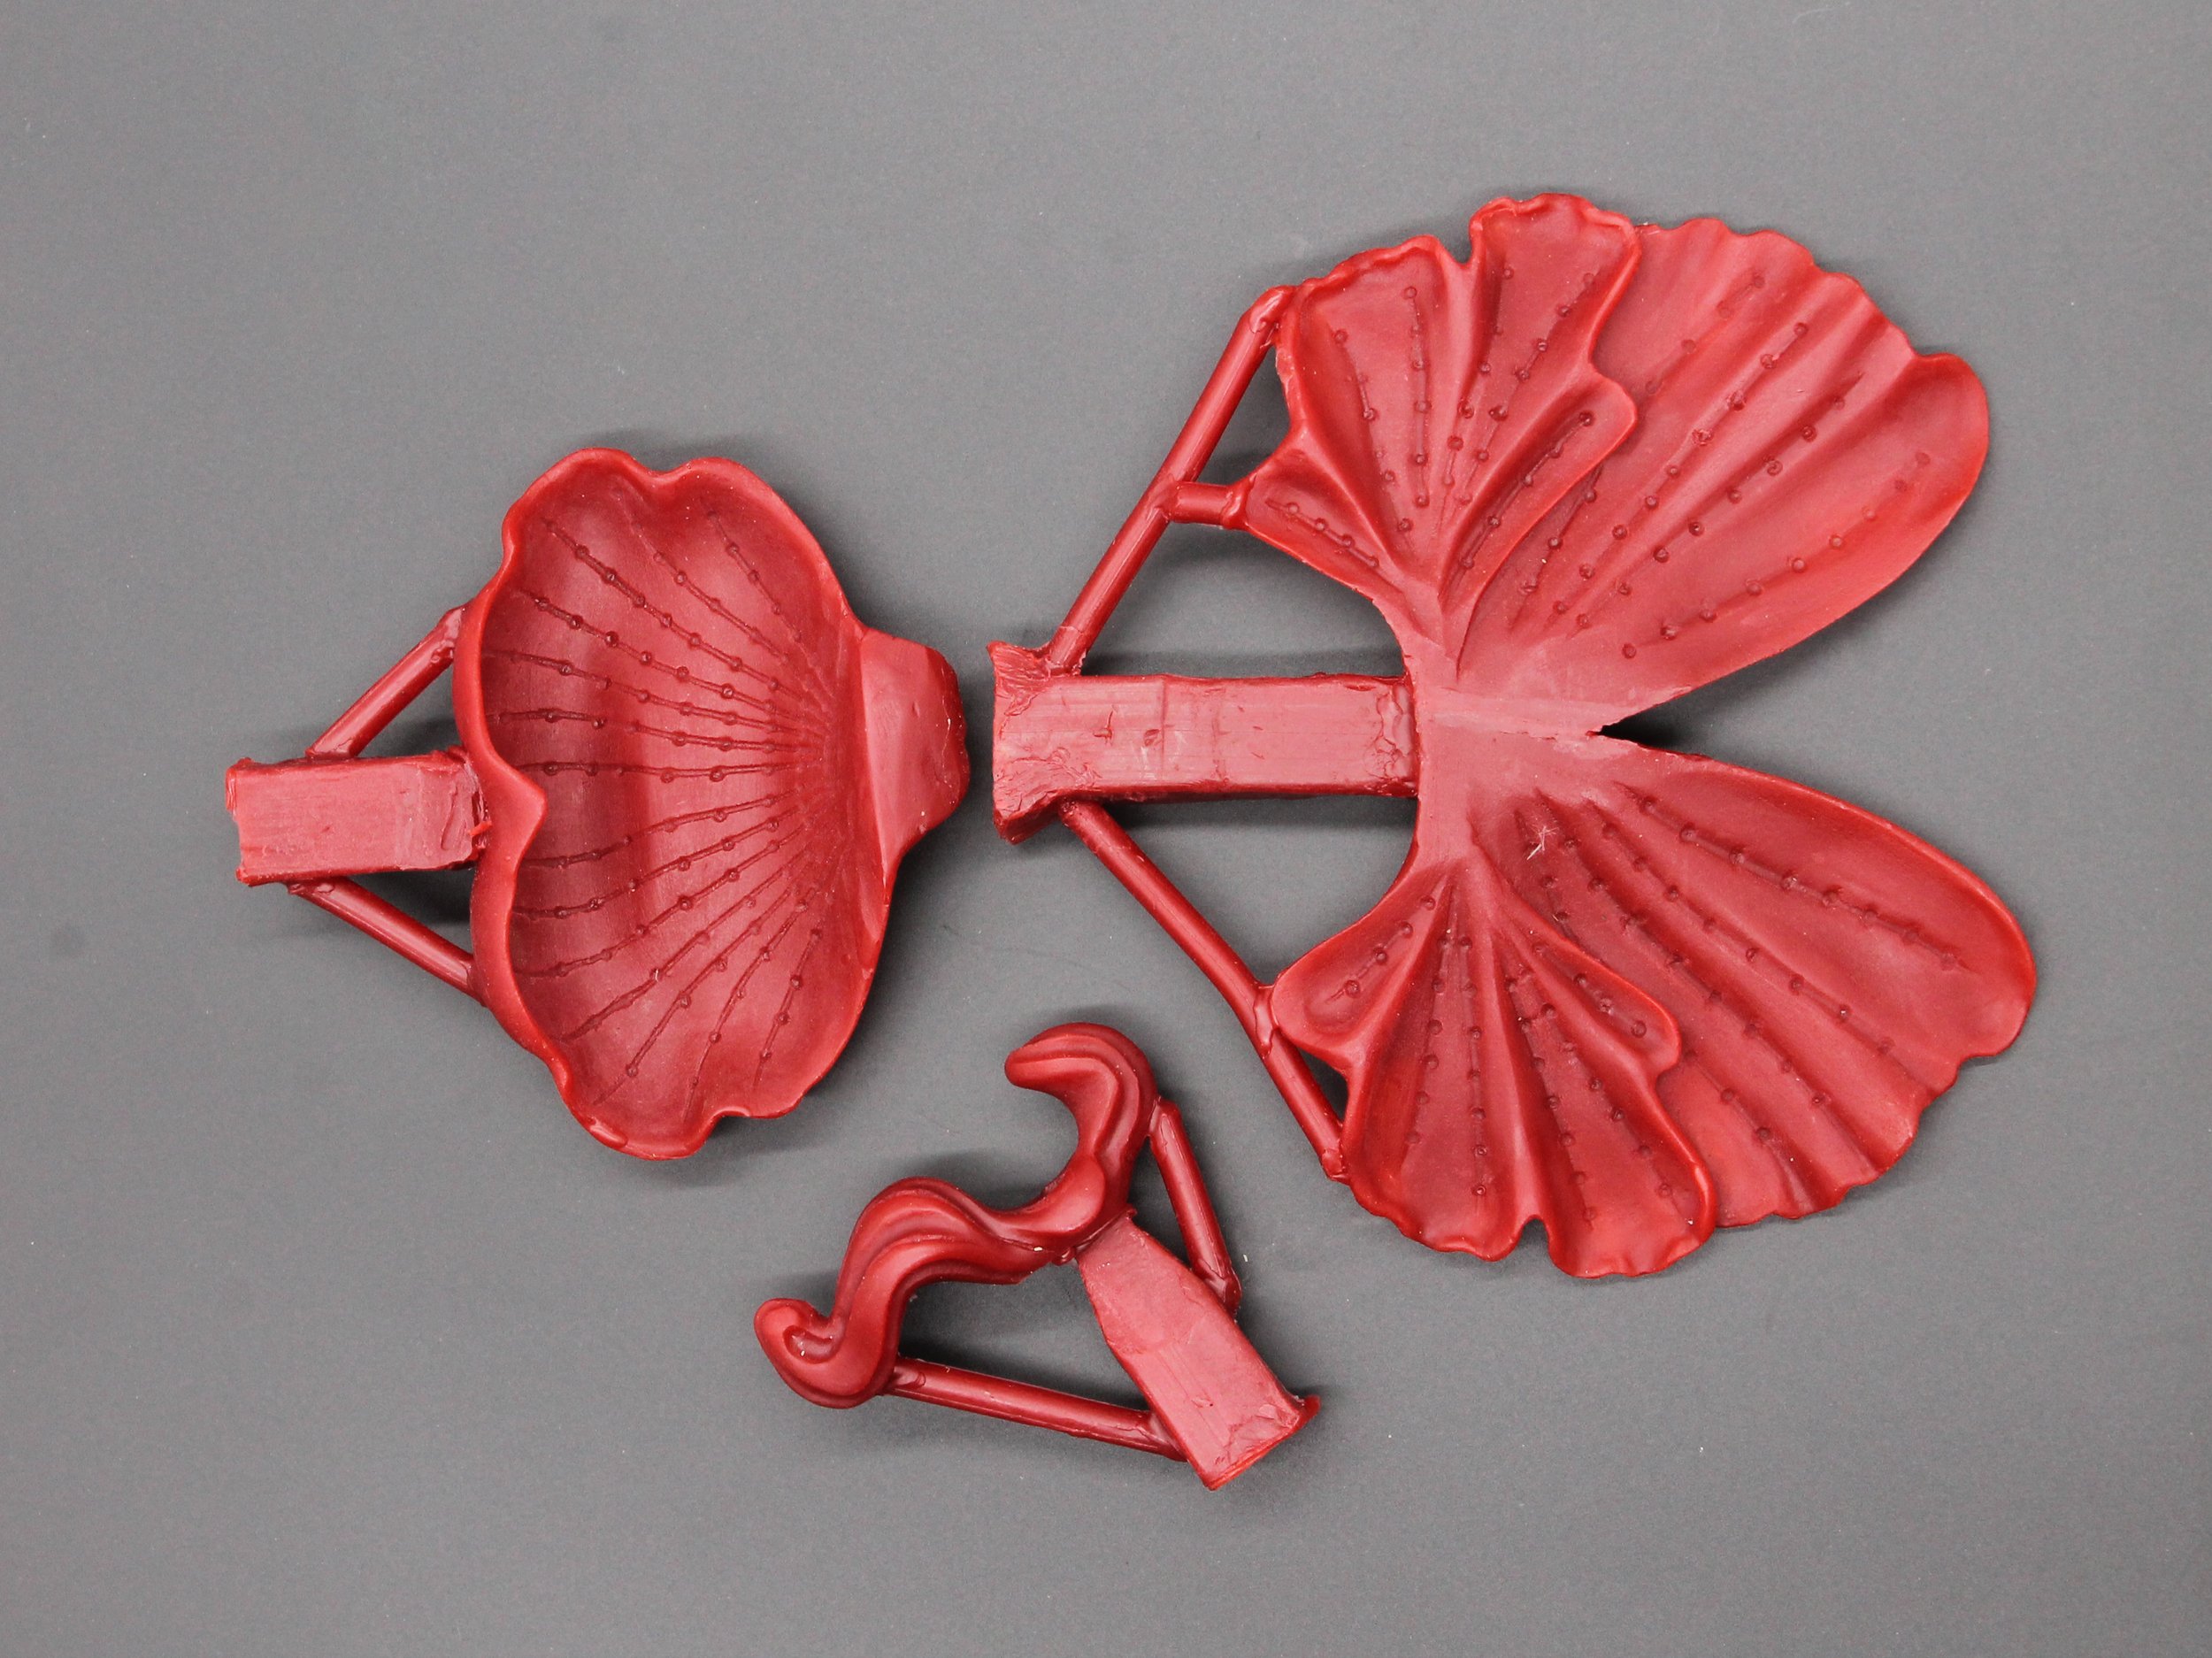
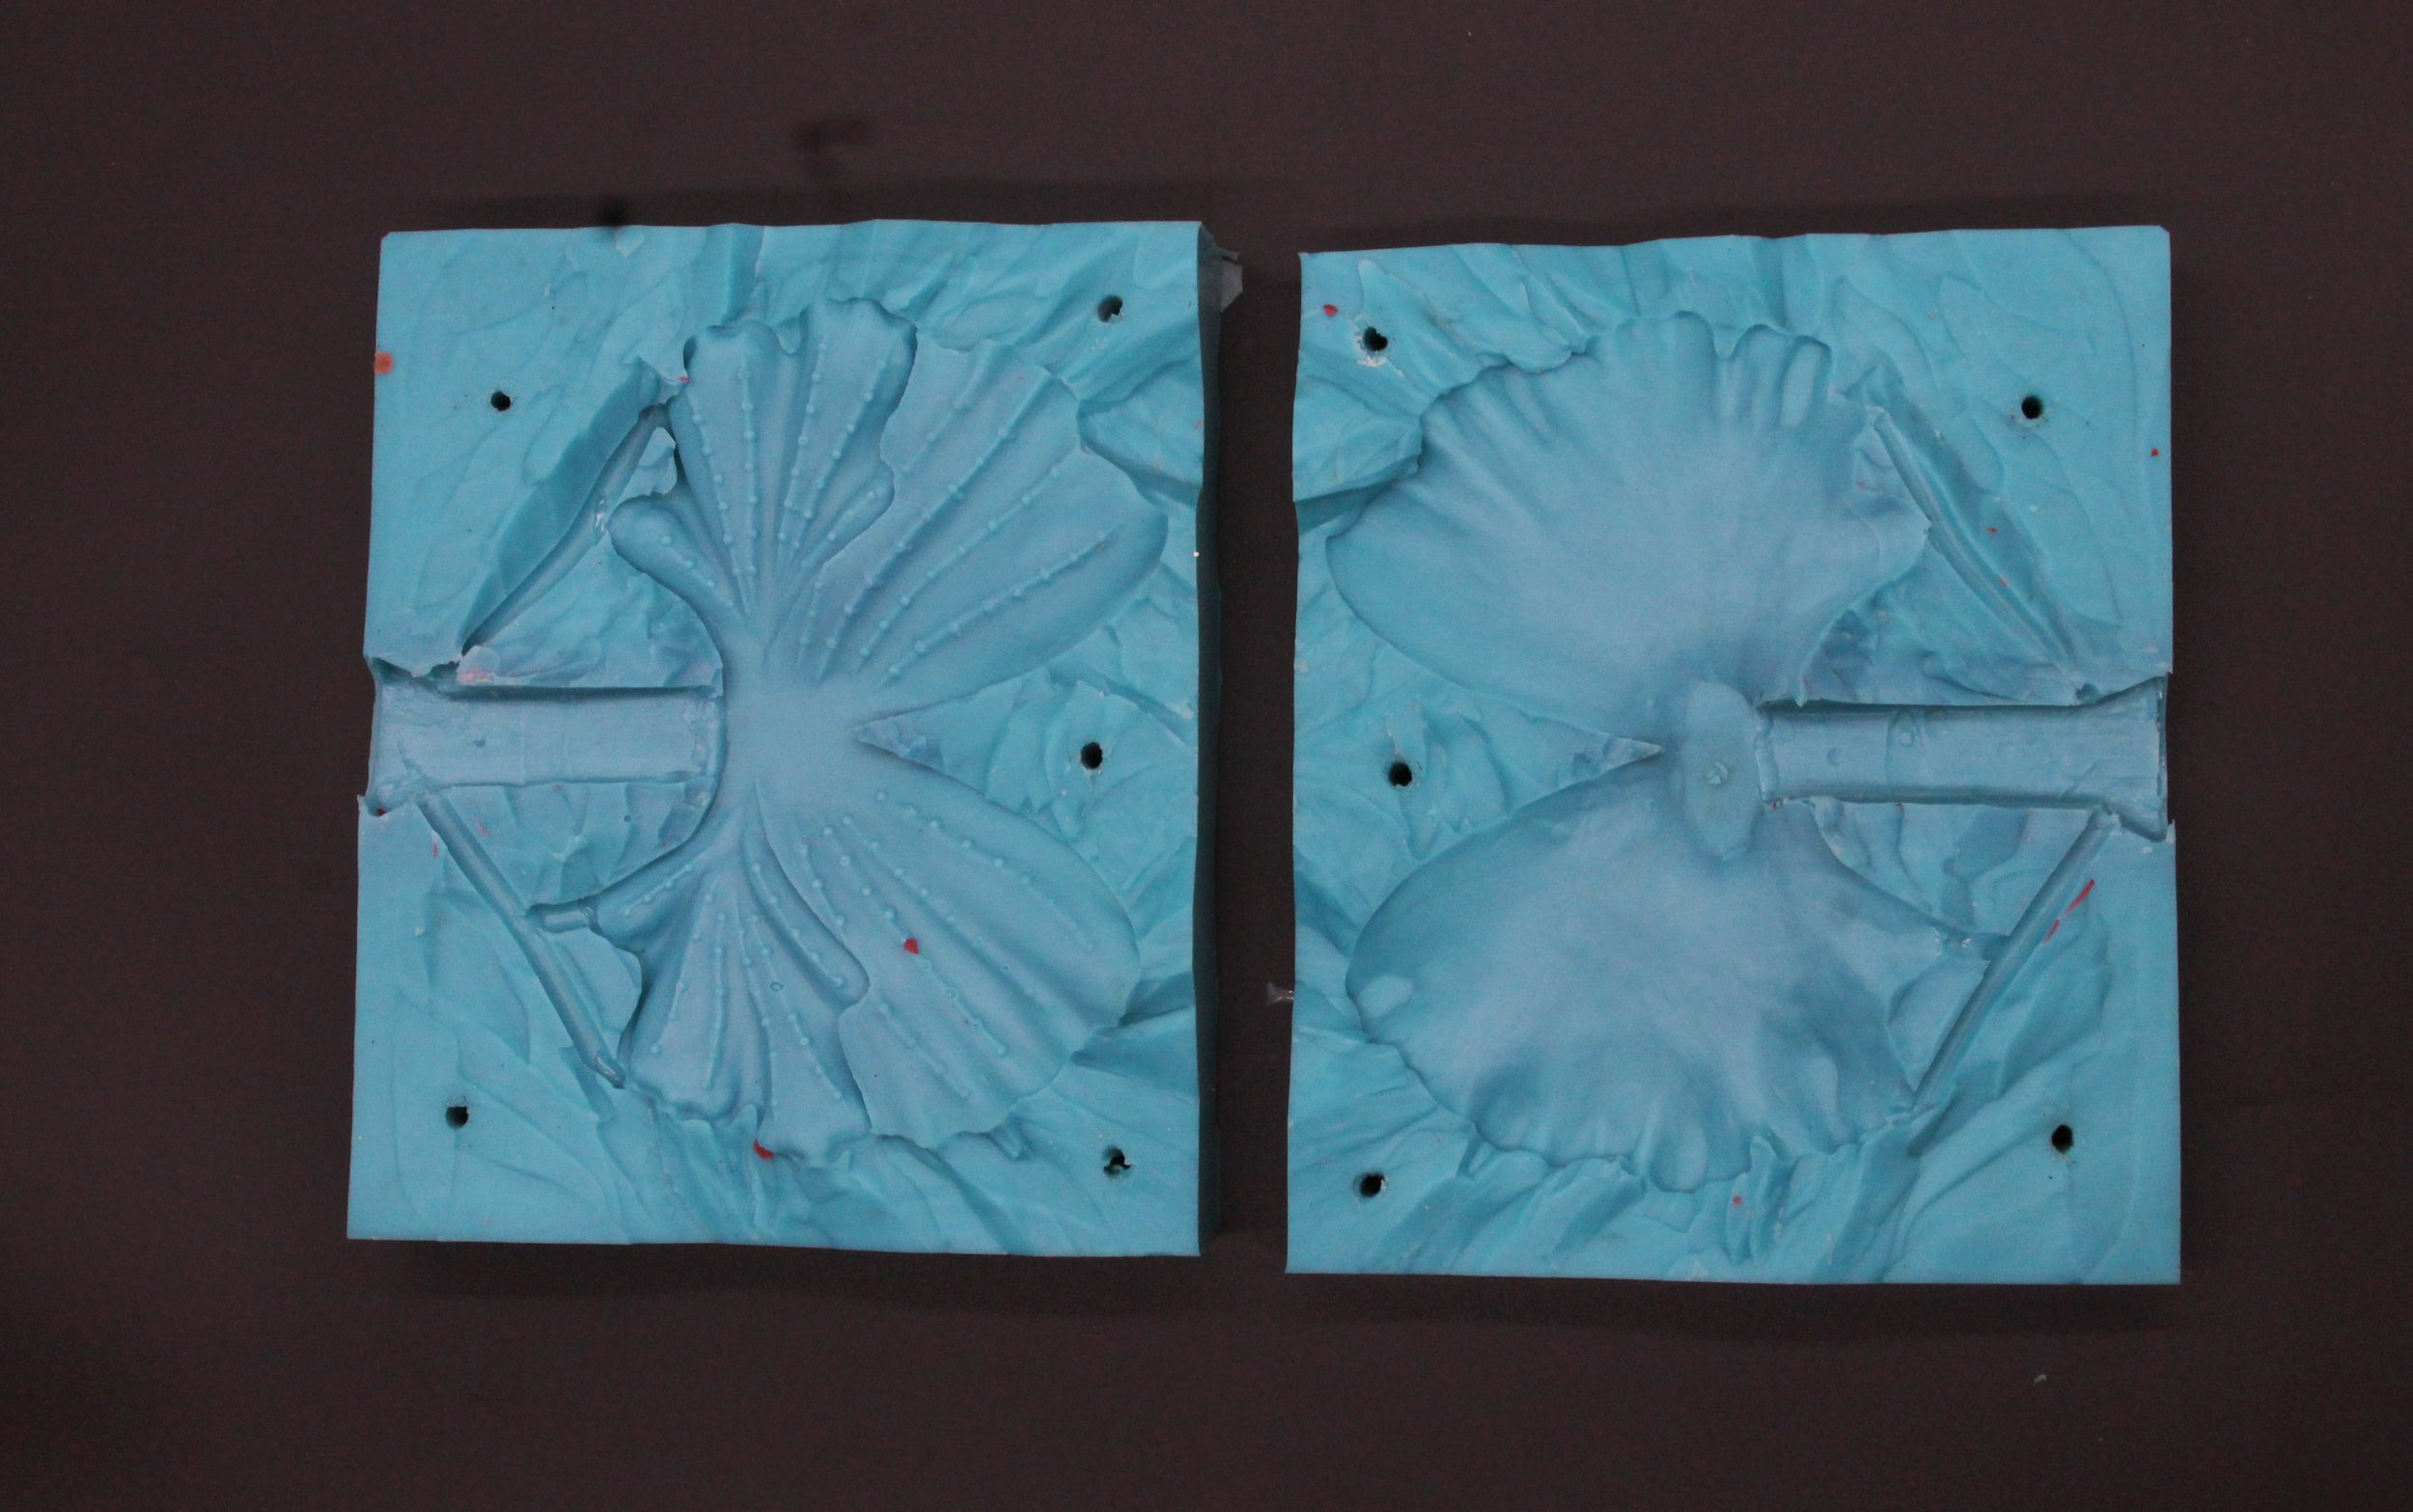
We began the project with the entry doors, which would have the largest handles and be a visitors first tactile connection with the center. The Initial circle paddle designs were 24” in diameter but the final carvings were 54” The size of the pattern would determine the amount and weight of bronze to be poured and directly impact the cost. The weight was less of a concern structurally as the doors were both spring and power assisted. To feel like canoe paddles the underside was initially designed to be solid and rounded but this would have required twice the amount of bronze. Hollow casting was considered but this would have required twice the number of molds and considerable labor in both welding and machining so the decision was made to make the patterns hollow and concave.

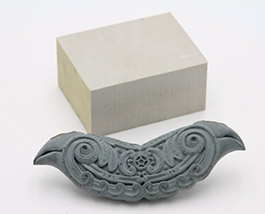
Carving Created by Gabriel Frey, photograph by Martin Pierce
Two patterns were to be carved, one for each half circle. Since the final handles needed to act as a pair and be equal distance from the door face the wood blocks to be carved were pre-machined and routed to equal depths. However, as any carver knows, carving is an artistic process and not one measured by calipers. Upon arrival at our studio the patterns were still too deep so were hollowed out further and 3 flat areas on the back of each were created. Once cast, the mounting posts could be cut, fitted and welded to the flat areas of each half circle thereby ensuring each was the same distance from door face.

Carving Creation - Gabriel Frey, photography by Martin Pierce
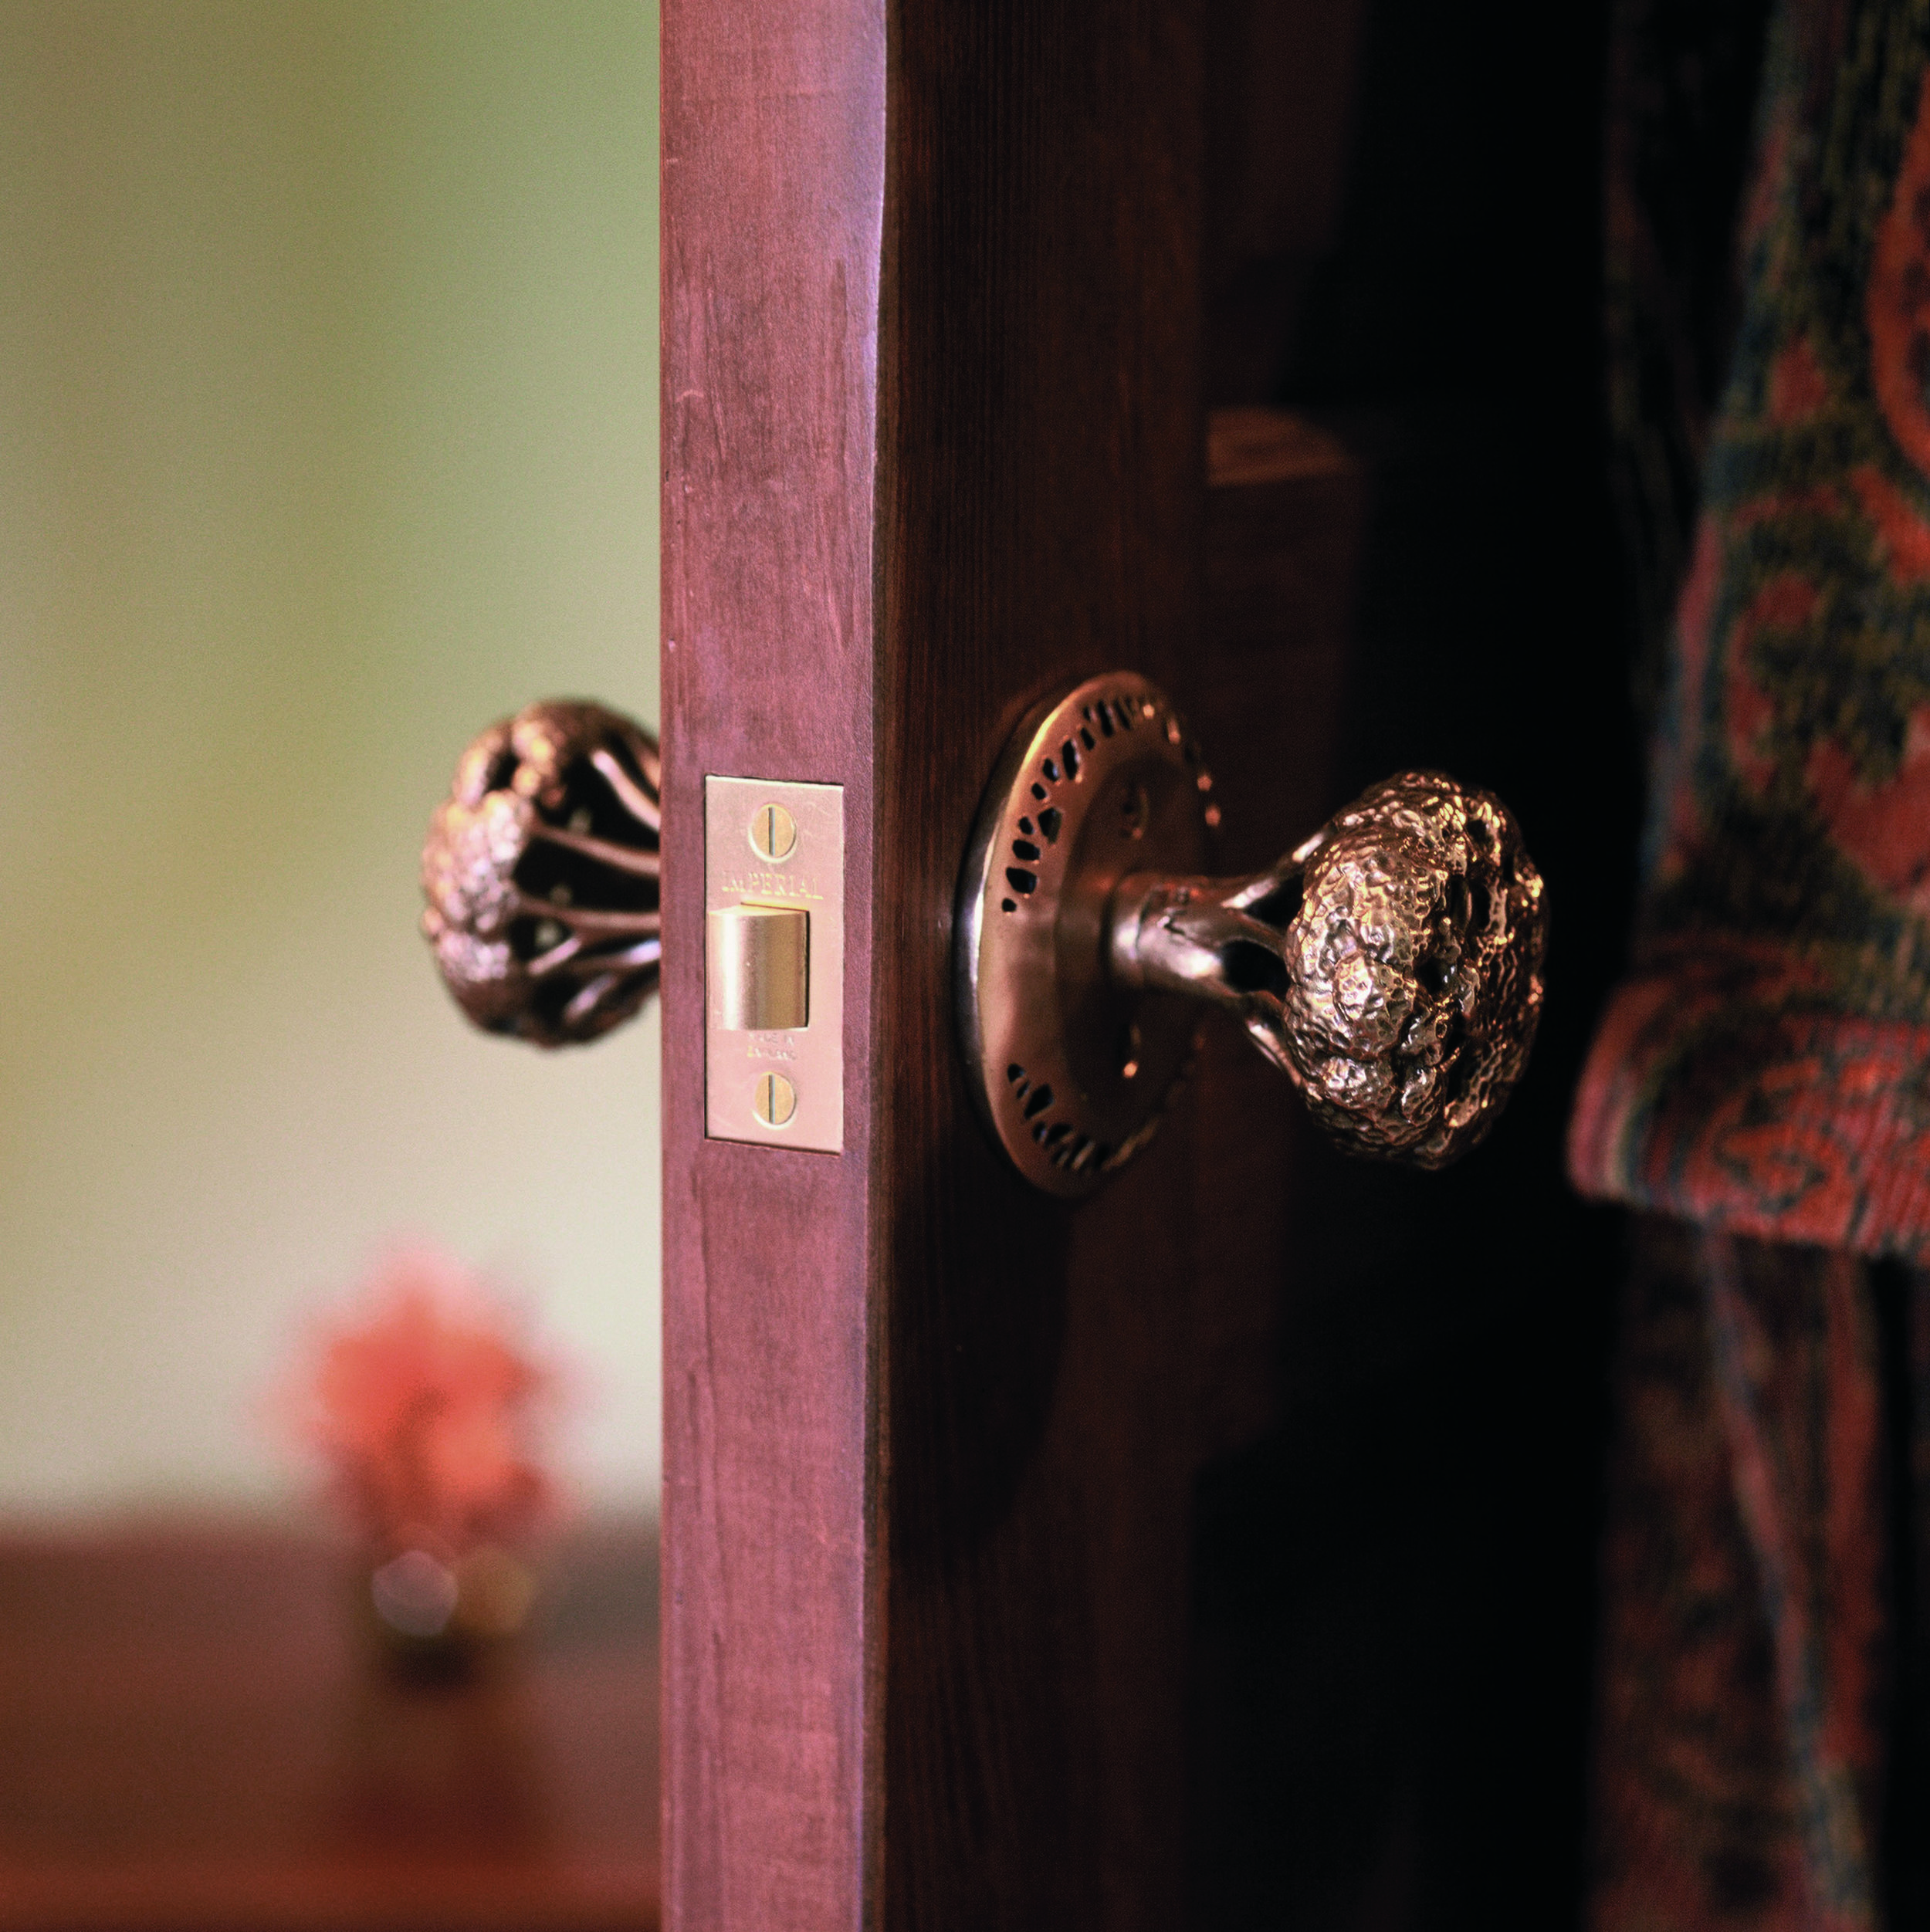
Handle Design and Mounting
The entry handles were to be mounted on one side using bolts screwed through from the back of the door into the 3 threaded mounting posts welded to the handle underside. When the project began we had planned for handles to be on both sides with no exposed bolts so we changed gear and designed complimentary push plates to conceal the bolts.

Credits and source material for this post
Photograph in the banner courtesy of :James Florio
Circle Handle Design and Pattern by Gabriel Frey
Project coordination: Erin Hutton
Tekakapimek Contact Station,Penobscott County, Maine
All Wabanaki Cultural Knowledge and Intellectual Property shared within this project is owned by the Wabanaki Nations.