one of a kind door handle

Year of The Wood Dragon

The Chinese Year of the Dragon began on February 10th, 2024, continues until January 28th 2025.The Chinese zodiac follows the moon and is divided into 12 year cycles. Each cycle is represented by an animal which includes a rat, ox, tiger, rabbit, dragon, snake, horse, goat, monkey, rooster, dog, and pig.

 The English word zodiac dates back to the Roman and Greek periods and  the 12 symbols represent the months of the calendar. The word zodiac derives from the Greek word zōdiakòs kýklos meaning circle or cycle of animals. While the zodiac signs do include a ram, bull,crab,lion,scorpion, and goat, the signs actually represent the Greek Gods and rather than following only the moon they follow the paths of different star constellations.

In the Chinese zodiac the 12-year cycles represented by animals are also associated with the five elements; wood, fire, earth, metal and water. In Chinese philosophy the ancient philosophers believed that we could understand our world by looking to these 5 types of energy and how they change. This is the year of the Wood Dragon which is considered the first phase in the cycle of growth and that is aptly depicted by the Chinese symbol for tree.

 Our inspiration for the dragon door knob came from watching Game of Thrones and from Daenary’s wonderfully animated fire- breathing friends. Their depiction as powerful scaled beings was central to our much smaller dragon. At a height of 3” and weighing 2lbs and based on the dragons’ wing length of being 196’ I have guessed our bronze version if scaled to this size would be an impressive 20-ton creature.

In honor of the Wood Dragon, we have created a scene using our Hedgerow trees to form a landscape to celebrate this year.

Detailed Door Hardware

Occasionally we have the pleasure of working with a design company that shares the same detail-oriented focus and commitment to exceptional door hardware as we do. Over the last year we have had the pleasure of working  with Chiara de Rege and her all female team to develop custom pieces for her discerning clients. Based in New York, the company’s clientele spans both coasts with design services for residential and corporate clients.

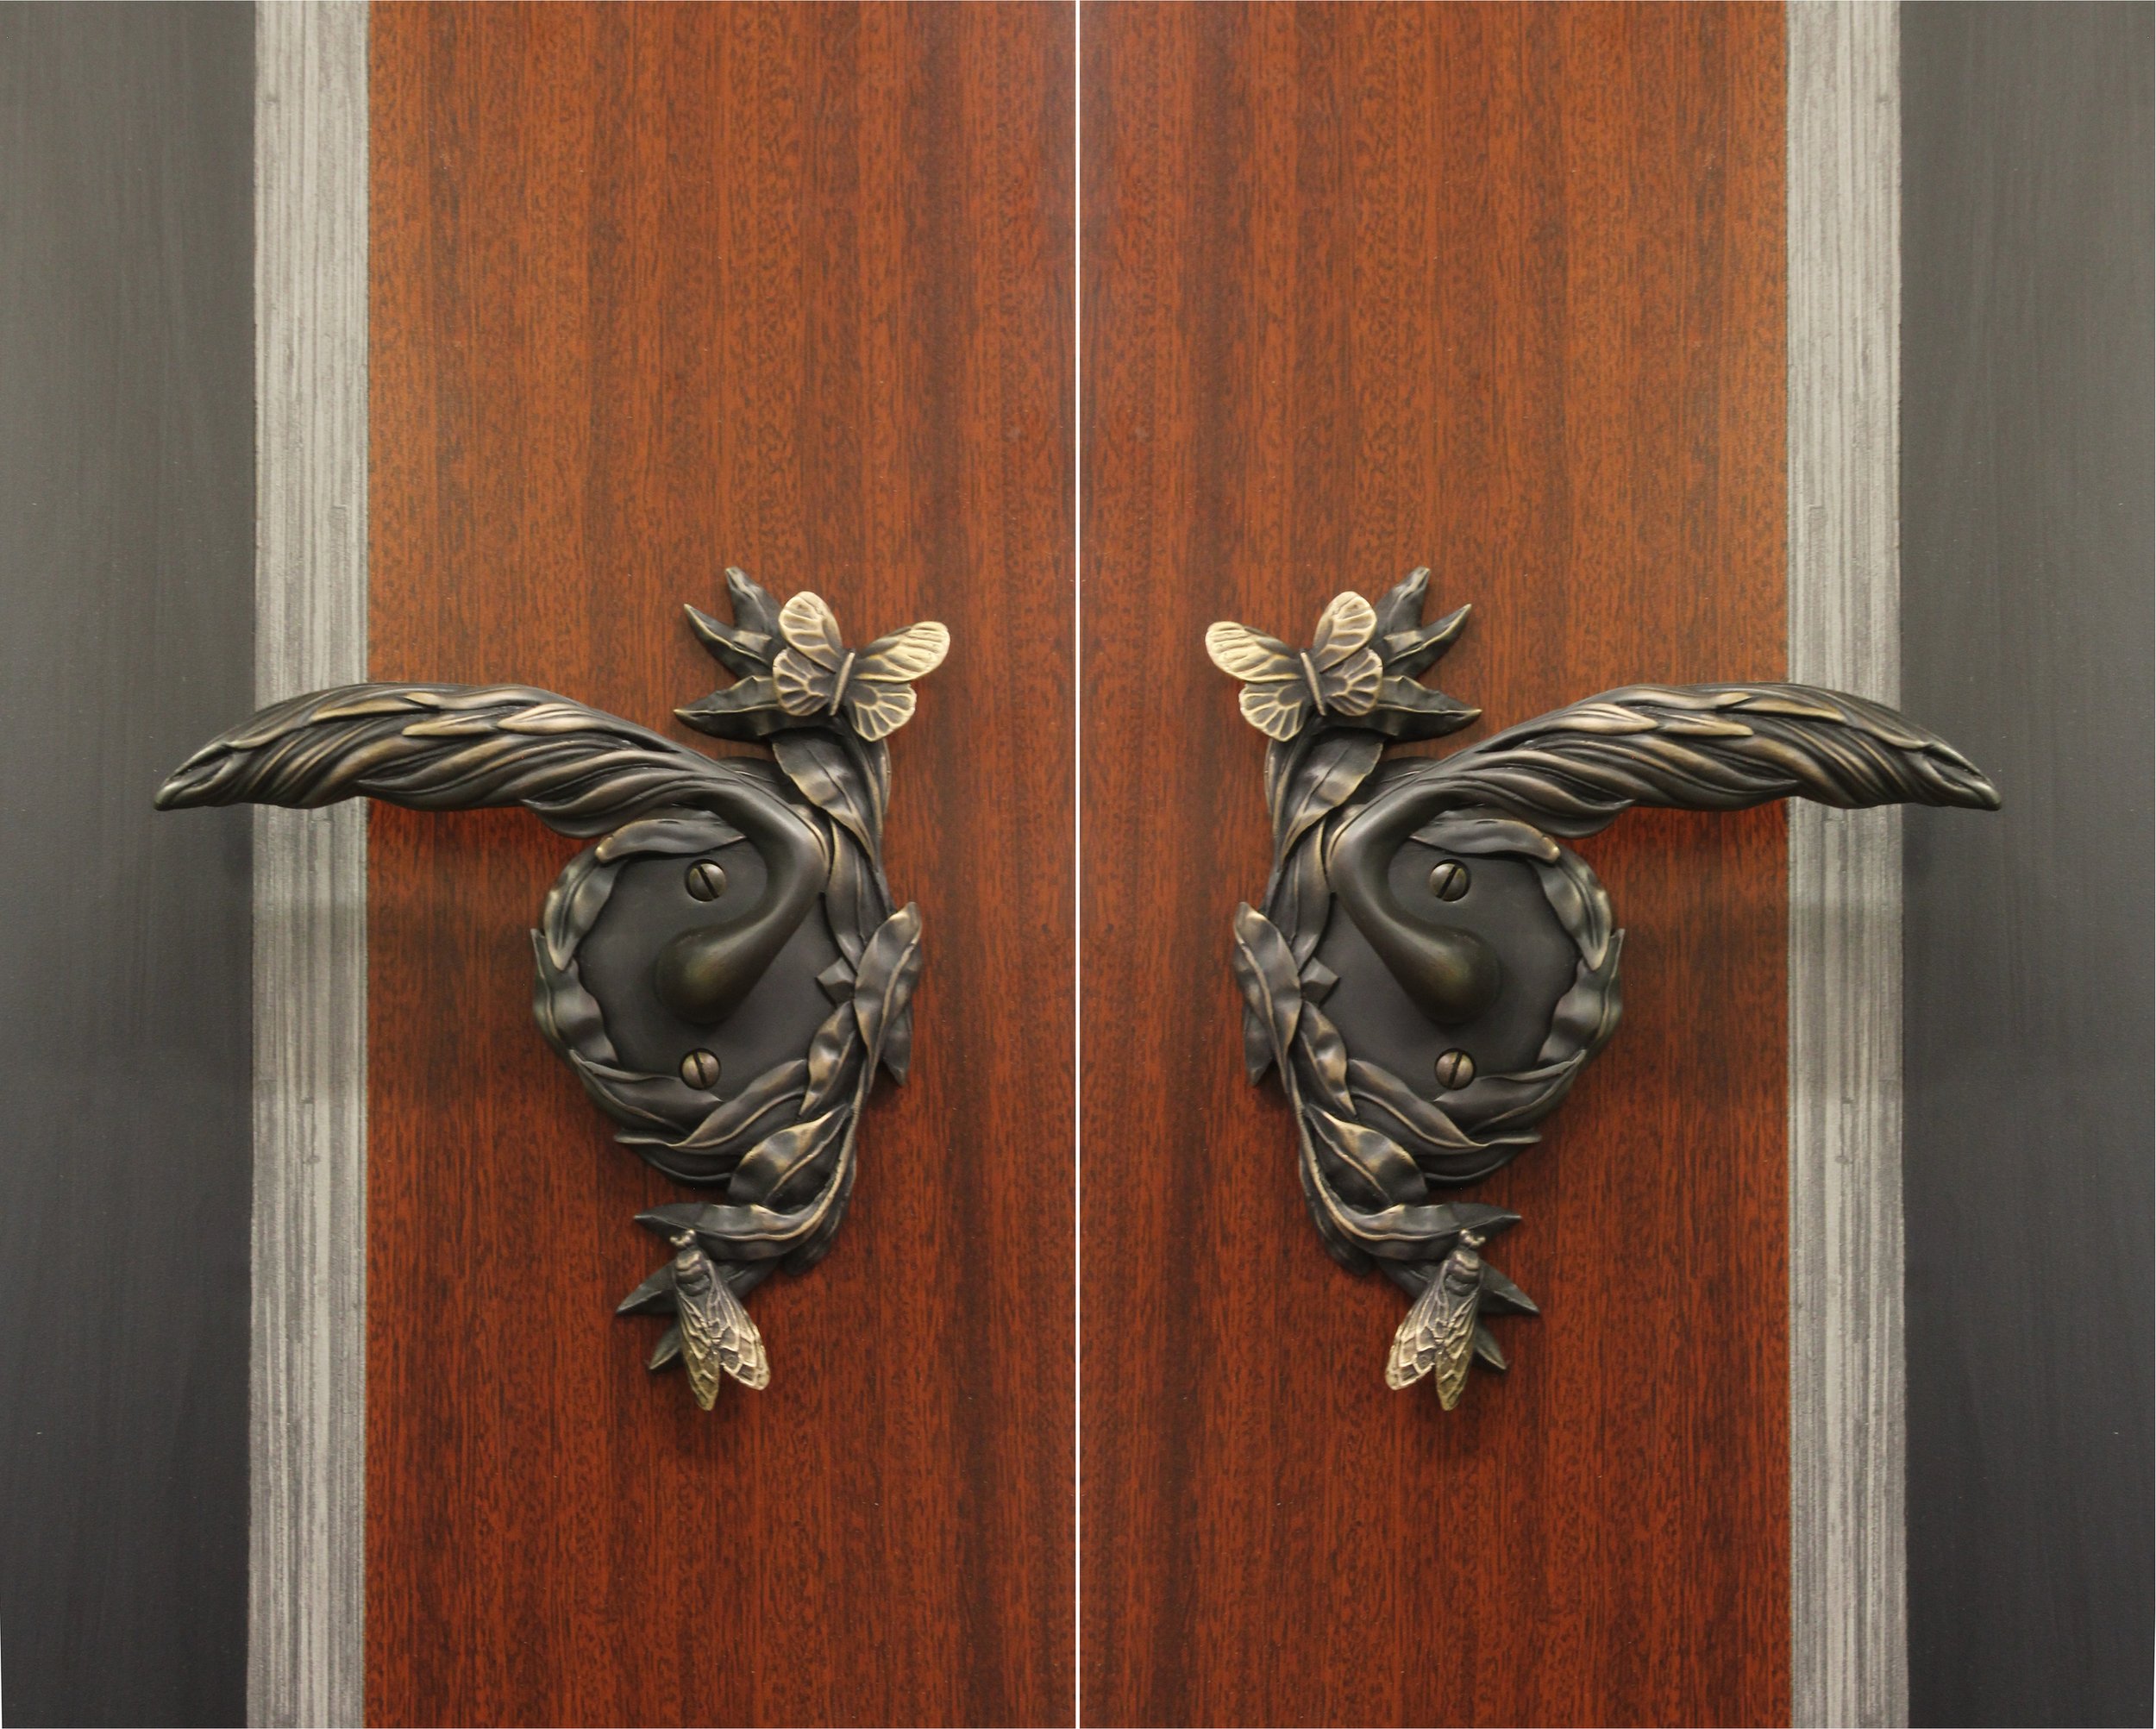
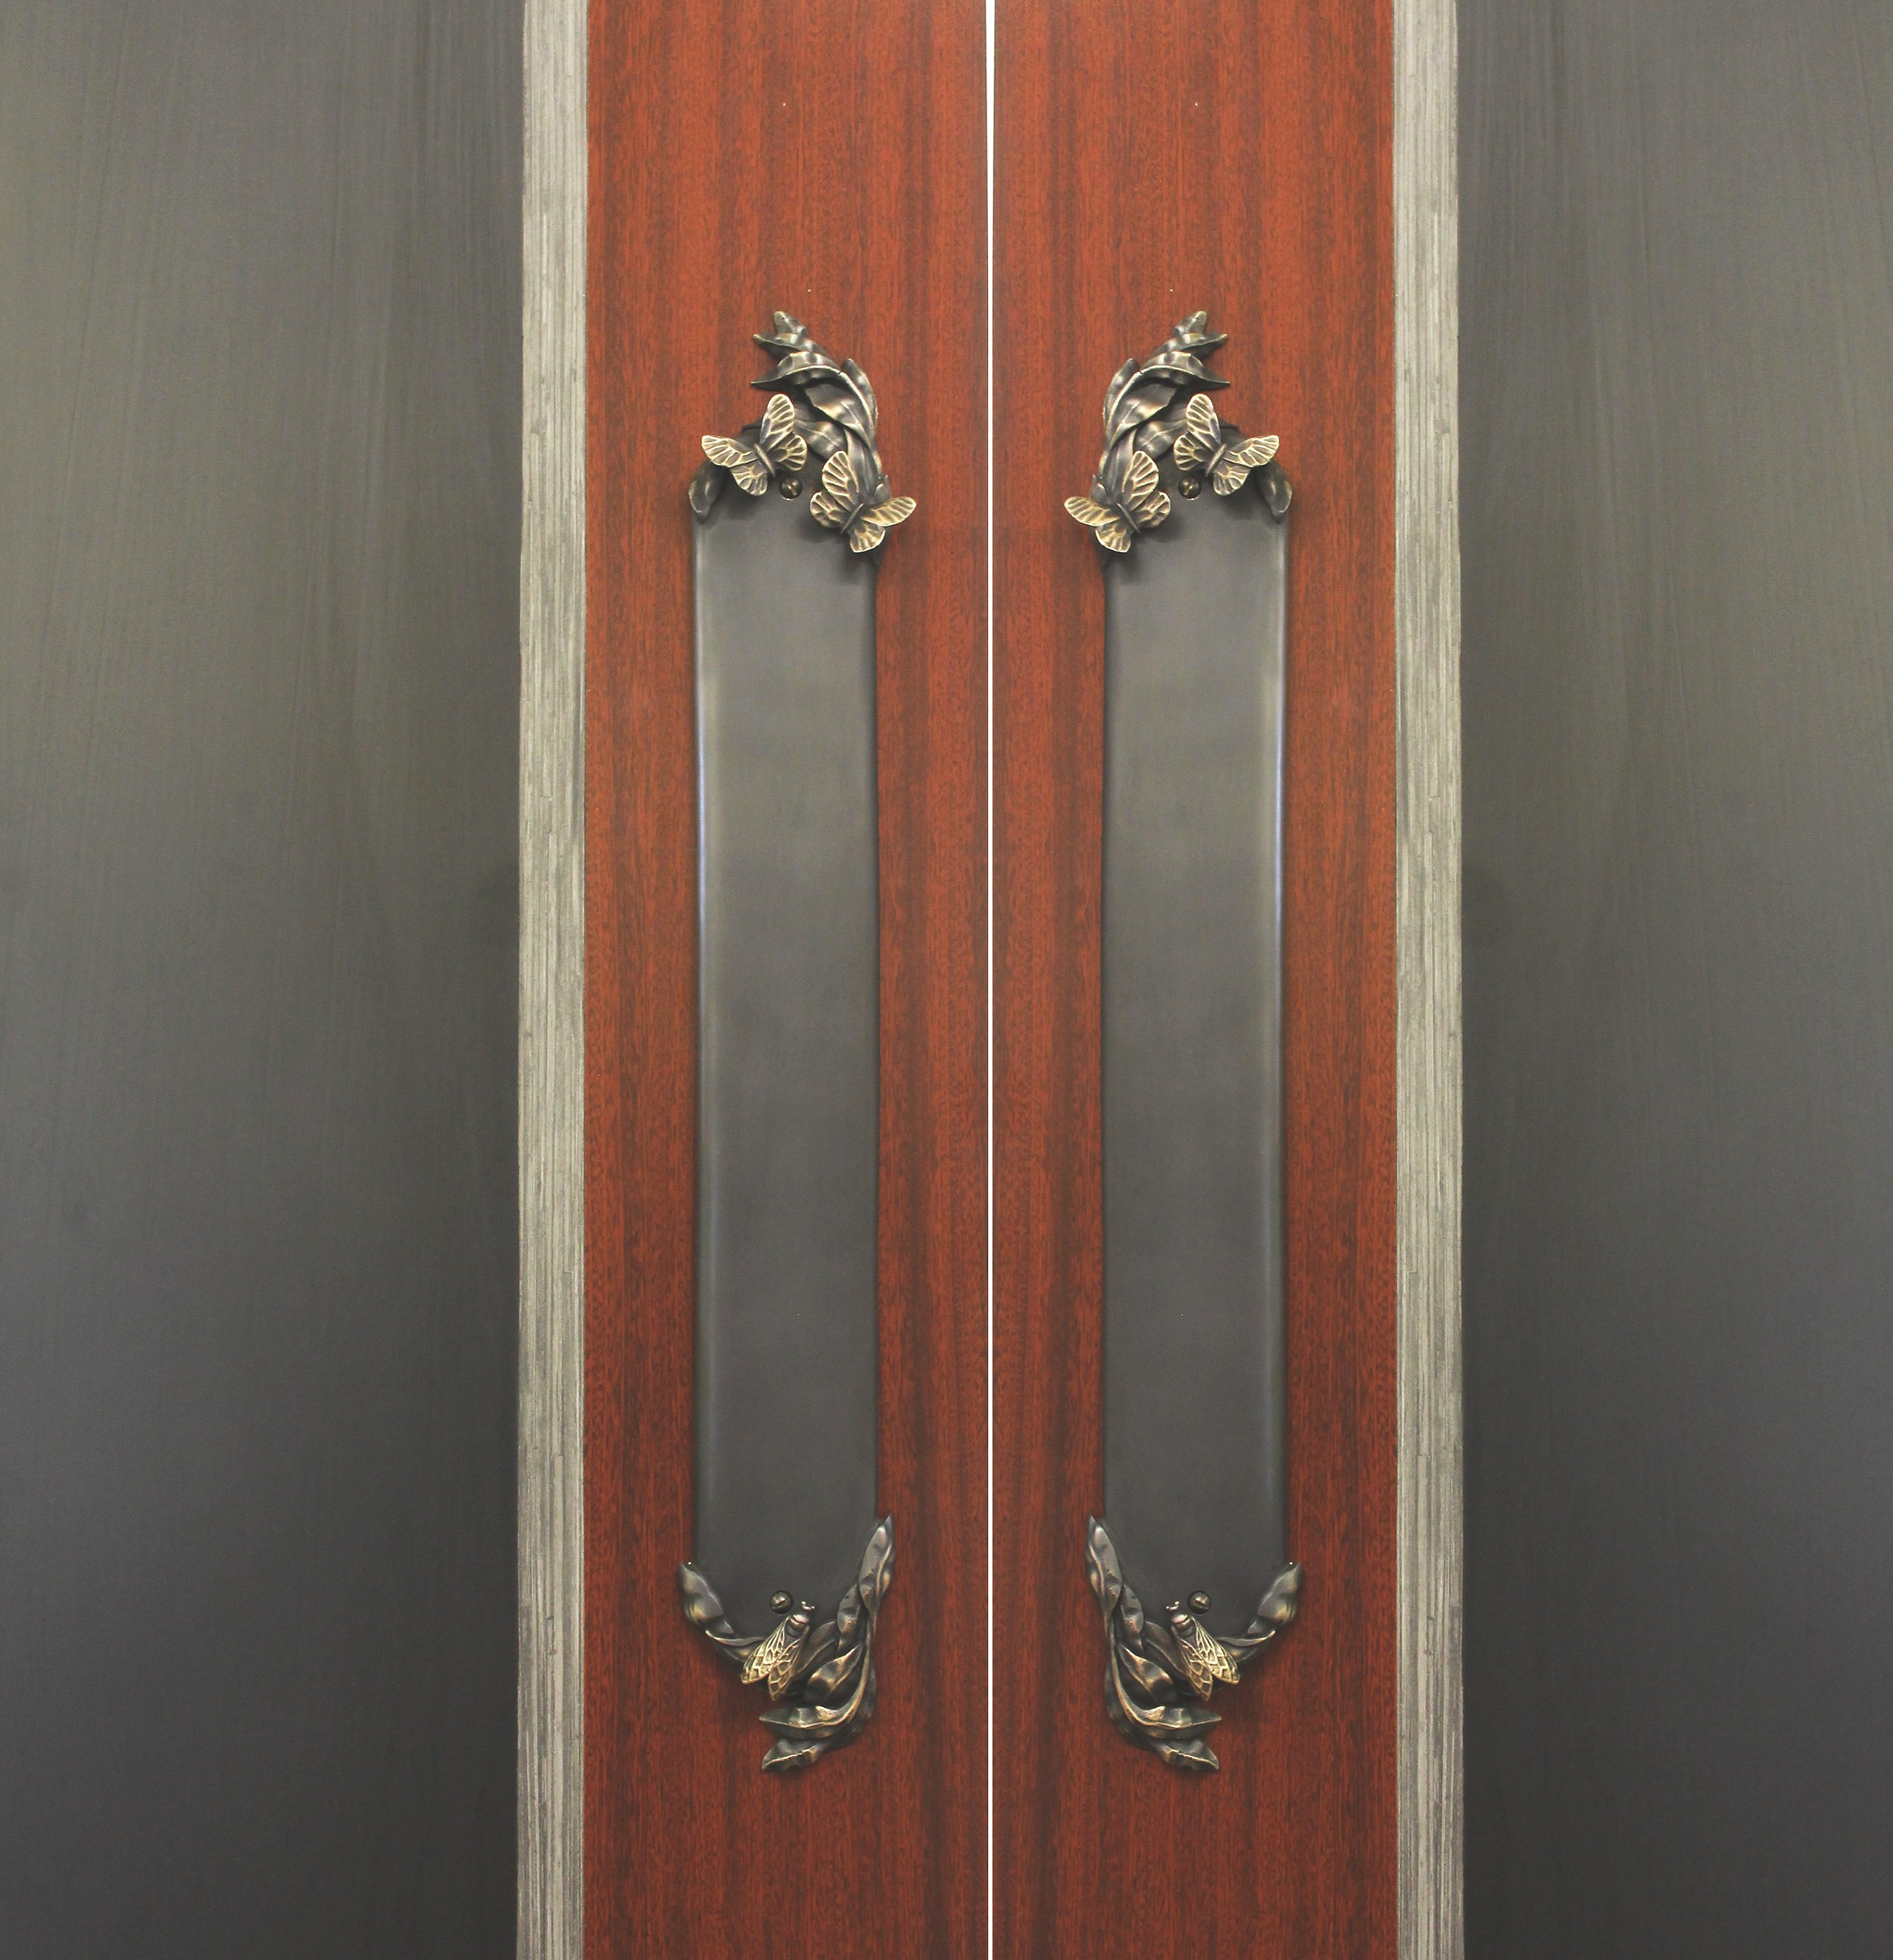
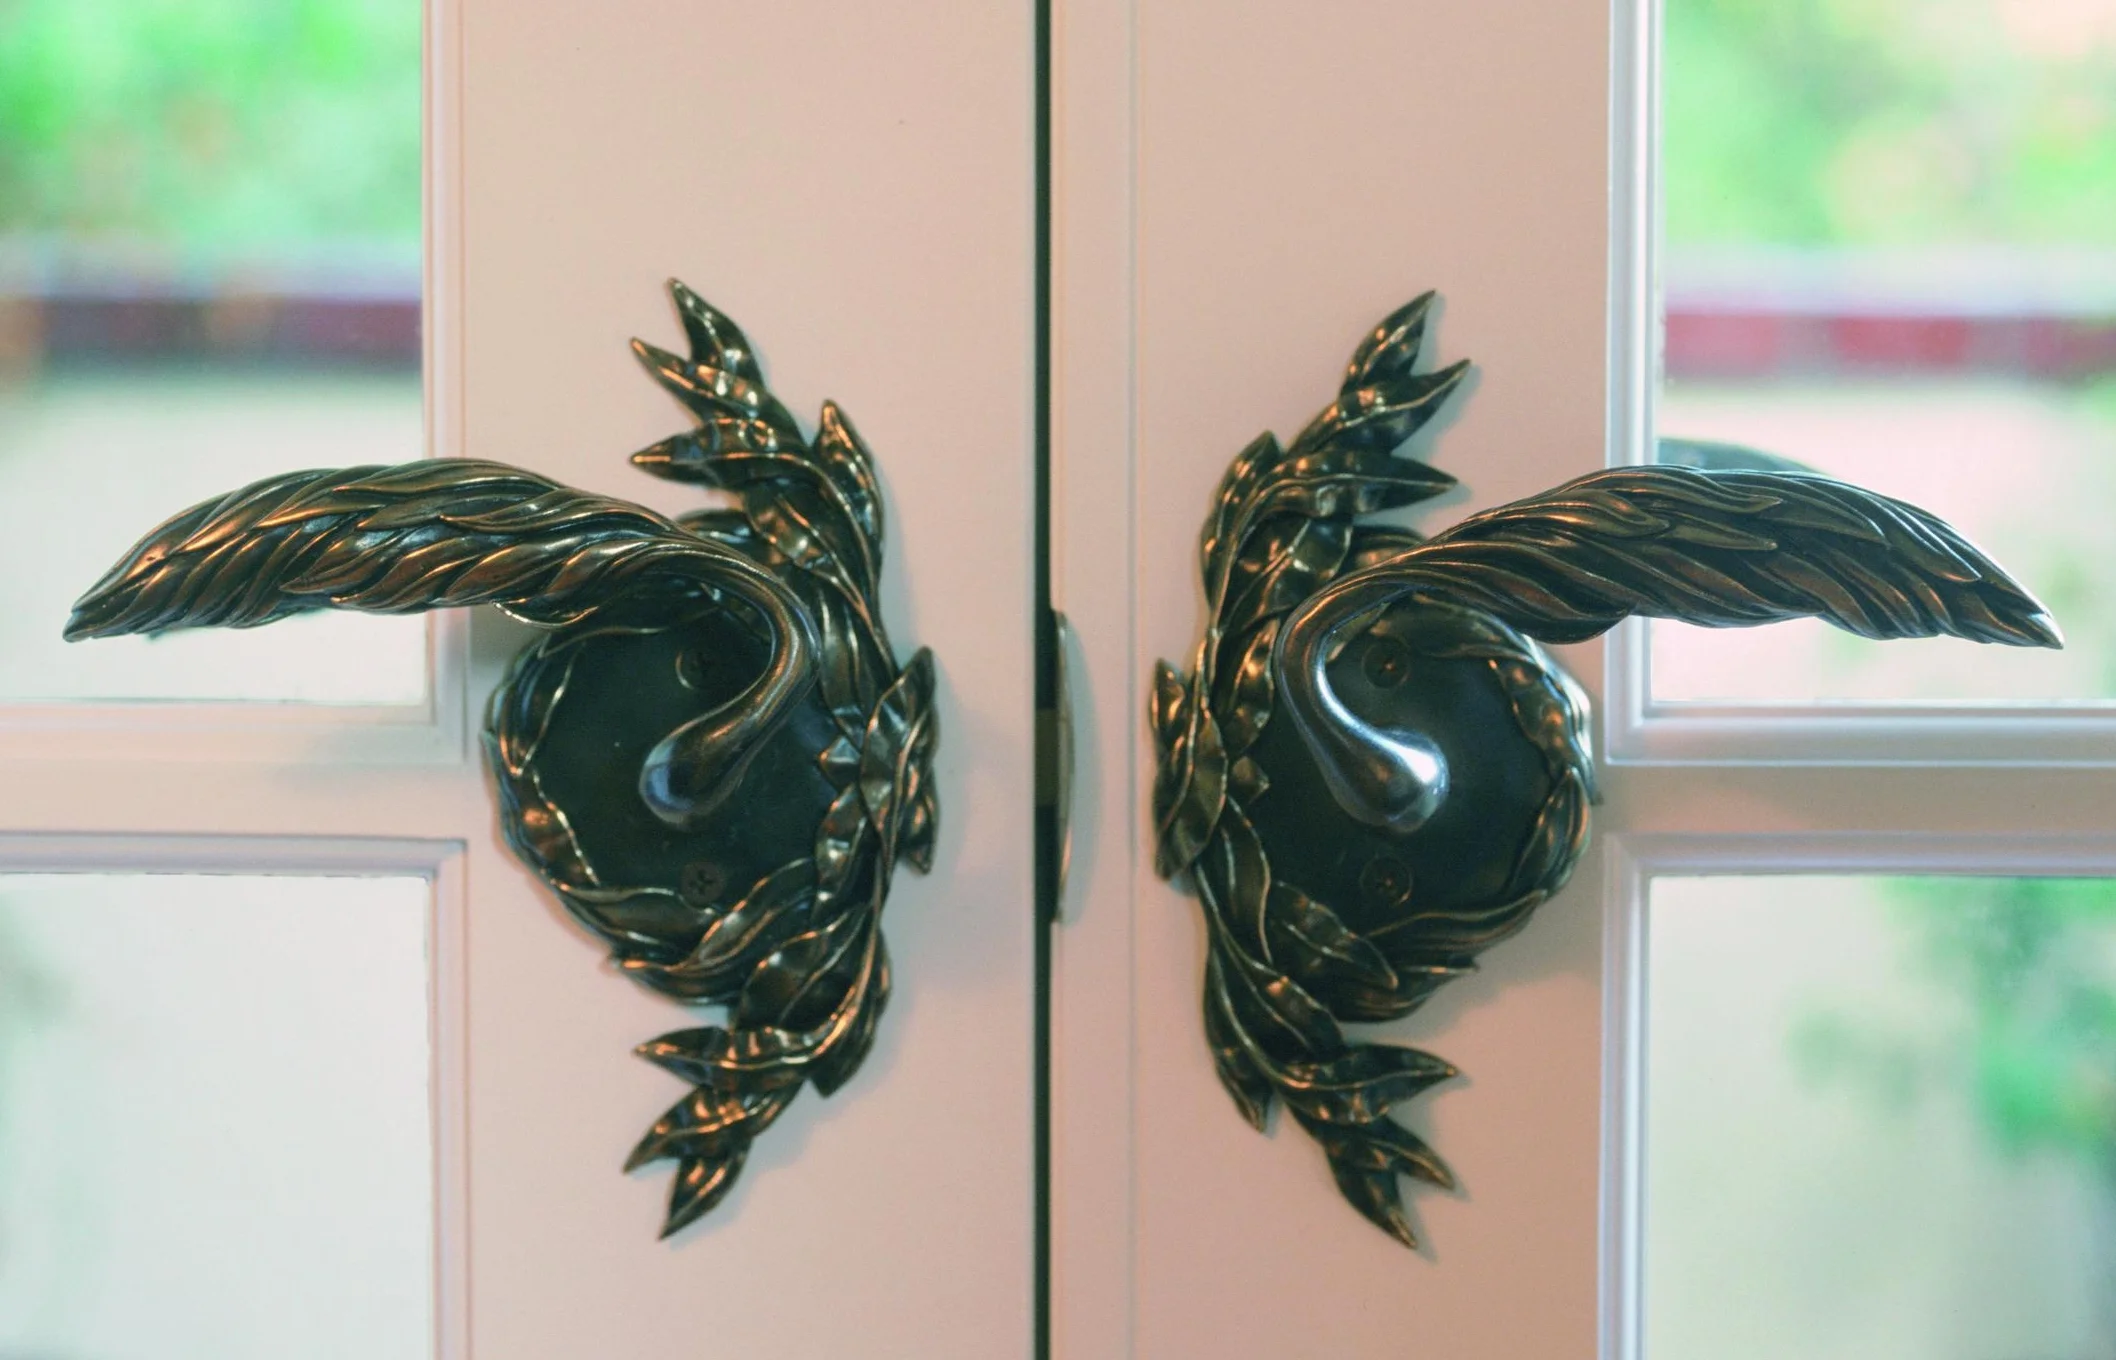
 Our collaboration with Chiara de Rege  on an Upper East Side residence resulted in the creation of a unique collection of door push plates and door levers. The traditional  Willow series was whimsically re-invented and enhanced with flying creatures from our animal  collection of cabinet knobs. The resulting door push plates and interior door handles were selected from several initial designs that paired smaller insect, bird and frog pulls with the Willow back plates.

The design team were renovating a residence using the existing doors that had astragals and panel mullions  that reduced the workable free area of the door and limited the backset depth of the latch.  With these considerations in mind, we focused on the Willow and Hedgerow exterior backplates, both being narrow and having smooth areas that could be enhanced by the addition of a small creature .


Some of the designs considered are shown below. Once the design genie was released, we had a lot of fun experimenting with different cabinet knobs and with insects flying in different direction. While our preference and that of Chiara’s design team was on flying insects, leaves and flowers could work equally well for those who have an insect phobia.


Custom door hardware - an index of posts on the process

Over the years of writing my blog I have often described the process from designing to casting door hardware using the lost wax method but have not until now felt it necessary to index  these posts.

The posts are broken down into 5 areas that describe the process from inception to end product. If you have limited reading time there is one piece that covers most of the stages that was was posted on June 21st 2017.

For details on the different stages please read on.

STAGE 1 - Design

These posts follow the creative process from the initial sketch to more detailed drawings that show the piece from different perspectives. They explain how the technical aspects of lost wax casting as well as the functional requirements of door hardware impact the design and result in modifications to the original concept.

https://www.martinpierce.com/blog/dragon-and-netsuke-door-knobs

https://www.martinpierce.com/blog/custom-designed-door-hardware-some-common-misunderstandings

https://www.martinpierce.com/blog/early-designs-for-a-new-entry-door-pull

https://www.martinpierce.com/blog/candlesticks-new-designs

https://www.martinpierce.com/blog/new-morphic-door-pull-one-size-does-not-fit-all

Stage 1 - detailed drawing from 2 perspectives Stage 2 - rough carving of pattern later refined

STAGE 2 – Pattern making

Lost wax casting requires an  original pattern or sculpture to be created. We create our patterns by sculpting  in a hard wood, blue wax or high-density foam. Our method is reductive and rarely makes use of 3D printing and we explain why in these posts.

https://www.martinpierce.com/blog/bumble-bee-cabinet-knob

https://www.martinpierce.com/blog/dog-door-knobs

https://www.martinpierce.com/blog/new-carp-fish-door-pull

https://www.martinpierce.com/blog/why-research-and-development-costs-for-custom-hardware-is-expensive-part-2

https://www.martinpierce.com/blog/3d-printing-as-useful-tool-in-casting-custom-door-handles

STAGE 3 - Mold making, gates and sprues

A mold of the pattern is made. The number of molds needed for one design depends on the complexity of the design and in assessing how the molten bronze will flow. The pattern is fitted with one central sprue and several gates that attach to the sprue and the edge of the pattern. A mold (s) is then  made of the pattern with the sprue and gates attached.

https://www.martinpierce.com/blog/how-to-make-a-simple-mold-for-lost-wax-casting

https://www.martinpierce.com/blog/how-to-cast-bronze-butteflies-good-and-bad-runners-and-gates

STAGE 4 – Wax replicas and shelling

The lost wax method requires a wax replica to be made for all the component parts needed to make one piece. The Hedgerow door lever for example require 4 waxes to be made; one for the escutcheon, one for the lever, 2 for the tree canopy. The waxes are then dipped in a silicone slurry that when hardened forms a shell that encases the wax. An auto-clave is used to remove the wax (lost wax)  and the hollow shell is ready to receive molten metal.

https://www.martinpierce.com/blog/wine-cellar-door-handles-and-shell-casting

https://www.martinpierce.com/blog/using-wax-facsimiles-to-create-bronze-door-handles

 https://www.martinpierce.com/blog/hawaiian-theme-door-handle

https://www.martinpierce.com/blog/creating-a-custom-appliance-pull-using-the-lost-wax-process-the-wax-stage

 https://www.martinpierce.com/blog/limited-edition-door-handles

Wax replicas ready to be shelled


A HAPPY THANKSGIVING TO YOU ALL.

If you are guessing how we created the banner then look no further than to our Willow sprig cabinet pulls. These are available as left or right pulls and are scaled for use as appliance pulls or cabinet door pulls. While typically finished in a light or dark patina they can be custom finished with a hot patina with blue or verdigris tones. If you are looking for more autumnal tones then we offer a red brown patina. In the above banner I have created a more dramatic statement in Photoshop.

Interior Door Knobs - Passageway and Privacy doors

A passage door knob also called passageway door knob is typically used as an interior door knob to open and close a door. While a passage way door knob can be used as an entry door handle, as it does not lock, it is obviously limited in use to doors that open on to secure area such as a walled courtyard or garden

A passage knob set has 2 knobs connected by a metal shaft or spindle that passes through the door and through the latch mechanism inside the door. The spindle is attached to each knob with a small set screw that is screwed into the side of the knob collar. We use an Allen style setscrew which is slightly recessed but effectively flush with the collar and unobtrusive. The spindle is typically an 8mm square rod though some manufacturers use a 7mm rod that they position at 45 degree which is why they are referred to as spindles “on the diamond”. The spindle passes through the door latch though a universal hole that is machined so that it can be used with a square 8mm or 7mm spindle.

Latch pics.jpg

 The spindle is one continuous rod for a passage latch but is split into 2 sections for a privacy latch.

How a door knob works with a passageway latch

When a passageway door is closed it is held in place by the tongue of the latch that extends into the strike plate on the door jamb. Turning the knob clockwise or anti-clockwise retracts the latch pulling it out of the strike plate and into face-plate of the door. New doors are usually manufactured with a 2” hole for the latch and a drilled round channel for the latch-tongue. The end of the channel is typically finished with a rectangular cut out which is capped by a metal face-plate that comes with the door latch. If the door is bought with the jamb, then the rectangular hole for the strike plate will also be pre-cut.

A passage way latch has just one functioning cog wheel with flat areas and small 1/16” protruding teeth. Either knob can turn the spindle and in so doing turn the cog to a flat or protruding tooth section. The cog teeth put pressure on the latch and throw it forward into the jamb. In reality the latch sits in a small metal box, and both have springs which make for a smooth action that requires little hand pressure. When the spindle turns the cog to a flat section the pressure on the latch and compressed springs is released and the latch moves back and is retracted.

How a door knob works with a privacy push pin latch

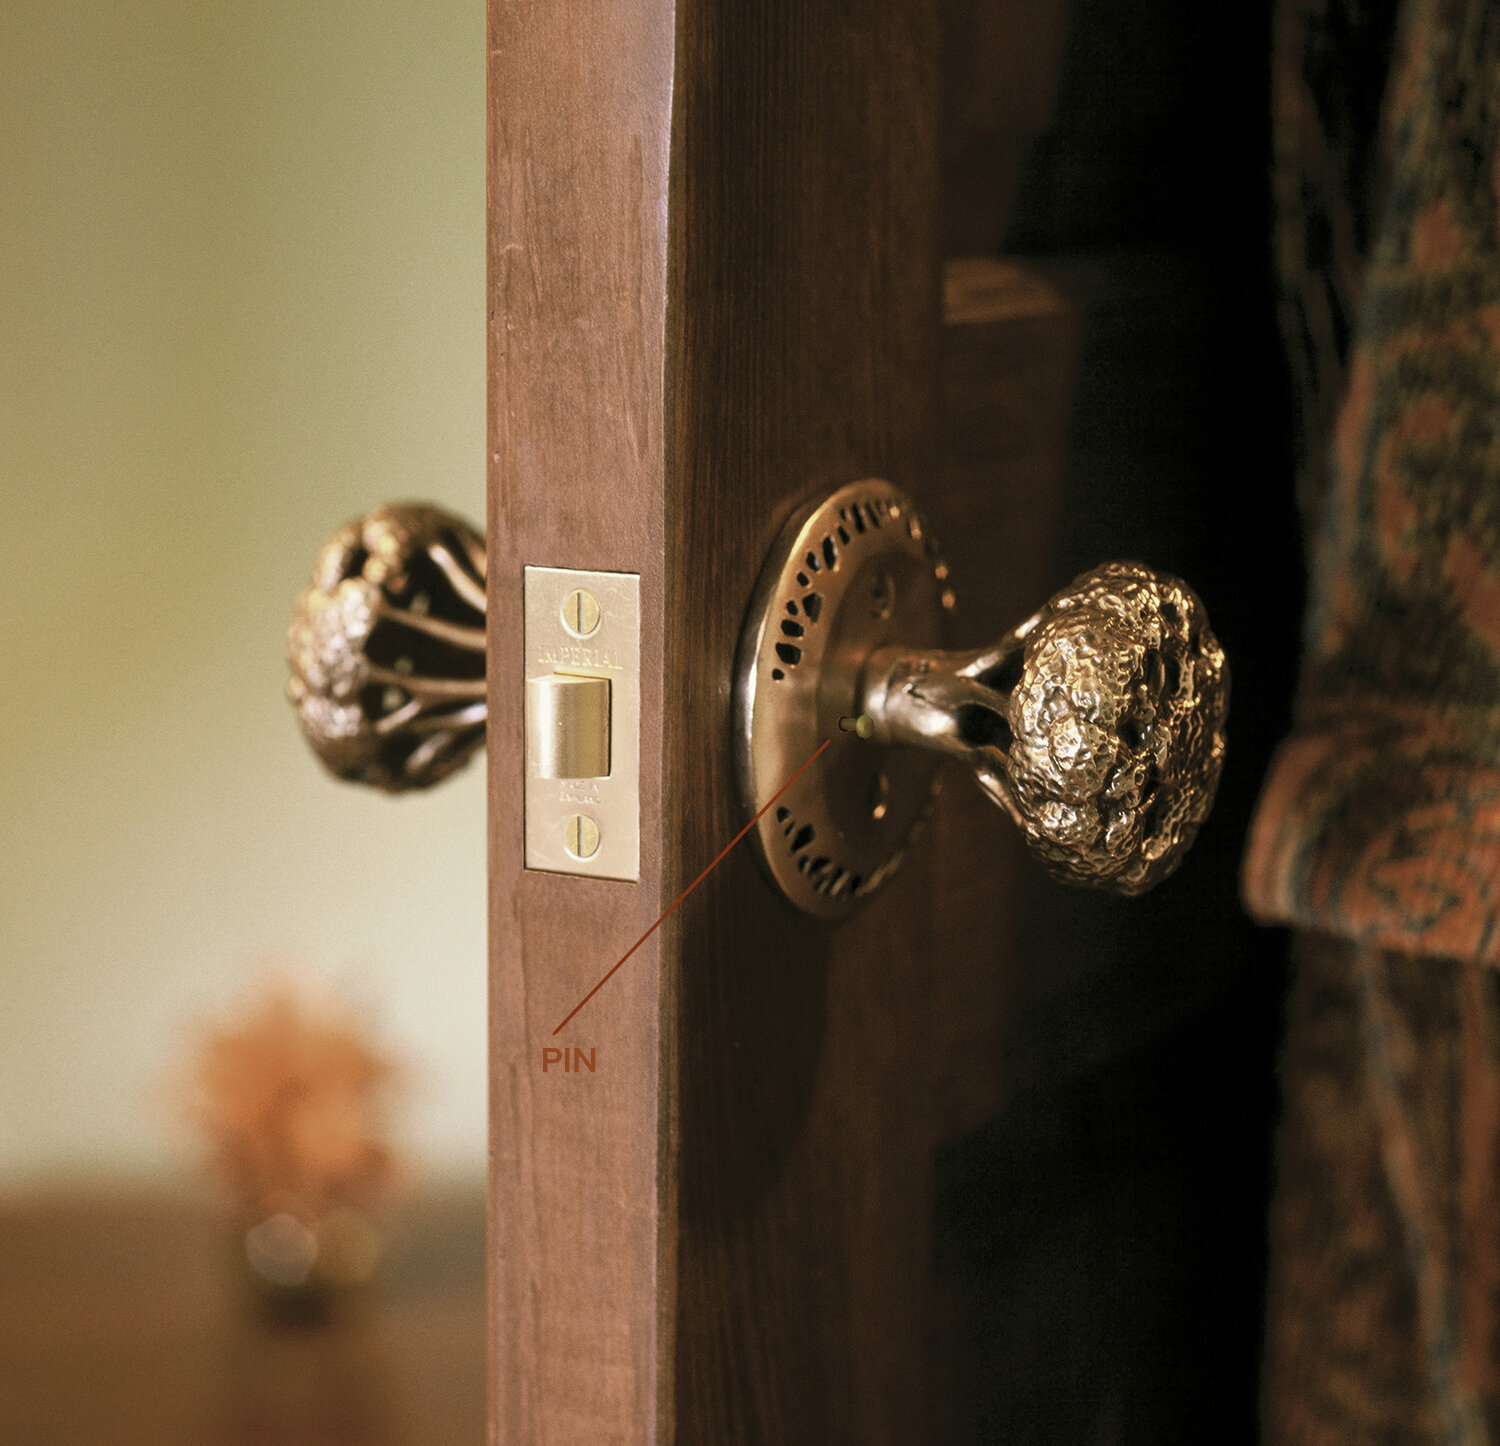
The spindle is now split and there are 2 cogs, one as described above functions to open and close the door by retracting and releasing the spring-loaded latch. The second cog also has a flat perimeter with one recessed section. When the cog is turned to the flat section the pin is pushed forward into back of the latch thereby fixing the tongue in an extended locked position. When the cog is turned to the recessed section, the pin is pulled back and the latch is released. Only the inner knob connects with the pin cog making the lock operative from only the inside. The door can be released either by pulling the pin out or by turning the knob.

There is a small hole in the rose of the outer door knob which can be used in an emergency to release the latch. In this event a small piece of metal can be inserted into the hole to push the pin out thus freeing the knob so that the door can be opened from the outside.


Why research and development for custom hardware is expensive


The old and new schools for creating patterns and molds - part 2


Your design skill set and your preference for digital versus free hand designing may influence your choice when it comes to deciding how to create the pattern or file for casting.
Whichever road you take the research and development (R&D) costs will be significant. The R&D costs are often misunderstood, and many consumers have a hard time accepting that the pattern development can run into the thousands depending on the size and intricacy of the design. This cost is on top of the cost incurred in the design process (part 1), so perhaps we are stating the obvious when we state that custom, one of a kind door hardware, is inherently expensive.

Choice of medium for pattern making.

Regardless of whether the design is digital or old school and made with pencil and paper you should be able to use the same mediums when creating your pattern for use in investment casting or sand castings. If you have the budget and are developing a piece for high volume production, then die casting or 3D printing may be good options and may not require a pattern to be made. While die casting and 3D printing do not require a physical pattern, they depend on the design to be made with CAD/CAM software or comparable software that can capture the exact measurements and topography details of your design so that a virtual pattern can be created.


Mediums for Physical Patterns

The pattern for investment casting can be made from any medium that is both strong and non-permeable or that can be made strong by firing in a kiln. Your choice of medium will depend on your manual skills, can you carve or create a design in modelling clay? The choice will also depend on how dense the detail and undercuts are in your design, does the design have a lot of detail or is the design for a smooth piece with the detail confined to the edges? Our patterns are always made in a reductive way by carving or machining rather than by the additive clay modelling method.

Left cast trumpet flower   Right hard blue wax pattern with gate in red wax

Left cast trumpet flower Right hard blue wax pattern with gate in red wax


Mediums for carving or machining

Rigged foam –
High density rigid polyurethane foam comes in a variety of sheet sizes, thickness, and density. We typically use a medium 15lb per ft density. It can be machined on a bandsaw, turned on a lathe or used with cutting routers. It is ideal for moderately detailed patterns but it’s lack of tensile strength and brittle nature make it less useful for very detailed or large patterns.

Basswood & other woods
Basswood is stronger than rigged foam and finer details such as leaf ends or fingers tips that would be to fragile and brittle if rendered in foam are easy to create in this close-grained soft wood. Patterns created in basswood and foam need to be sealed with a paint primer or other non-permeable layer that act as a barrier to protect the pattern from liquid damage that may occur during mold making.

Blue jewelers’ wax
There are many types of wax available in block and sheet form that can be machined or carved to create a pattern, but we typically use a blue hard wax and pattern making.


Using Wax Facsimiles to Create Bronze Door Handles

Manufacturing artistic bronze handles in the investment method of casting is an inherently labor intensive process. Every decorative aspect of the door set has to be created in wax. A single door set requires a minimum of 4 wax patterns 2 for the left and right levers and 2 for the backplates. Some levers and knobs require 2 wax patterns to be poured as separate waxes and later fused together to create one complete wax pattern.
The Hedgerow lever is extremely detailed requiring 2 molds one for the tree canopy and one for each of the left and right facing tree branches. The canopy and tree branches are melded together using a small heated pen blade, the edge of each wax is gently melted and the two are pressed together to form a tight bond.

Wax Hedgerow lever sepperat 3.jpg


A metal spindle is used to connect the 2 levers of a door set and to accommodate this we have to create a small cavity in the end of the wax lever. We either add the shape of the ferrule to the pattern so that this detail becomes part of the wax facsimile or we add a separate ferrule that is machined in steel. In either case to preserve the ferrule shape and to prevent the cavity from subsequently filling-up with silica slurry a tightly fitting ceramic core is place inside the ferrule before the wax pieces are shelled.

The final casting is shown below and is part of a complete collection of tree-inspired designs

Lizard Door Handles Insired by Nature Pragmatically Adapted

The lizard we see most often in the Hollywood Hills is the California Alligator lizard, so named for its long snout and back patterning which is similar to the American alligator found in the southern states.
The similarities continue as both species have long tails and short legs and enjoy a carnivorous diet. The smaller of these 2 reptiles’ preys on much smaller creatures eating a wide variety of invertebrates but also to my surprise feeding on small birds and bird eggs.
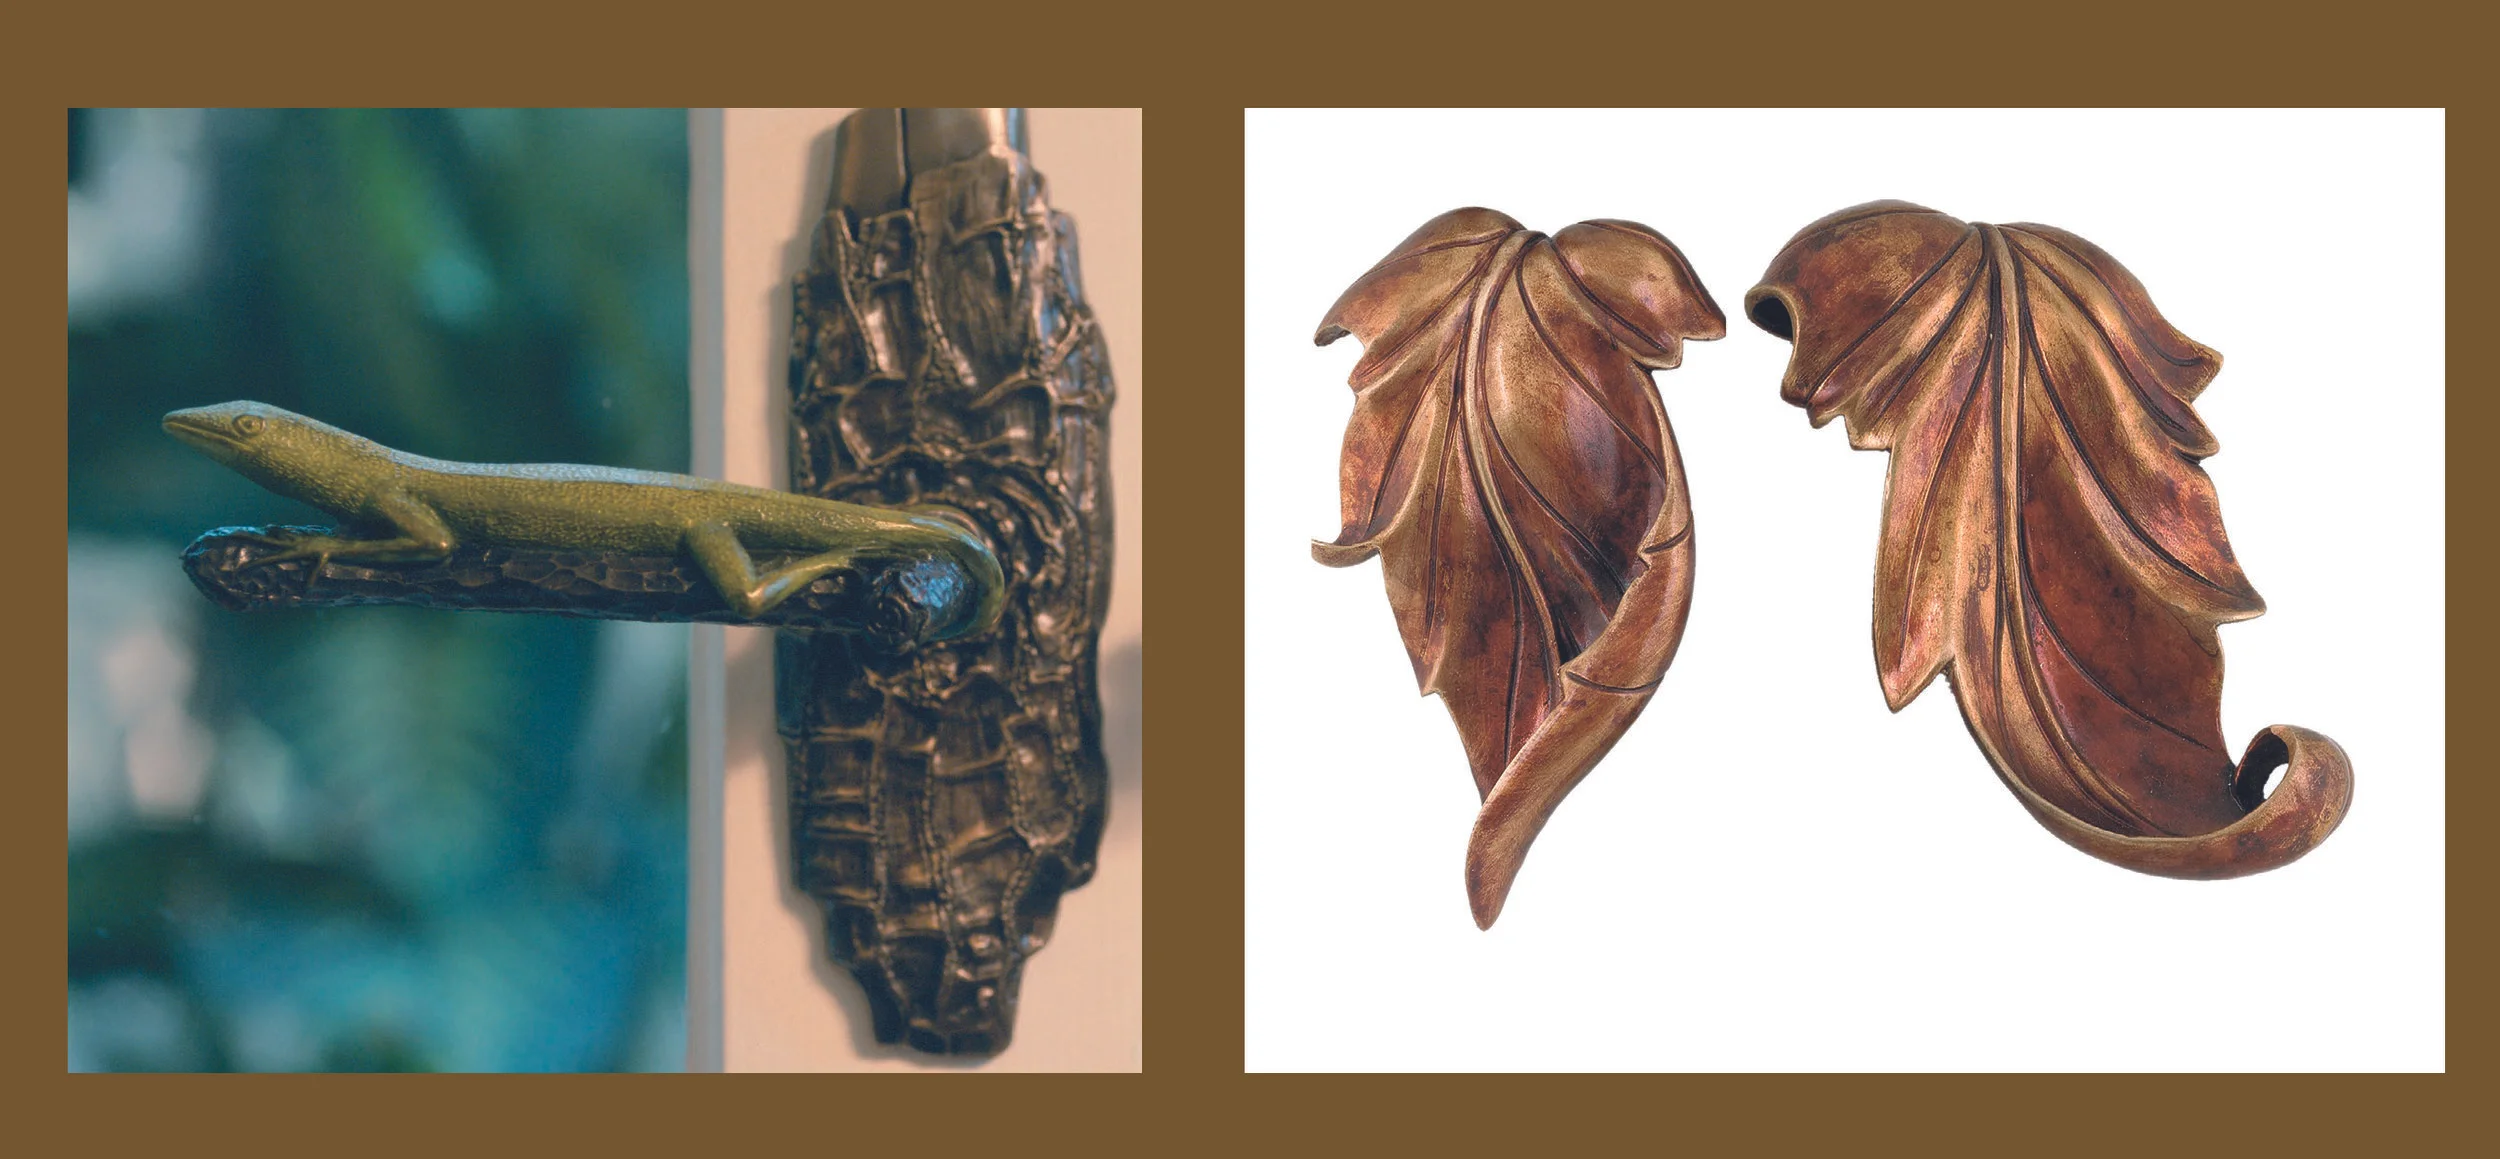
There are several varieties of the California Alligator lizard and the ones we see in Los Angeles are distinguished by their pale iris color and by their grey scaly skin. While lizards have a 10 to 15 year life span and live here throughout the year, they tend to me more noticeable in the warm summer months when we spend more time outside and these days we are all spending a lot more time outside. The larger than life lizards in our collection of door hardware were loosely modeled on the Alligator lizard as can be seen in their long tails and pointed snout. However, as with all our nature inspired hardware designs considerable artistic license was used to modify the shape and size of both the lizard’s legs and scales to make the door handle pleasing to hold and easy to grip.

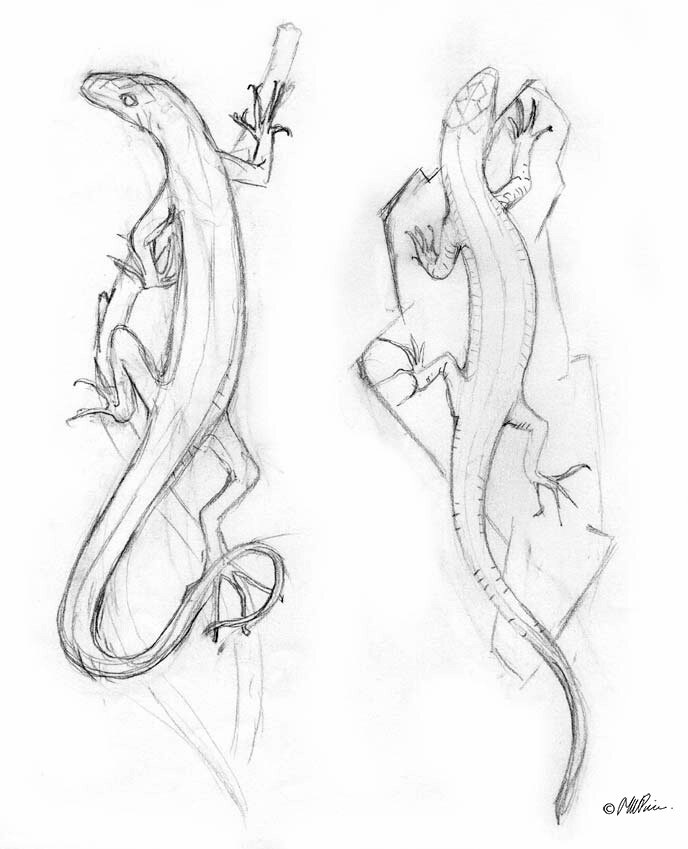
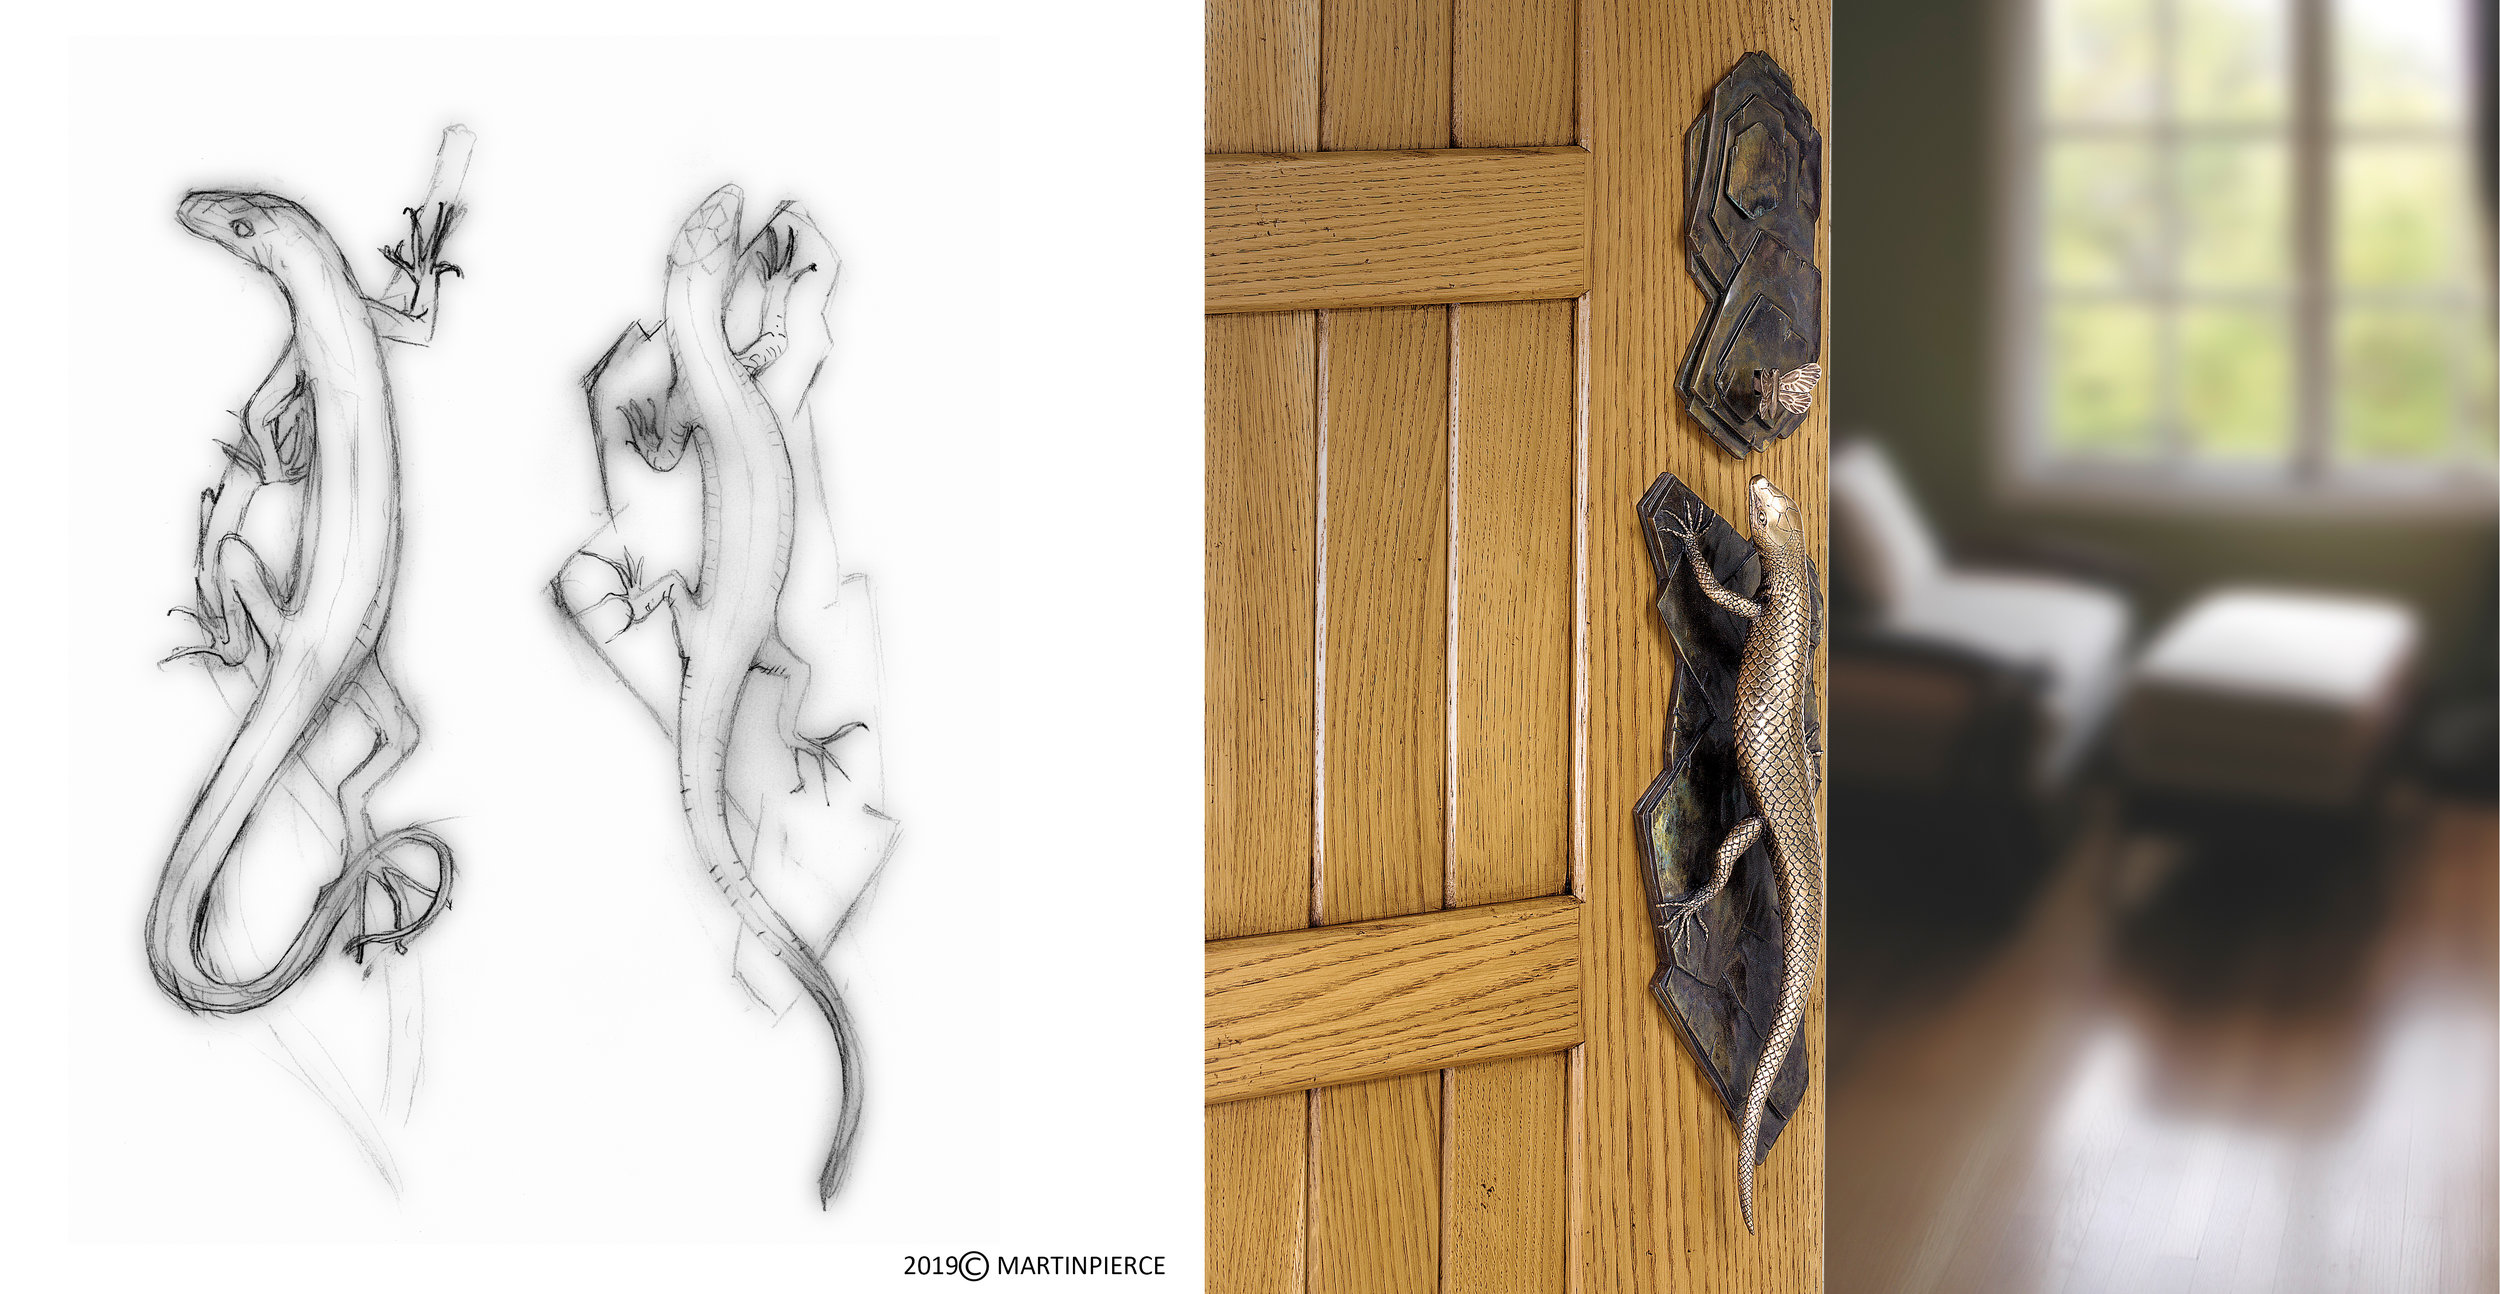
To create the lizard handles Martin’s first step was to sketch from memory his impressions of the Alligator lizard. Using this he drew a second lizard to form a pair of right and left facing door handles.

Lizard sketch modified.jpg

Why Would We Plate Beautiful Orchid Knobs with Nickel?

Our cabinet knobs are cast either in silicon bronze or 316 stainless steel and viewers will know that both are exceptionally durable rust resistant and quite beautiful alloys so why then would we opt to have an order of orchid knobs nickel plated?


Nickel is a metallic element and is one of the elements present in 316 stainless steel. Nickel has a silvery white appearance that is not dissimilar to stainless steel and when both are finished to a brushed satin luster the visual difference is minimal. Why then would we choose to nickel plate a bronze cabinet knob rather than cast it 316 stainless steel? The answer lies in the hardness of 316 steel which makes it a much more difficult alloy to machine and polish and in the subtle difference in appearance of nickel versus stainless steel.

The custom orchid cabinet pulls that have been described in earlier posts were cast in bronze which being a softer more malleable alloy allowed the nooks and crevices of these detailed pieces to be buffed and brushed to remove scratches and imperfections. If the pieces had been cast in 316 stainless steel the hardness of the steel would have made this process far more labor intensive. As the orchids are being installed in a room with several nickel fixtures, we opted to nickel plated so that the pieces would blend well.


F & H Plating is a valuable Los Angeles source and one well known in the interior design and jewelry industries for their gold, silver, nickel, and copper plating. Ron, the founder of F & H is a knowledgeable mine of information on plating techniques and his site describes the electroplating process. We were seeking a satin finish for our orchid pulls, so we buffed and refined the castings to give them a soft sheen. F & H then chemically cleaned the bronze orchids to remove any contaminants, gently re-buffed them back to their satin luster and dipped them in nickel solution which when electrically charged caused the nickel content to bond with the surface of the bronze. Once dried the pieces were very gently buffed to the desired luster and ready to install

Nickel electroplating is a useful process if you have a metal that is prone to rust as even a thin layer of nickel will improve the rust resistance of the base metal.


Custom Appliance Pull


We have now completed the custom Willow Appliance pull as can be seen from the photos here.
The custom pull was created by joining the right and left Willow cabinet handles to create the desired length of 17”. The length of the pull and shape of the sprig were perfectly suited to create this new item without our needing to substantially redesign the sprig and without the need to create a new pattern or mold. As discussed in an earlier post (Jan 16,2020) the new pull was created by melding and tooling 2 wax sprigs to create a single piece that was then shelled with several coats of a silica slurry before being fired to create a rigid shell.We cast these pieces in silicon bronze and then finished them in 3 different ways. The first photo below shows the effect achieved by finely buffing the bronze with successive grits of sanding compound. The deep undercuts created by the willow leaves create a shadow that adds subtle depth to the finished piece.

For a more dramatic pewter look we finished one piece using a full strength black oxide and gently removed a little of the solution around the edges of the leaves to create a very soft bronze glow, you will need to zoom into the second photo to understand what I mean.
For maximum contrast we finished the third piece with bold contrasting bands of black oxide that we removed in adjacent areas to create a striated piece.

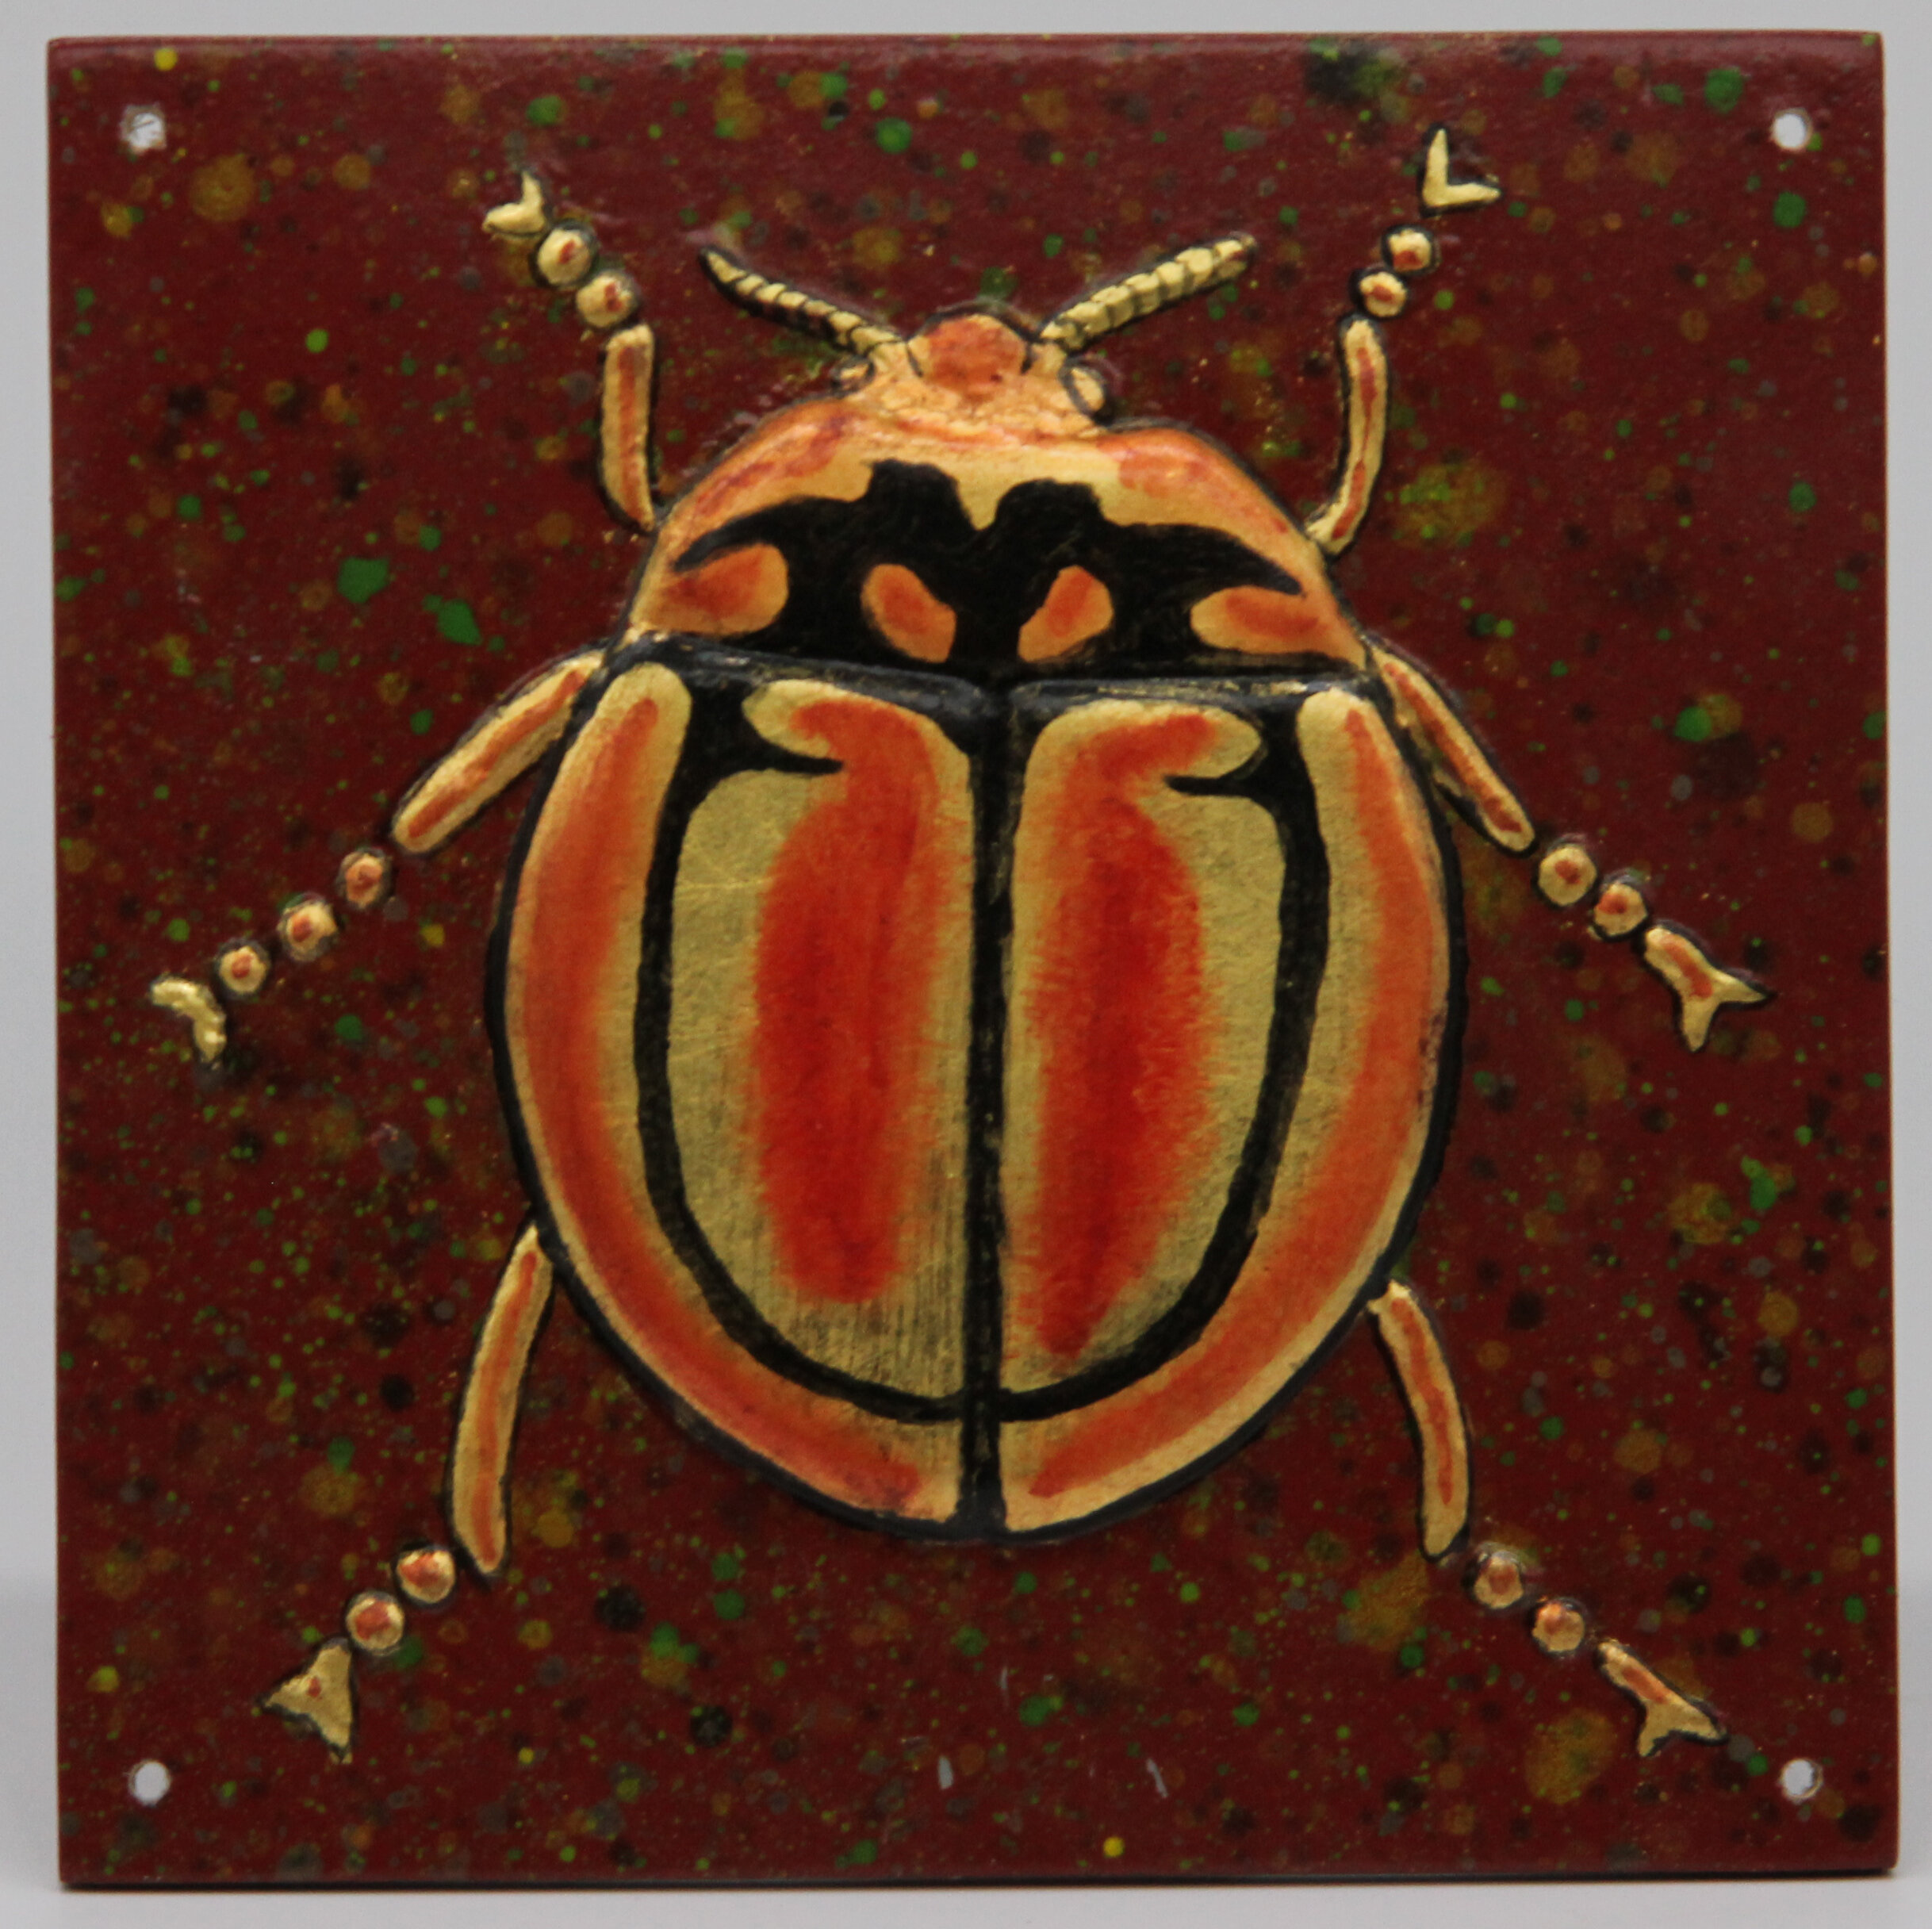
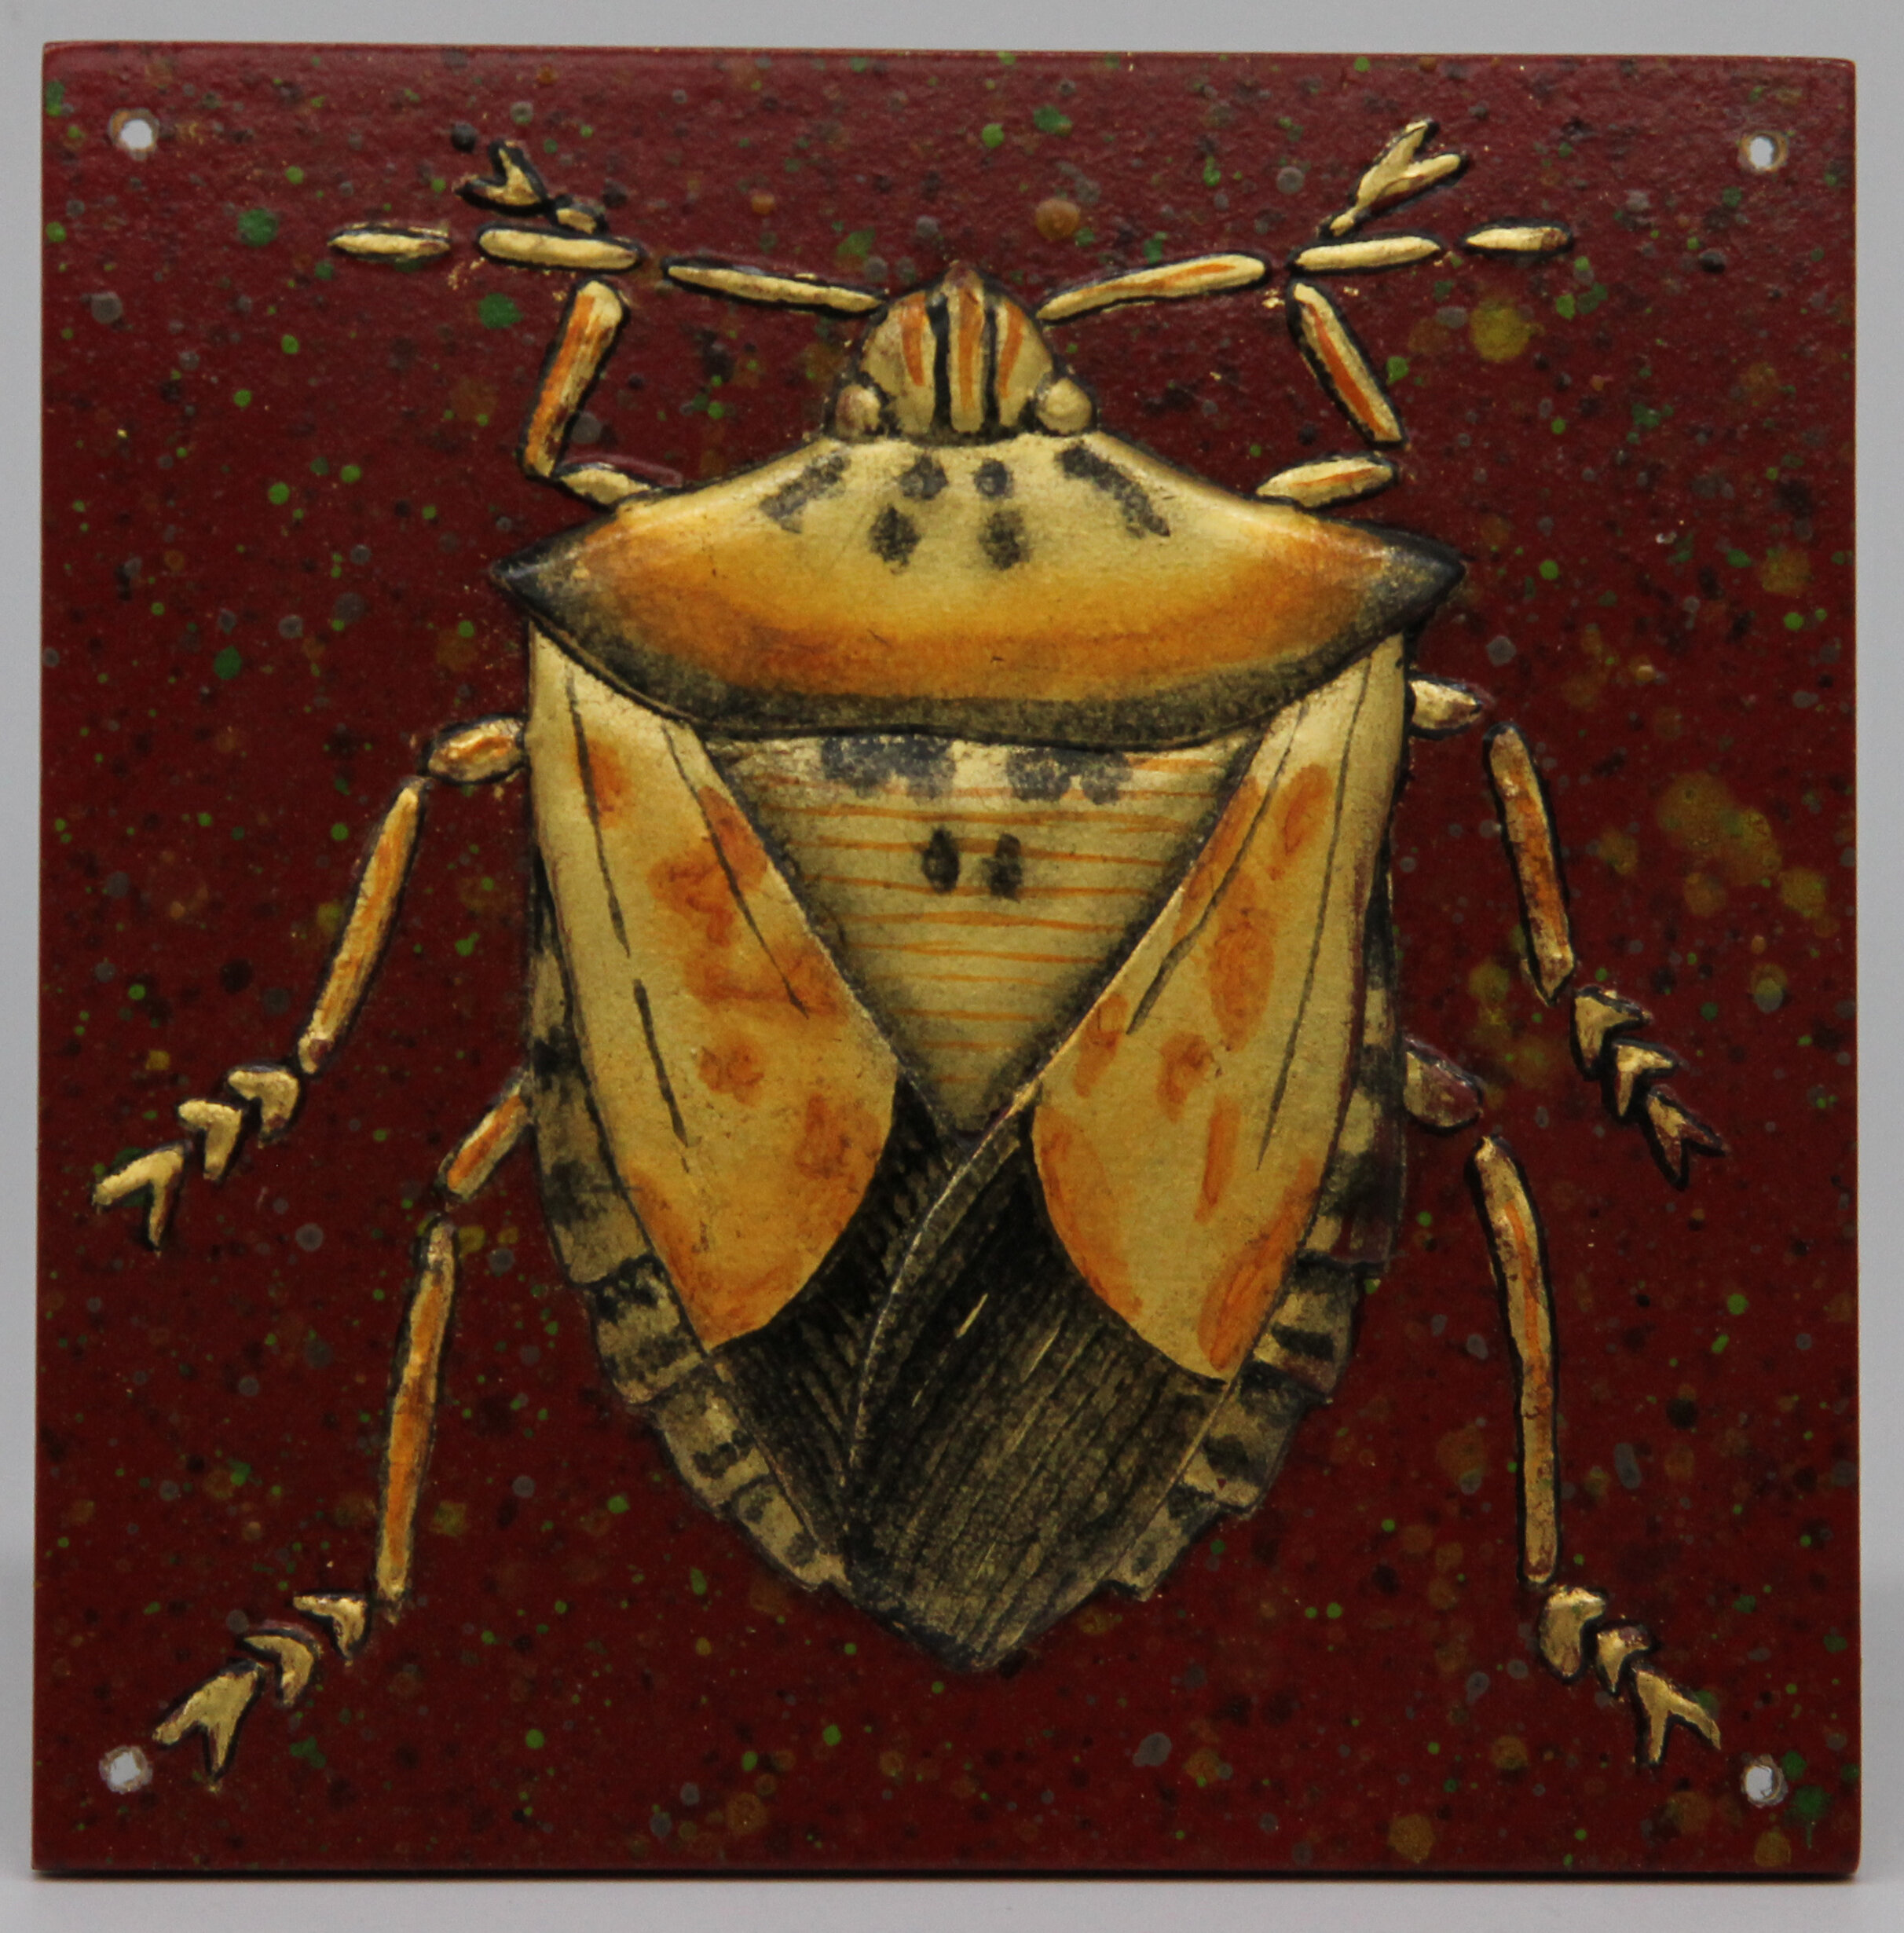
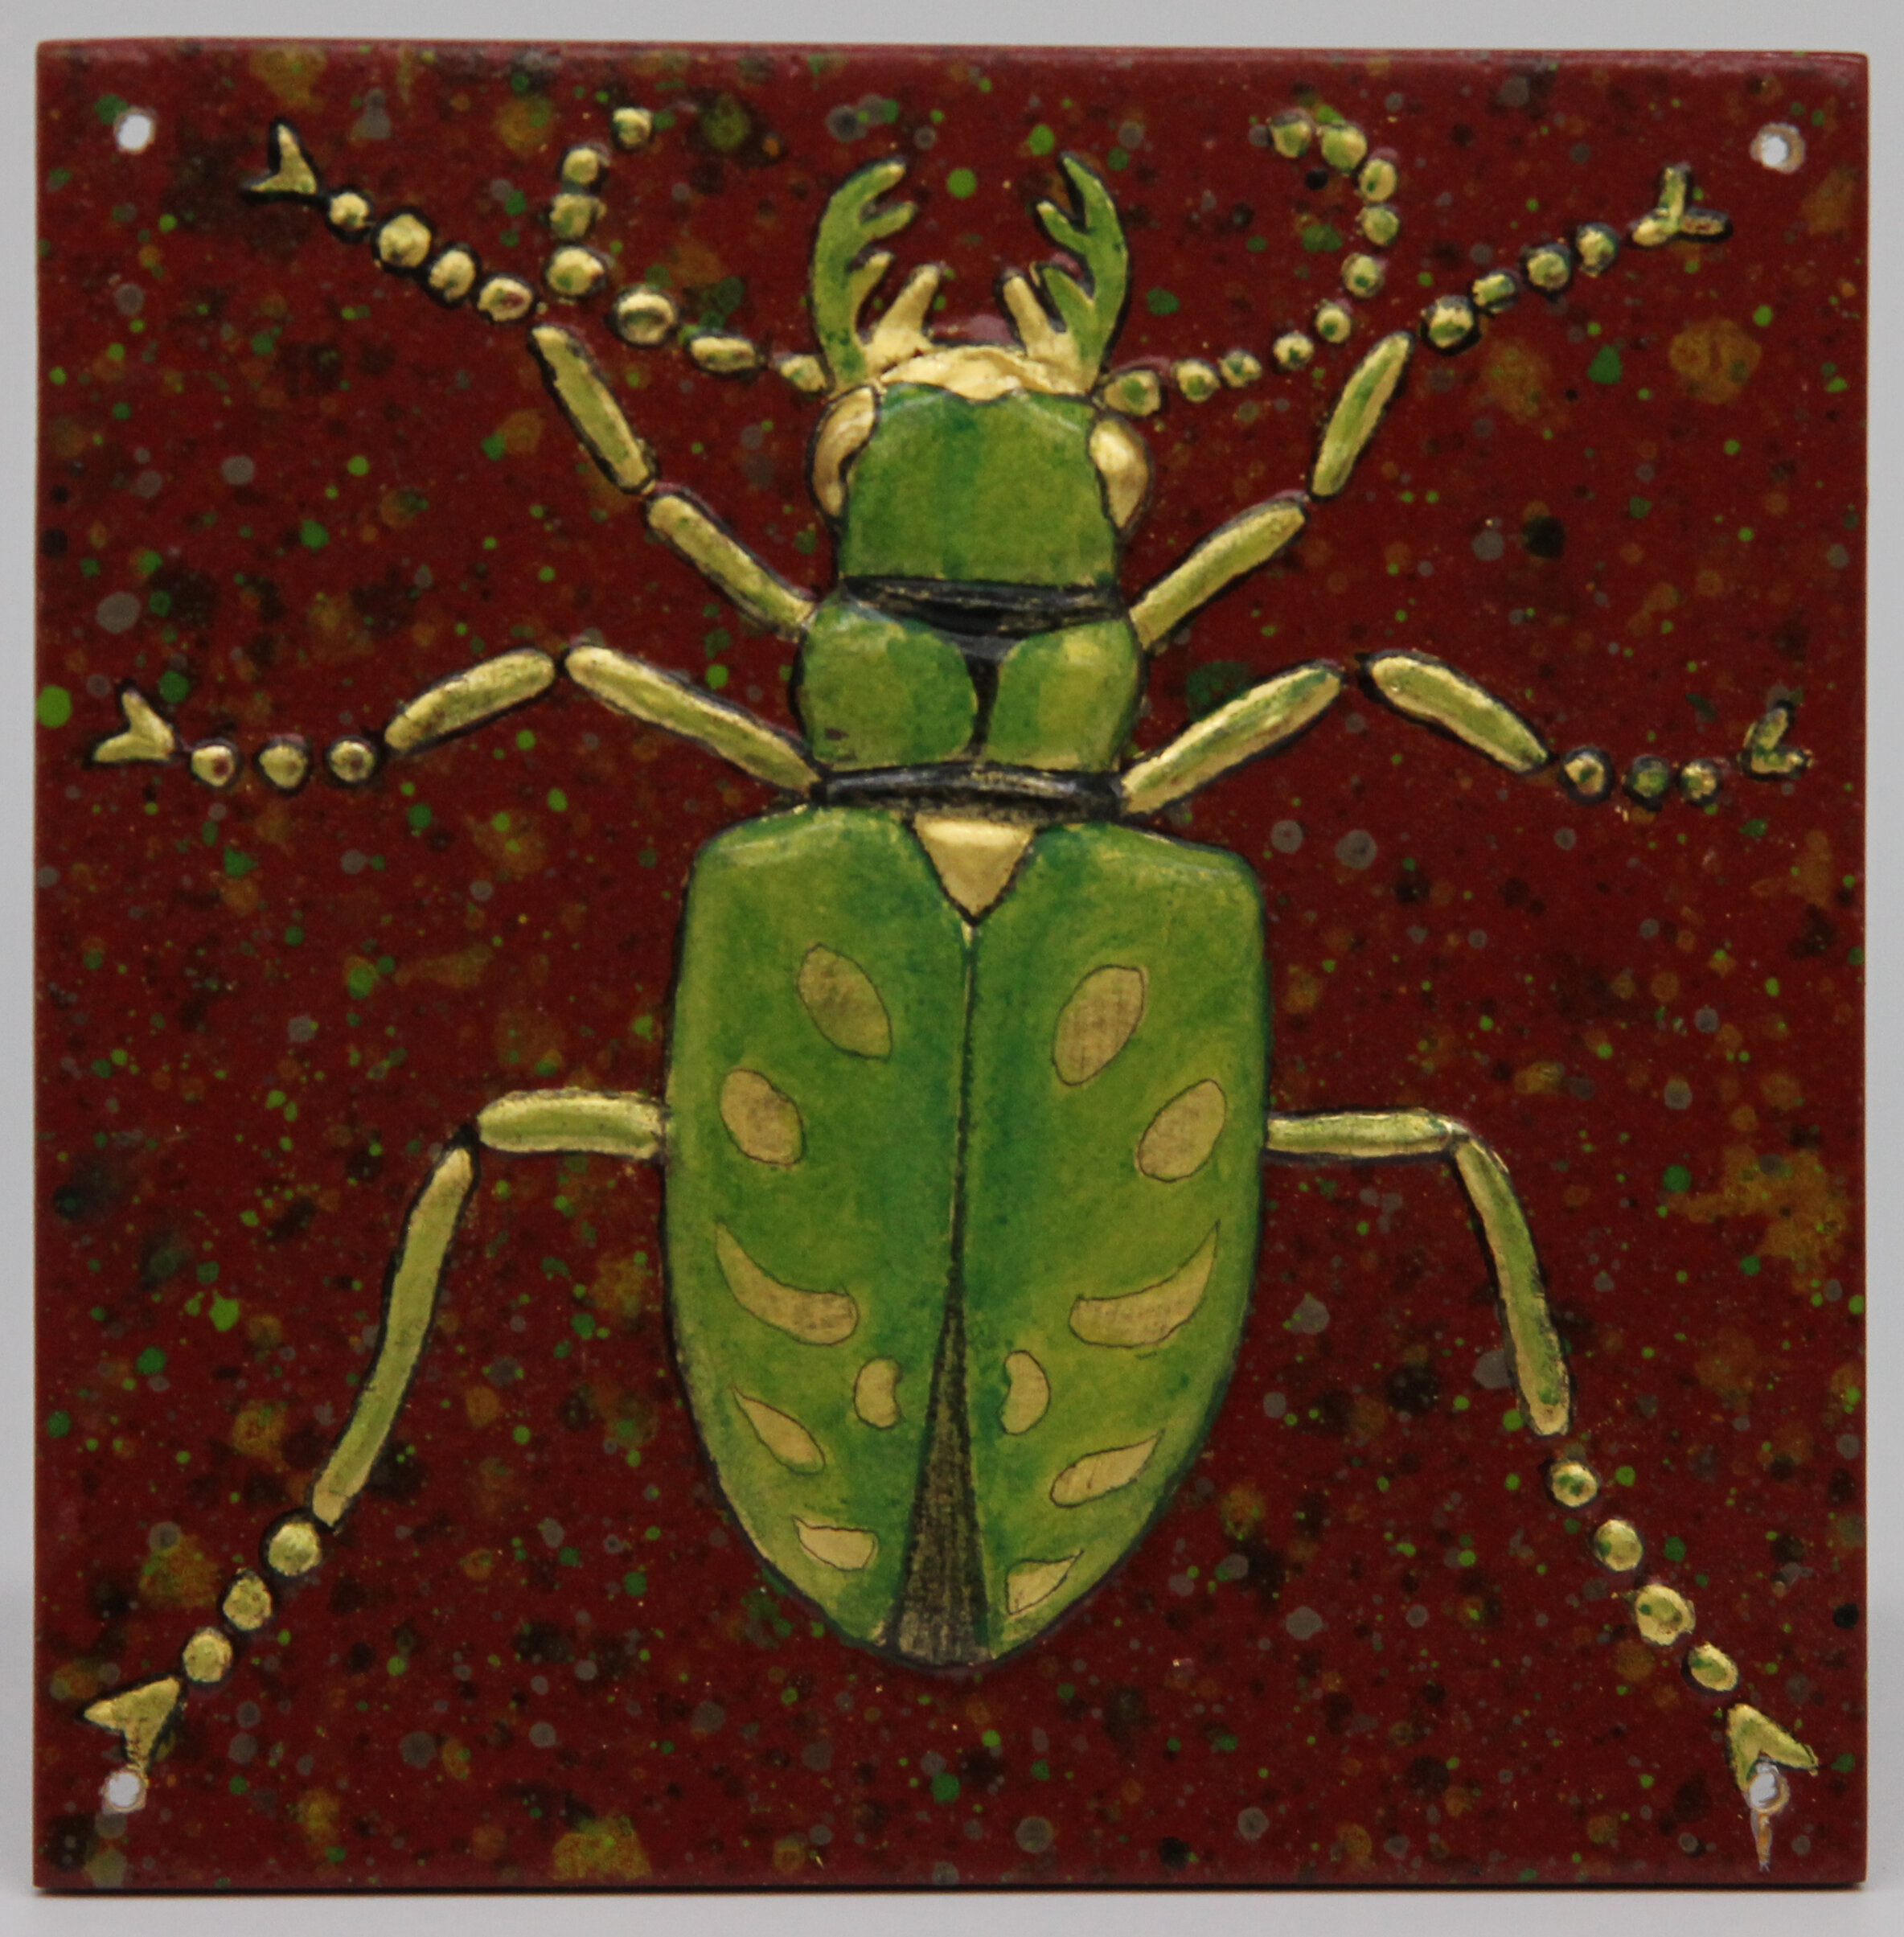
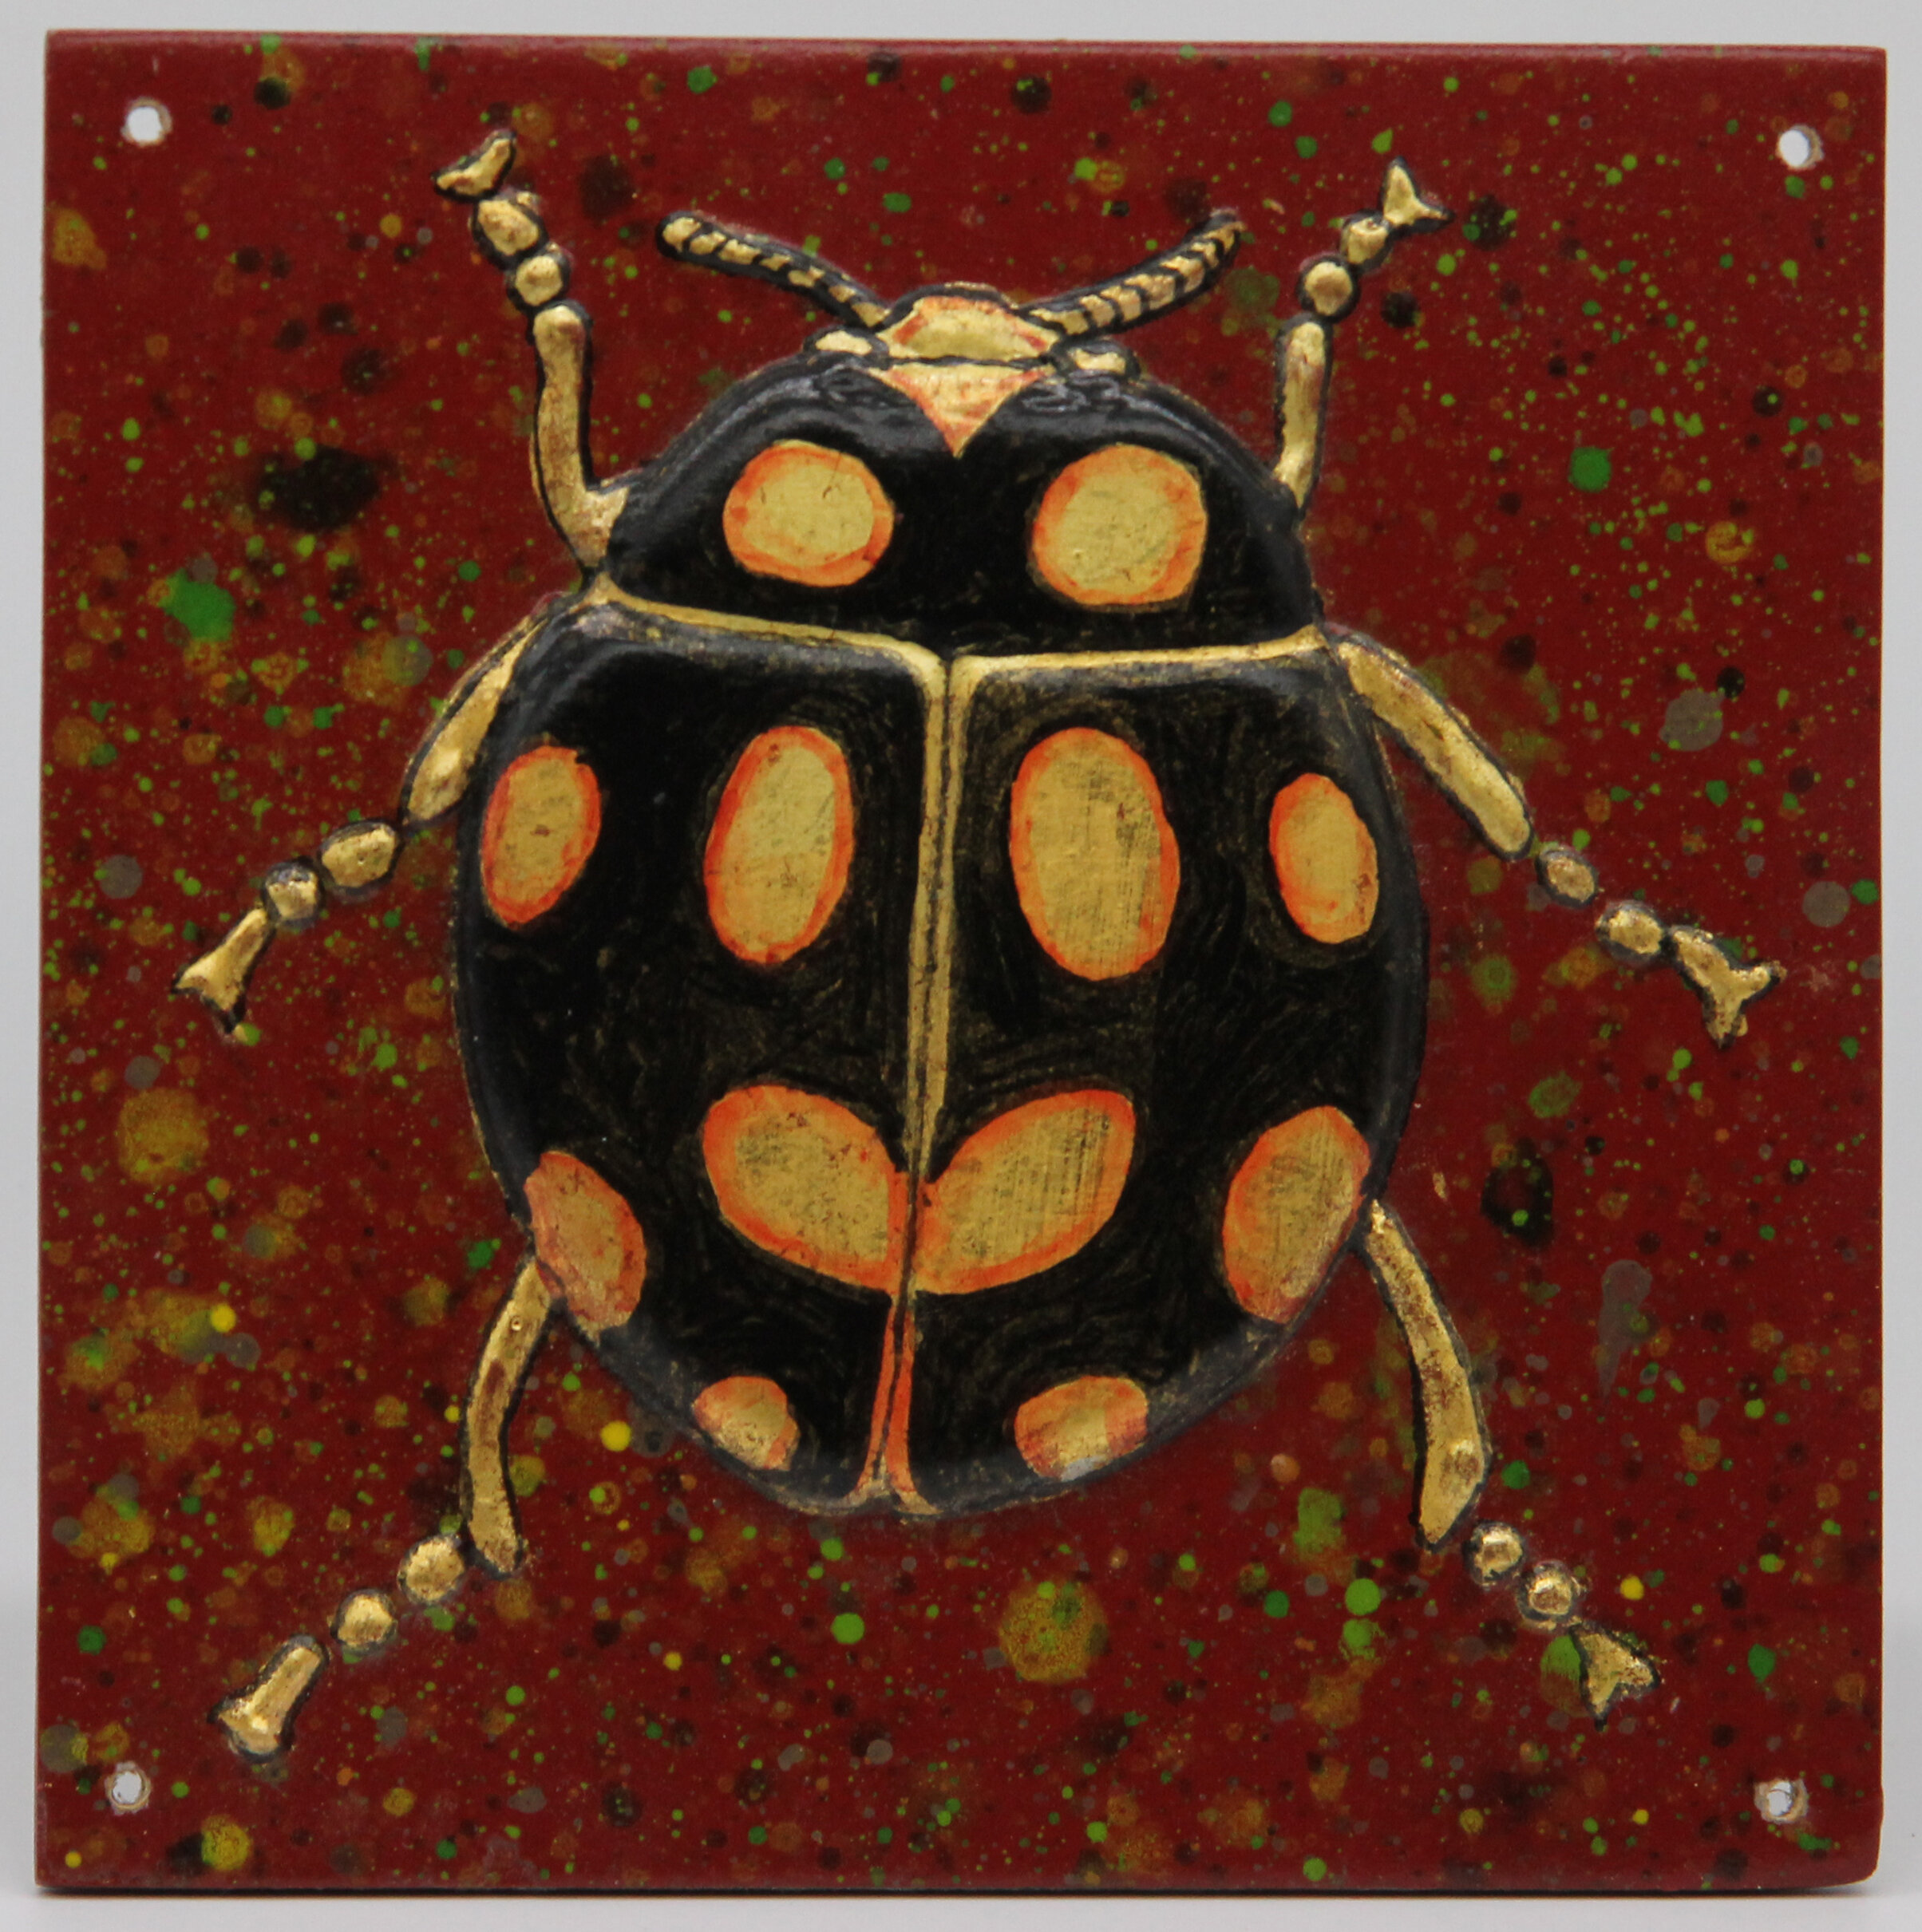
Insect Art Completed Work


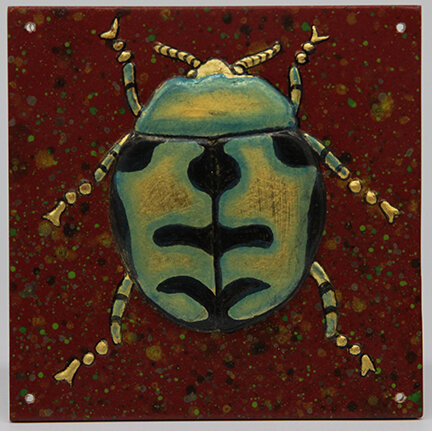
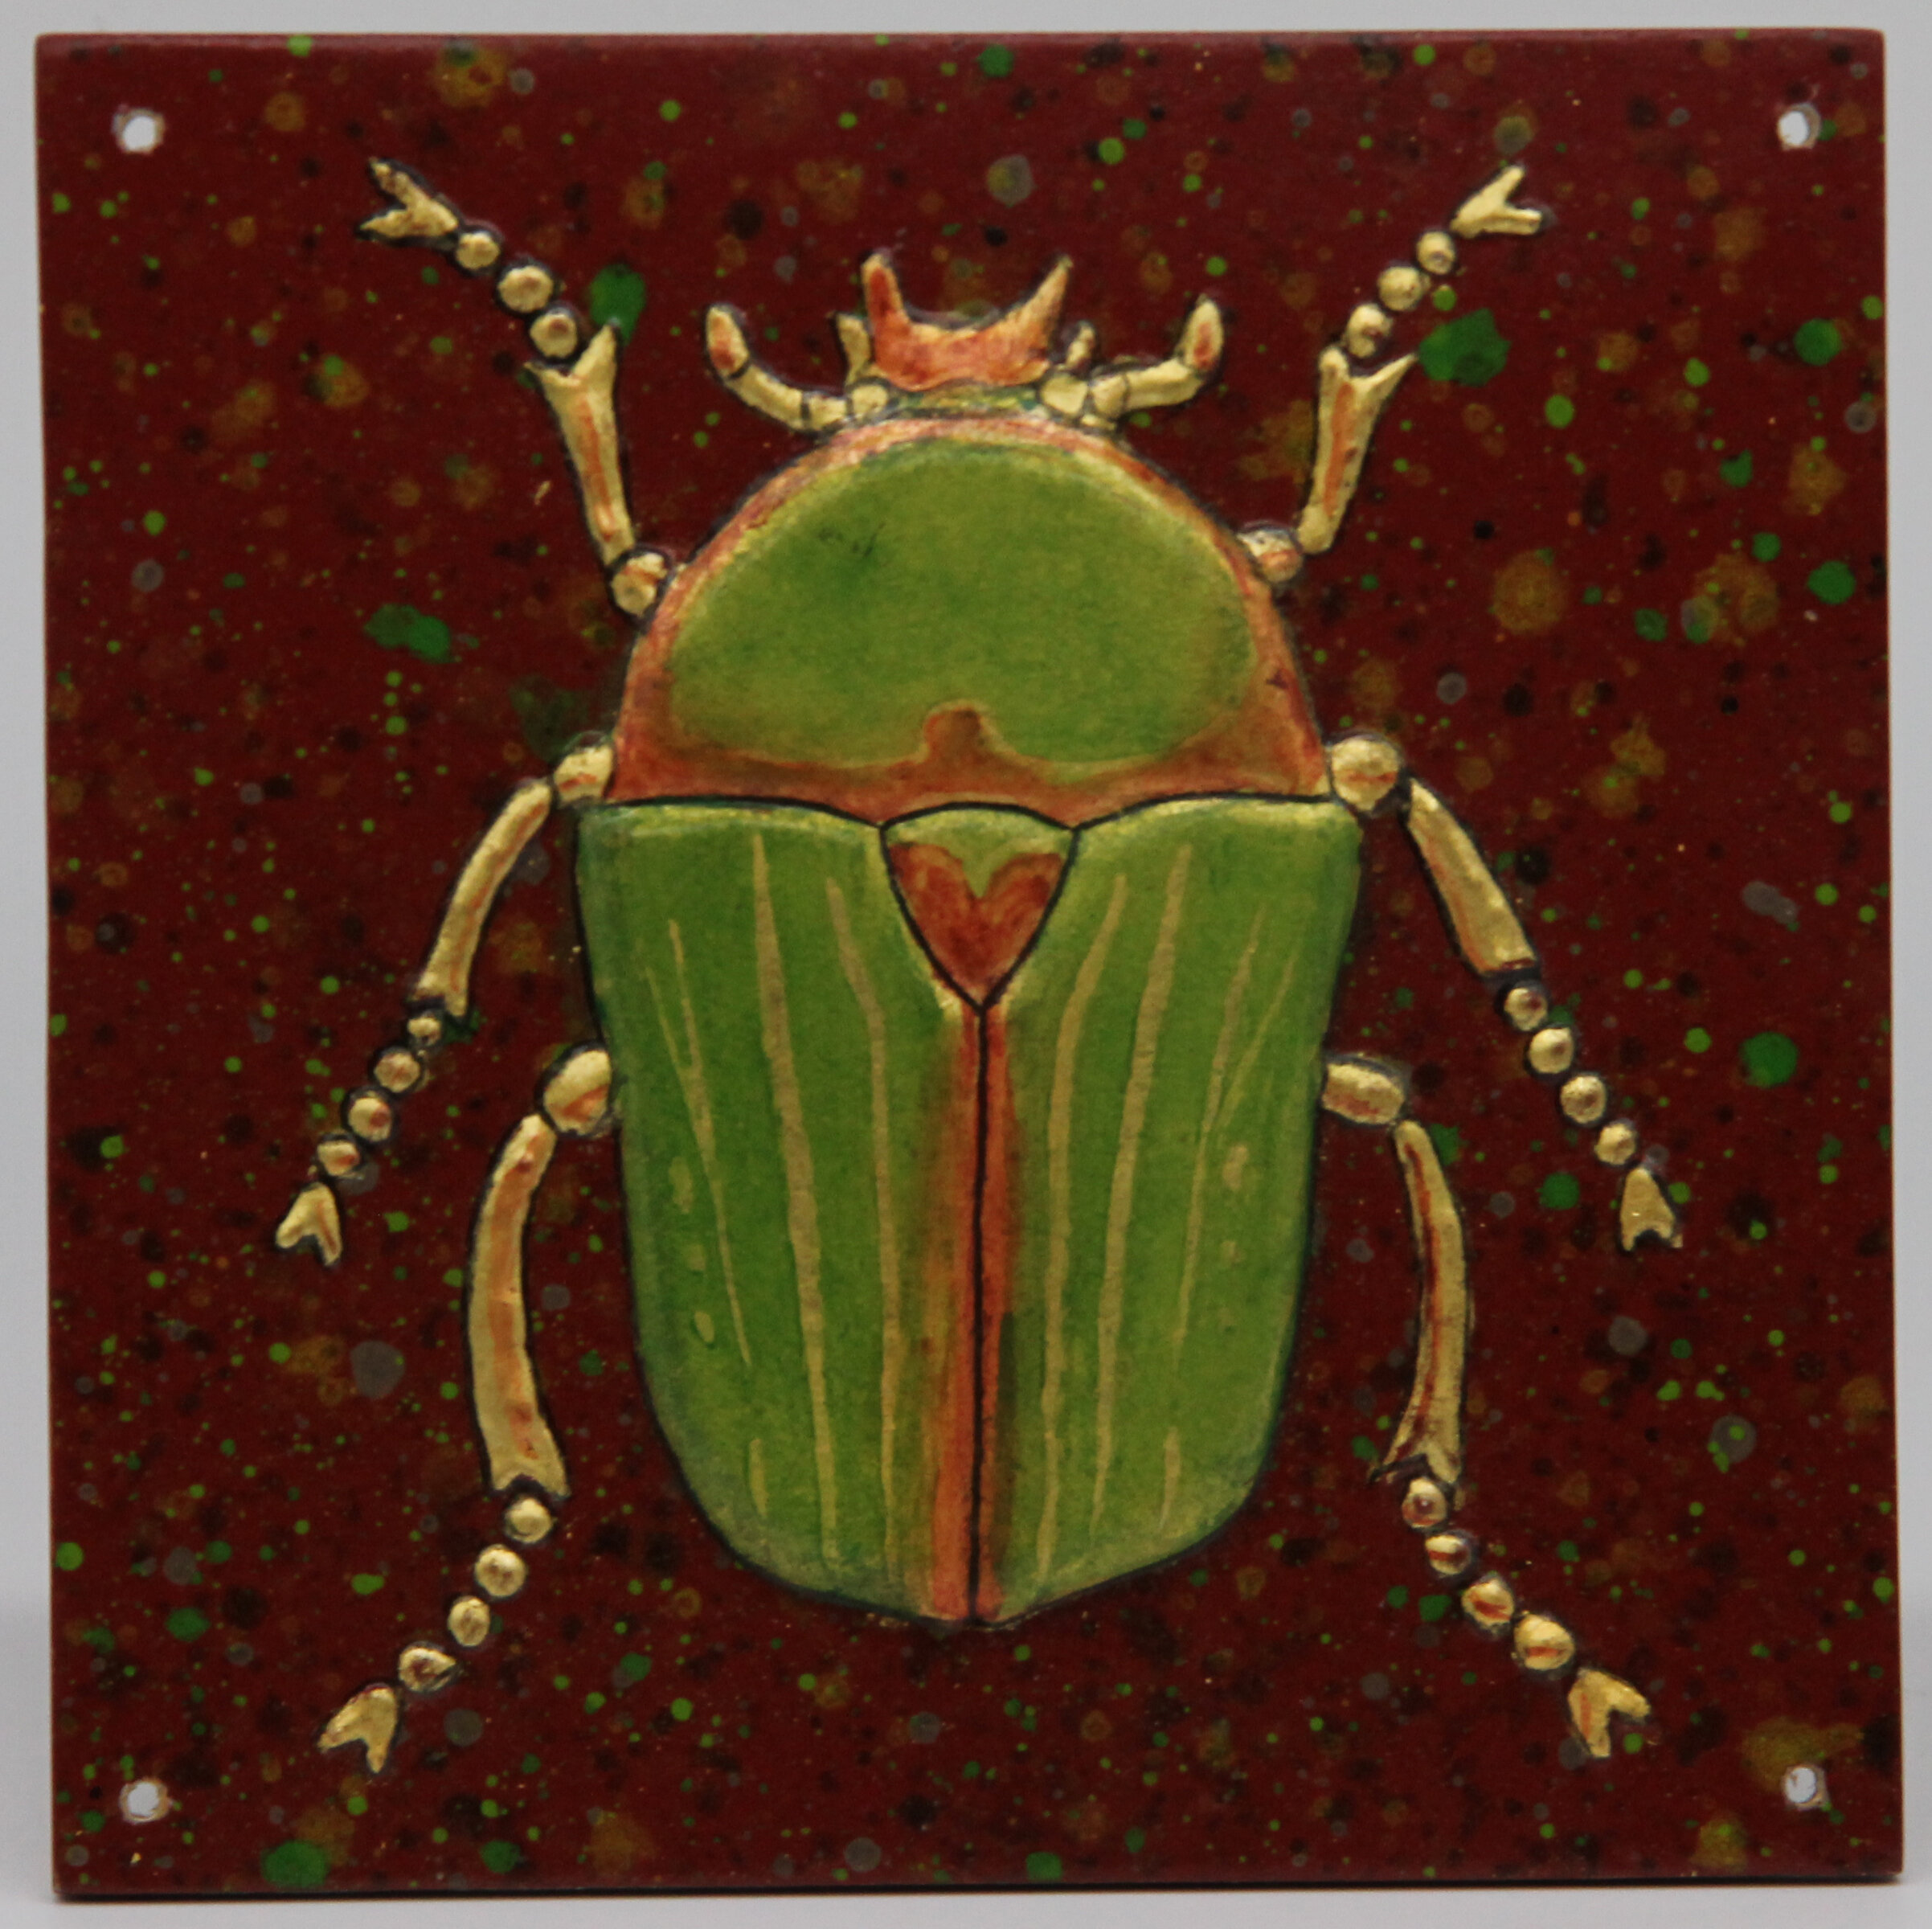
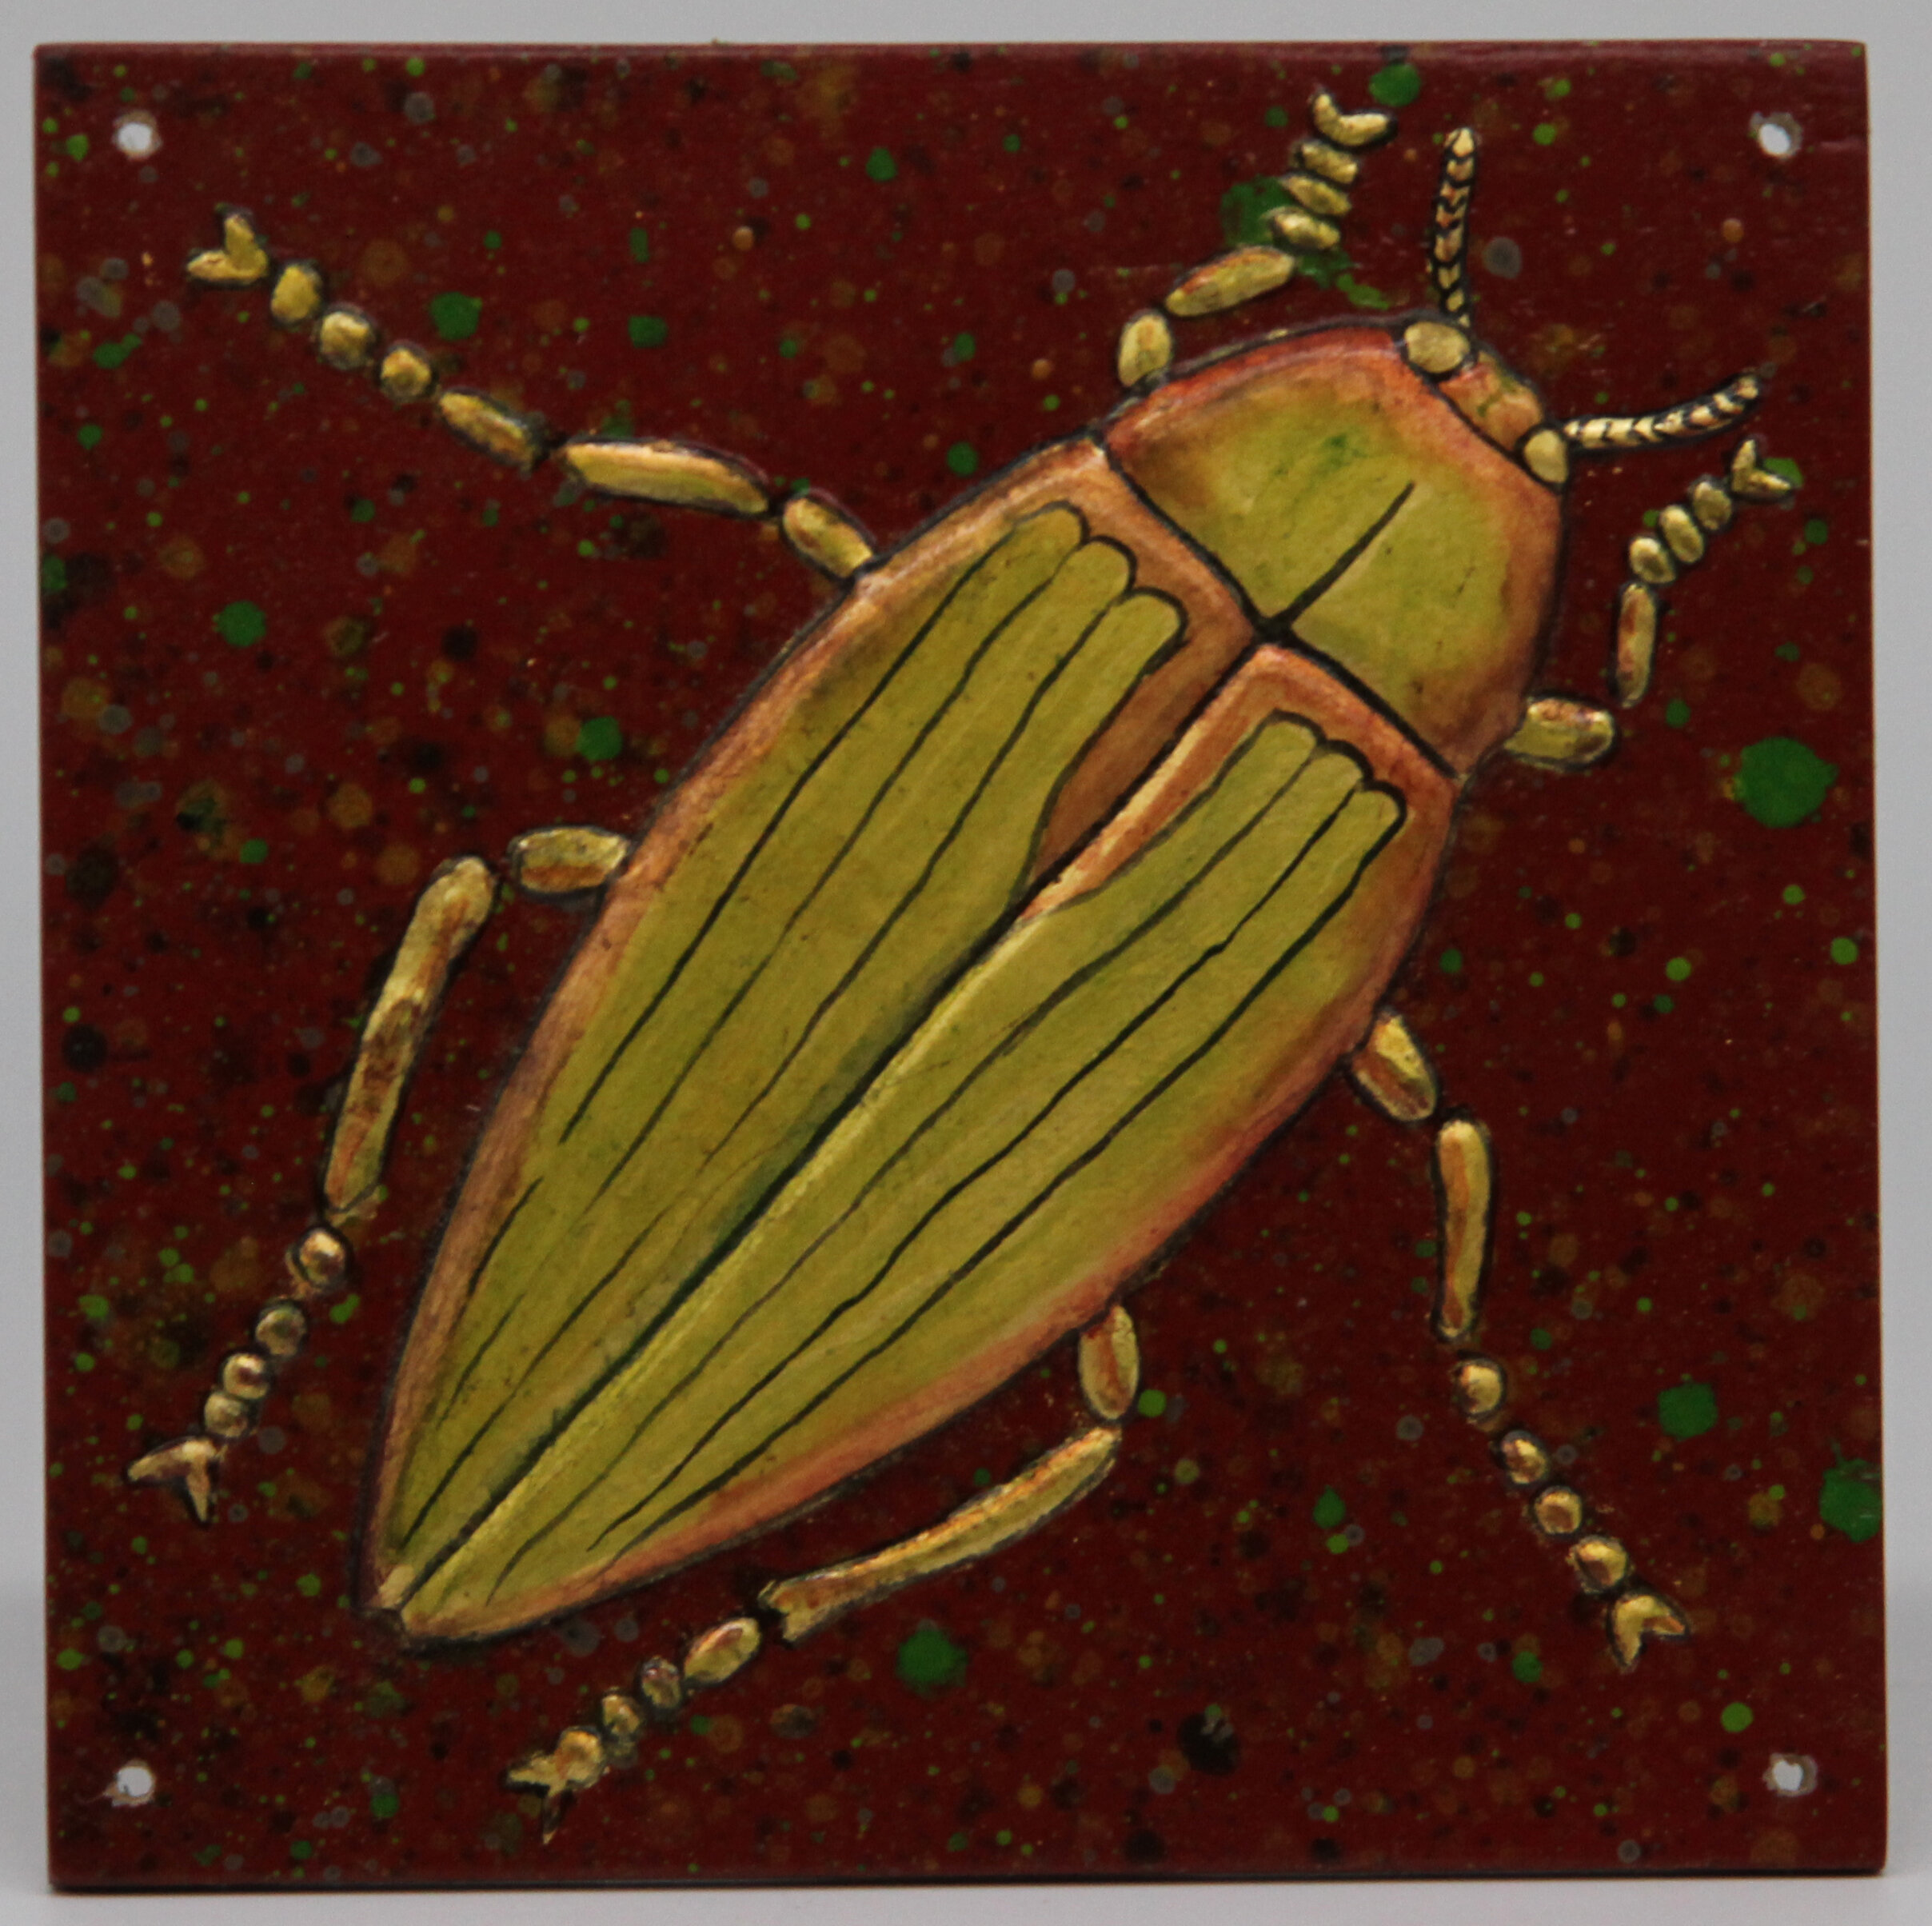
Martin has now completed all 18 insect panels for our front door which will be hung soon following some minor repairs to the door which we suspect may be close to a 100 years old.

Continuing from my earlier post, the panels once gilded were sealed with a clear semi-gloss lacquer and the outline of the insects body and eyes were darkened with a glaze made from mixing a  black UTC with a naphtha-like solvent which was applied with an extremely fine brush. Naphtha is a fast drying solvent and when mixed with oil based pigmented UTC’s dries very rapidly allowing successive layers of color to be built up. Each layer of colored glaze needs to be firmly sealed with a coat of lacquer before the next glaze is applied.

As the UTC pigments are essentially suspended in oil they are translucent and this allows the gold leaf to shine through creating an overall sense of iridescence.

Martin created the different glazes using the following UTC (Universal Coloring Tints) made by Chroma-Chem and typically only available through wholesales paint suppliers.

Green – Thalo Blue (824-7209) mixed with Light Yellow (824-2511)

Orange – Toluidine Red ( 824-0705) mixed with Light Yellow (824-2511)

Lamp Black – 824-9946

Titanium White – 824-0082

Once the panels were deemed complete Martin applied two final coats of semi-gloss lacquer to protect and seal the panels. The panels will be attached to the door with small round brass screws one in each corner.

While we do intend to be using these designs in forthcoming art pieces for those wanting to add a bug or two now  to that special cabinet or room please do check out our animal and insect bronze cabinet pulls.

Insect art;animal cabinet pulls;insect cabinet pulls;custom cabinet knobs and pulls;


Custom designs made by adapting existing cabinet pulls - a pragmatic alternative

In previous posts we have explained why creating one-off custom pieces is expensive as it requires a 3-dimensional pattern to be made and then a one- or two-part mold, all of which takes considerable time and expense.

However, don’t be too downhearted as there is a pragmatic alternative, that is if you like one of our collections and have a creative mind.

Our hardware collections reflect a theme and while each collection embodies the same style the pieces are not simply smaller and larger versions of one pattern, but artistic adaptations of the style honed to fit a particular function and scale. A good example of what I mean can be seen by comparing 3 willow cabinet pulls, while all were designed for cabinet doors and drawers and all have flowing leaves each of the pieces is different and distinct and reflects a holistic approach to design.


Sometimes we find ourselves thinking like the pizza chef who is called upon to add extra basil but hold the anchovy. Using my culinary analogy and realizing that taste is obviously subjective I was presented with the challenge of making the large willow cabinet pull but with fewer extraneous leaves and with a concentrated leaf arrangement akin to the smaller cabinet version. We were also asked to see if we could grow the willow sprig so that it could be used as an appliance pull with a span of 16”.


Below you can see how we cut and pasted a left and right willow sprig at the wax stage and how we then melded the sections together to create a longer piece. At this point a minimal amount of time and expense has been spent on creating a new piece and if approved we will use this new wax pattern to create a bronze casting. Since this will be an appliance pull, we do not expect the order to be for more than a few pieces and for each casting we will go through the same cutting and pasting process. If the order had been for many units then we would have created a new permanent pattern from which a mold would have been formed so that hundreds of subsequent waxes could be made.

willow sprig 2 waxes.jpg

By making a left and right willow sprig in wax we were able to fuse the 2 to create a hybrid piece.

Willow appliance pull wax.jpg


The Design Process for Door Handles

Creating door hardware is a balancing act where artistic inspiration is balanced and refined to meet the practical demands of functionality.

Continuing from last weeks post I want to share some of the initial designs that were submitted to designer Debbie Zylstra for her client’s home in Kailua-Kona. Debbie was in the process of designing a home entertainment center in Koa wood and wanted to incorporate dramatic door pulls for sliding doors. The cabinet was grand in scale at a height of 9’ and the lizard heroic handles were considered as a possibility. These pieces are extremely realistic, and the client wanted something more stylized and original but in the reptile family so, pencil in hand, Martin sketched out the iguanas. Martin designed 2 interlocking iguanas which give the illusion of being 2 different pieces, but which use one iguana that is inverted to create a pair. To get a sense of proportion he then reduced the scale and inserted the design into a scaled drawing of the cabinet. The body and head of both iguanas project out from the cabinet door by 4” and the underside of each projects 1 ½” so that there is enough clearance for the hand to grab either the head or tail of each iguana to slide the pocket door open. The angle of the head, legs and tail were made so that the pair would interlock comfortably but leave sufficient space so that fingers would not be pinched.

Iguana Door Pulls situ.jpg

Below are the original sketches for the first large reptile sculptures that are the central pieces in the Lizard collection. Given their realistic design Martin felt he needed to create a left and right facing lizard so that he could more naturally capture the movement of a pair of lizards. The pair was designed so that the head of the right lizard protrudes beyond the slate back-plate allowing the thumb to then be extended to depress the butterfly thumb piece and thereby release the door latch.

Lizard sketch.jpg


Modern Door Knobs Custom Made for Upscale Residence

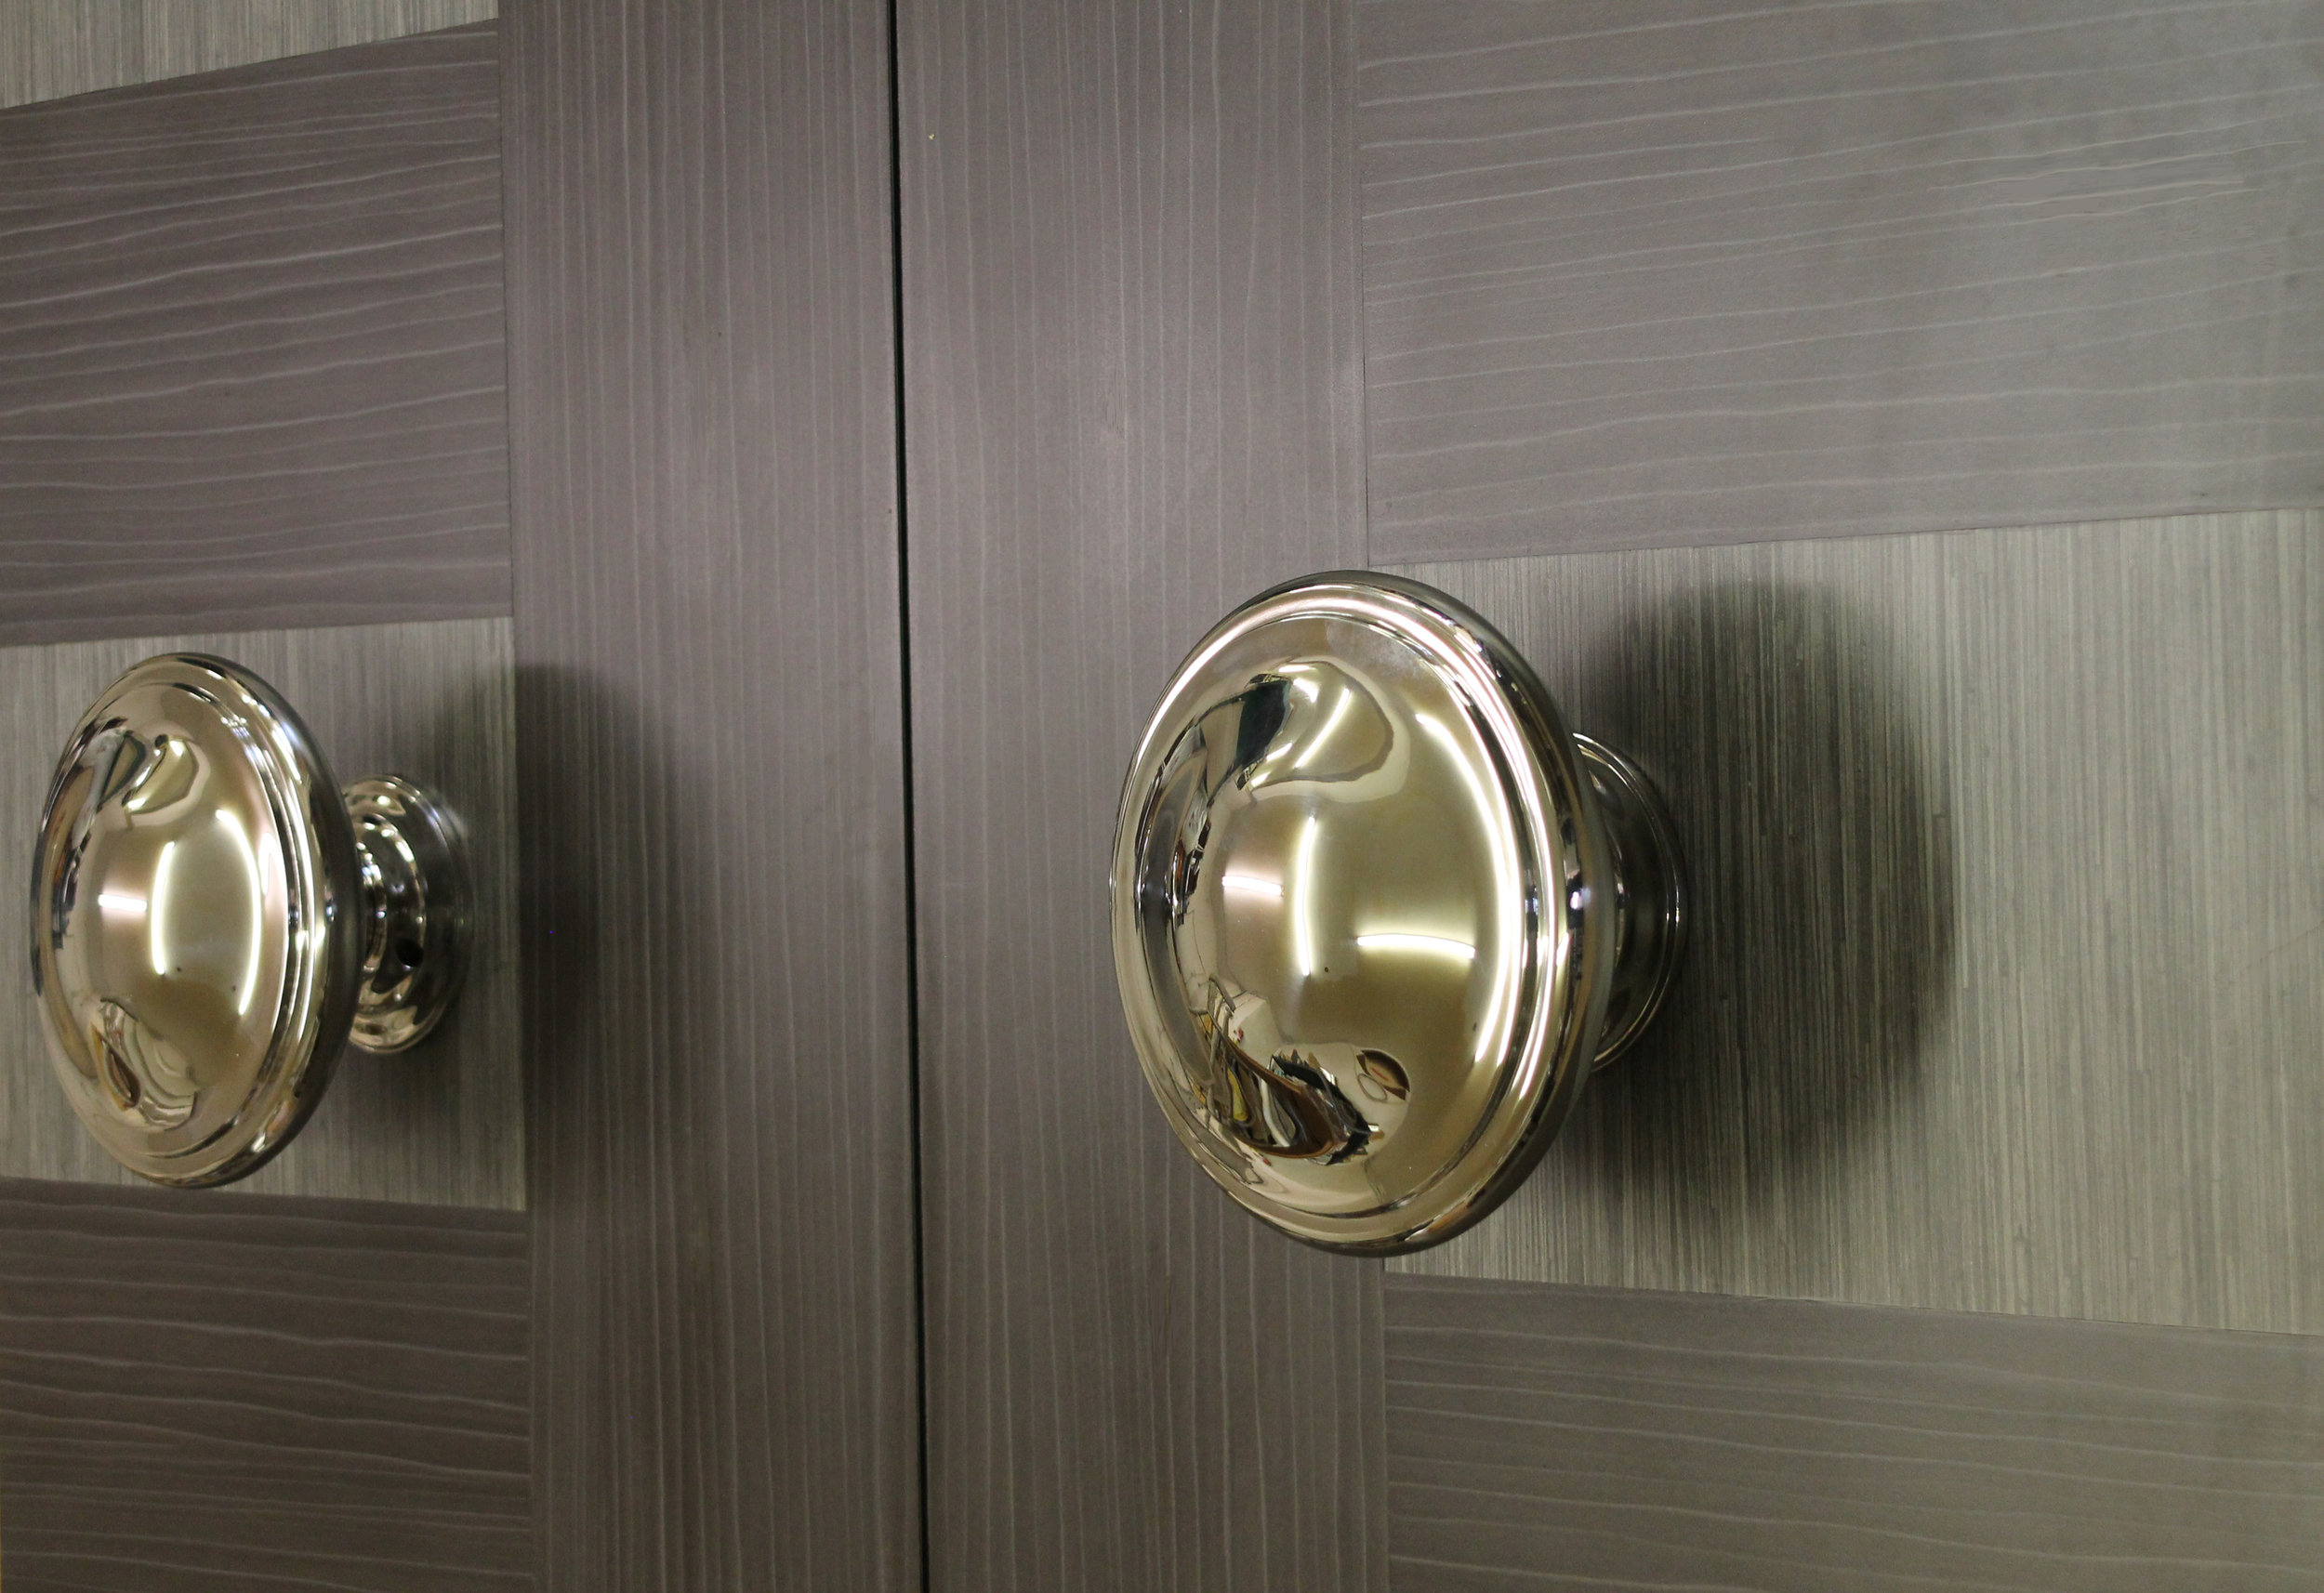
We have just completed casting and machining 8” diameter knobs for the entry doors to an upscale Connecticut residence.

Big Knob on door 2.jpg

Although The handle design was minimalist the knobs were cast in steel and hand polished to create a subtle but beautiful contrast to the dark doors where they will be mounted in the center panel. In the picture below, we have created a mock-up of what the entry sets will look like.

Step by Step account:


Designing, pattern and mold making;

We began the process by discussing with Fletcher Development the function and style of handle and determined that there would be 2 knob sets, one that would operate and release the custom mortise lock made by Accurate Lock with second set being fixed as through bolted dummies. We chose to cast these in 316 stainless steel which is a corrosion resistant very durable alloy.

Drawing custom knob.jpg


We then created 2 wooden patterns one for the rose or escutcheon and one for the knob itself both of which were turned by hand on a manual lathe. The patterns were coated with primer to fill in the wood grain and flexible rubber molds encased in rigid plaster were made. The pattern and mold making process could have been eliminated had we opted to make quick cast stereolithographic prints for all the knob sections.

Turned pattern and rubber molds.jpg

Custom backset

Once cast, the operative set had to be machined to function with a custom mortise lock made by Accurate Lock for a door that would have a 14 7/8” backset. The backset is measured from the edge of the door to the center of the door knob. The knob was machined and fitted with a custom spindle that was designed to slot into the mortise and thereby throw and retract the latch when the knob is turned. The escutcheon plates for the knobs were machined so that connecting bolts could be attached to the exterior knob, pass through the lock body and connect to the interior knob. While the escutcheon plates could have been surface mounted this would not have provided a firm support for our 8lb knobs. As the mortise body was 7/8” thick and the door was 2 ¼” deep , surface screws, had they been used would have been insubstantial at ¾” in length. The body of the lock was customized by Accurate’ s experts to accommodate our though bolts and we bench tested it with our castings to ensure all the moving parts were aligned.

Mortise Lock by Accurate.jpg


Creating custom cabinet pulls and knobs

We have recently been commissioned by a home owner and a designer to create custom cabinet knobs and pulls for their respective bedroom and kitchen. The designer approached us with the task of creating 3 styles and sizes of cabinet knob to replace and supplement the ones in the home owners period property. In this case the existing original pieces were in excellent condition and could be used as patterns for a sectional mold that was constructed in silicone rubber.

The second commission was to create a completely new cabinet pull that would use the client’s distinctive family cattle brand as a model for the cabinet doors and drawers. The client did not have a physical piece that could directly be used to form a mold, but he did have a pdf file of the family font and from this we were able to create a 3D CAD model.

CAD File Created Using Client’s Font File

SMALL JJ_Iso View.jpg

Both projects will be poured in stainless steel using the lost wax method rather than using 3D Stereolithographic printing. As the molds for both projects are relatively simple one-part molds the upfront costs for design adaptation and mold creation were relatively low and added little to the per unit cost of the pulls. The number of units ordered was also modest ranging from 50 to 75 pieces, but it will be was enough to cover the cost of pouring a smaller crucible of steel.

First Waxes Created from New Mold Ready to be Shelled

Dbl crop.jpg
JJ wax 2.jpg


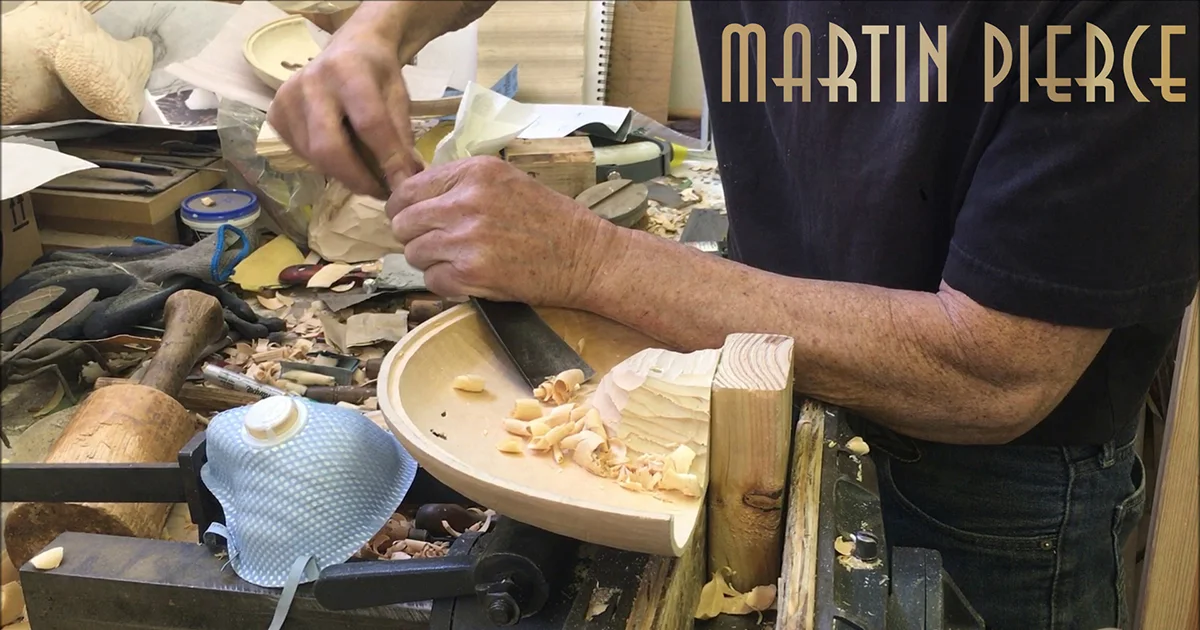
Wood carving made easy- part 2

We are currently making a custom door handle that will be hollow and will be lit by an LED strip which will be positioned inside the cavity of the handle. As the decorative details that form the theme of this will be cut out of the pattern we decided to make the hollow sphere by hand. If the pattern had been a simple and uniform geometric shape then we would have turned to 3D printing and created an SLA resin print from a CAD file. We will be working with 3D printing later to develop a light diffuser but will cover that topic in a subsequent post.

For those who are new to wood carving or are physically tired of laboriously removing large areas of wood from a block of wood then I would recommend using a mechanically assisted wood carving tool. There are several on the market but we use the automach wood carver available from Woodcraft. When we were more focused on furniture we used several of these to help speed up the carving process and they were invaluable in adding textural chip details to our Hedgerow dining chairs.

While the mechanized chisel is useful we revert to hand chisels when adding very fine detail and when we need a larger wider angled blade. We have shown both methods in the video featured here.

If you play the video you will also get a glimpse of the raven sculpture’s feet in the background which is an ongoing video project that we will be adding to soon.

What Do We Mean by Custom Door Handles?

We decided to launch 2017 with some notes for designers who may be looking for custom door handles and hope to explain when custom work is a viable option. To begin with, for many people, the term “custom” is used to describe the production of a piece for a specific customer, in other words it is made to order for that customer and not a stocked off the shelf item. In this sense, all of our work is custom as we make every piece to order and each handle is cast, machined and finished according to the designer’s requirements. In this context while the product may be made to order, the patterns, molds and tooling jigs already exist hence the relatively short lead time of 4 to 6 weeks.


The term custom is also used to describe a product that we already make but that needs to be adapted or modified to fit the designer’s specific site conditions. In this context, the viability of adapting an existing piece is determined on a case to case basis. The first consideration is whether the existing mold can be used to create a wax replica that can be modified to achieve the required adaptation. For example, if a designer has a narrow door stile then she made need a narrower escutcheon plate to fit the door comfortably. The grapevine lever set and our large lizard handles have both been customized in this way and the wax replicas were re-shaped by hand to remove ½” to ¾” from the base of both escutcheon plates. Clearly this takes time and not all styles lend themselves to being so adapted.


If the adaptation is too great or the number of pieces too many then the next option is to develop a new pattern and mold(s). This process is inherently expensive as it involves;

Designing and often re-designing a piece.

Creating full scale drawings showing the piece from several perspectives.

Creating a 3 dimensional pattern – one for each piece, if the design calls for a right and left directional piece, then two patterns will be needed.

Creating a rigid mold which will be used to create wax replicas of the original pattern and will be used in the lost wax process to create either bronze or steel castings.

The above steps add considerable time and cost to the production of the piece but if it is a piece being ordered for multiple doors then these costs can be amortized over the cost of the project.

Color As An Accent for Bronze Door Handles

As a large portion of our door handles are cast in bronze we have the ability to add subtle shading to the pieces by oxidizing them and then sealing them with oil and wax. However, those of you who are art collectors will also know that bronze can be finished with more sophisticated colored patinas. Some of these colors, specifically Verde Gris, will often develop naturally on bronze and we have all seen the beautiful blue green hues on the domed roofs of old churches and civic buildings that have developed after decades of exposure to the elements. As our time scale does not permit the patina to develop naturally we are able to create several colors of patina by applying pigments directly to our bronze. To ensure an intense color that permeates the surface we heat the bronze up to 200° and apply the pigment by hand often with a very fine brush. As you can see from the picture below we add a pea-green pigment over the body and toes of our lizard door handle to approximate the color of the Anole lizard.


We use these hot patinas typically on our nature inspired door handles and cabinet pulls. For an autumnal appearance on our sycamore leaves we use an ox red pigment and for our wasp cabinet pulls we turn to a mustard pigment. Our use of hot patinas on bronze began when we started making our wasp cabinet pulls for our limited edition Ascot series of case goods. The furniture pieces in this collection are all decorated with vine leaf motifs created using a form of japanning, a technique that uses gold leaf over casein to create a raised motif which is then hand painted with colored glazes made by suspending pigments in turpentine. The bronze wasps, some with closed wings and the leader with open wings were made as the finishing touch to the Ascot Highboy.  

Custom Door Handle Videos

At long last we are making videos for our custom door handles and will be sharing these with you both on our new Video Gallery and on YouTube and DailyMotion.

The first video was shot on location at a private residence and features our Lizard Entry Thumb latch set.

The big advantage to showing our custom hardware in this format is you get to see and understand what we mean by “functional art”. The lizard sculpture acts as a large bronze door pull and you grip the body of the lizard to open the door or in this case front gate. Above the lizard there is a sculpted bronze back-plate reminiscent of stone, on which a butterfly is perched. The butterfly is also a functioning thumb latch and when depressed it opens the gate by releasing the mortise lock.  On the reverse side or inside of the gate we used a smaller lizard sculpture to act as the door lever and to continue the natural theme mounted the lever on a bronze back-plate styled to resemble tree bark. Lizard food, in this case a small beetle, is used as a whimsical bronze turn piece that functions to either open or close the deadbolt.

As the lizards have been made as lefts and rights they will also will work well on door double doors or gates.

In this particular project we created custom grills at the top of the gate in the form of flax stems and appropriately added a left and right bronze frog to complete the entrance. As Martin Pierce is also a wood carver he carved a wooden raven head to house the chain for the house bell.

While I hope you find this description clear I hope you will agree that the video does a better job of capturing the three dimensional reality of this set.       

While videos are fun to watch they can be difficult to make  so our thanks go to Jeff Jenkins whose patience as  director and skill as a videographer made this project a success. Jeff’s work can be seen at;